


13 Photoshop Selection Tools (How & When to Use Them)
Explore all the essential Photoshop selection tools and learn how and when to use each one to edit your images with precision and ease.
Photoshop | Software | By Judyth Satyn
In this guide to Photoshop’s thirteen selection tools, you will learn how and when to use them.
As with most other things in Adobe Photoshop, there are several ways to accomplish the same task.
But don’t worry, I’m here to show you the best way to make selections.
Download a free copy of Adobe Photoshop to follow along with this simple tutorial.
When editing, selection tools are worth their weight in gold to quickly and accurately create a selection.
But which one do you use, and how do you use it?
Read on to discover how to use each Photoshop selection tool and which editing jobs they are best suited to.
Table of Contents
What You Should Know About Photoshop’s Selection Tools
Photoshop has your selection editing needs covered, with a whopping thirteen to choose from.
Sounds confusing. Let’s demystify it for you.
What is a selection tool?
A selection tool is a Photoshop image editing tool. Photo editors use the selection tool to make a selection of all or part of an image.
The selection can be made of a complex shape (such as a tree), or the selection can be simple (such as a square or circle).
Different types of selection tools are used to create simple or complex selections.
The selection tool creates a border depicted by dashed lines (also referred to as marching ants).
The marching ants demonstrate the area in which a photo editor can edit, while the area outside the selection will remain unaltered.
Photoshop has thirteen ways to create a selection. The available selection tools include the Object Selection tool, Marquee tools, Magic Wand tool, Lasso tools, Quick Selection tool, Select Color, Select Focal Area, Brush tool, and Pen tools.
There are two additional selection actions: Select Sky and Select Subject.
When do you need to use a selection tool?
1. To copy and paste: when you want to create duplicates or clone an object, the selection tool is the go-to tool.
2. To cut out or remove an object: The selection tool can be used to remove unwanted objects or backgrounds from an image.
3. To resize or transform the shape of an object: If an object needs to be resized or have its shape transformed, the selection tool can be used.
When the selection has been created, select the Transform action. You will be able to alter the selection size without affecting the rest of the image.
4. To clean up the edges of an object: A selection tool can be used in conjunction with the feather tool to soften the edges of an object.
5. To isolate an object for editing: The selection tool can be used to isolate an object to edit without affecting the surrounding area.
For example, you can isolate and adjust the color of a subject’s hair without affecting the rest of the image.
All Photoshop’s editing tools and actions can be used within the selected area.
Which selection tool is best for the task?
The Object Selection tool, Subject Select action, Magnetic Lasso tool, and Pen tool are the best for selecting irregular shapes.
The Quick Selection tool is the best for quick selections.
The Magic Wand and Color Select are the best when you want to make color selections.
The Marquee tool is perfect for selecting shapes of a uniform shape and size, such as rectangles and oblong shapes.
The Pen tool and Brush tool will give you the most control when creating a selection.
The Select Sky action will quickly select areas of the sky.
Types of Selection Tools
Now, let’s take a look through the different types of Photoshop selection tools.
1. Marquee Tool
The Marquee Tool creates a shape selection. It has four shape options.
They are the Rectangle Marquee tool, Elliptical Marquee tool, Single Column Marquee tool, and Single Row Marquee tool.
Click on the Marquee tool icon in the toolbar to access its drop-down menu.
Or, for the keyboard shortcut, hit M.
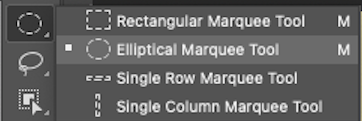
Select one of the Marquee tools from the dropdown menu.
Click on your canvas workspace and drag your cursor across the area you wish to select.
A rectangle or oblong selection of dashed lines will be created as you drag the cursor.
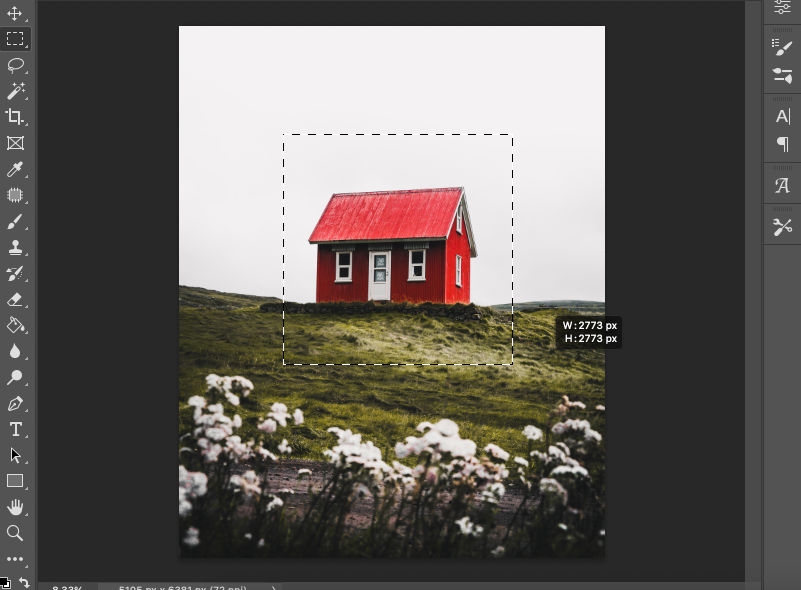
The width and height values will be displayed in a black box as you create the selection.
Release the cursor when you have achieved your desired selection.
If you want to create a perfect circle or square, you can hold down the Shift key as you drag.
When you click on any of Photoshop’s selection tools, the tool’s options bar will open above your canvas workspace.
Let’s run through the Marquee’s option bar.
![]()
Click the first square icon to create new selections.
Click the second icon (two overlapping white squares) to add to an existing selection.
Click the third icon (a white and an empty square) to subtract from the existing selection.
The fourth square icon allows you to select part of an area within a selected area.
![]()
Add a value in the box beside Feather to increase or decrease the feathering of the selection’s borders.
![]()
Tick the anti-alias box to smooth the edges.
![]()
Change the ratio from Normal to Fixed in the drop-down box beside Style. This will create a selection based on the size or ratio value you enter.
Normal will give you the freedom to create any size or shape selection. Choose Fixed Size or Ratio if you want a set size, then add a value for width and height.
![]()
Finally, click the Select and Mask… button if you want a new layer mask to be created from your selection.
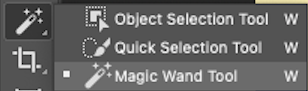
2. Magic Wand Tool
The Magic Wand tool was the original Photoshop “magic” selection tool.
Use the Magic Wand tool when you want to isolate colors.
From the toolbar, select the Magic Wand tool or click W for the keyboard shortcut.
When selected, the tool’s option bar will open above the canvas workspace.
![]()
One point to note is that you can change the tolerance of the Magic Wand’s selection. Alter this if the Magic wand selects too much or too little of an area.
Tick the box beside Sample All Layers if you want to include all layers.
Tick the box beside Contagious if you want connected pixels to be selected.
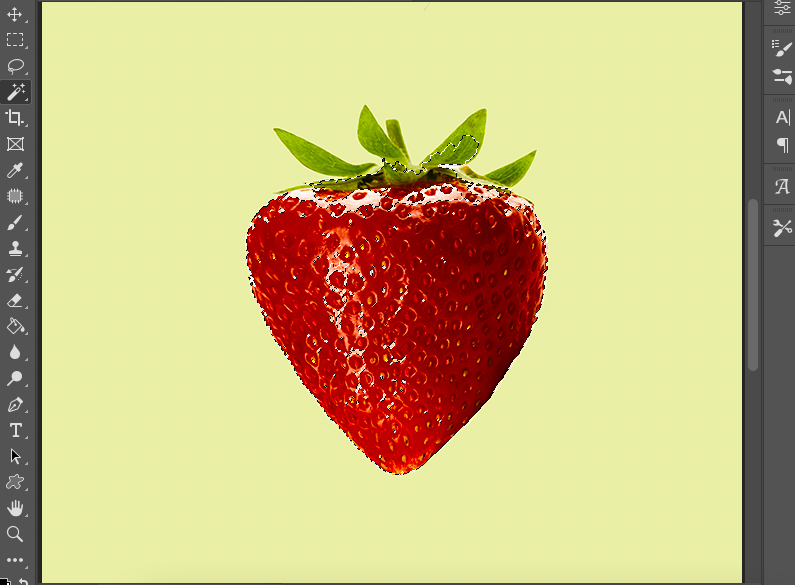
Click on the area you wish to isolate.
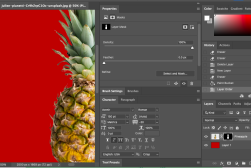
As you can see in the image below, the Magic Wand has not selected all the areas of the strawberry.
To add more areas to the selection, click on the second square icon in the option bar. Then click on any additional areas you wish to add.
Alternatively, increase the value in the box beside Tolerance.
3. Lasso Tool
There are three Lasso tools to choose from: the Lasso tool, the Polygonal Lasso tool, and the Magnetic Lasso tool.
The basic Lasso tool is not good for selecting precise or intricate shapes but is great for quick, rough selections.
Select the Lasso tool from the toolbar.
Alternatively, for the keyboard shortcut, hit L.
Click on the canvas workspace to start your selection. Using the mouse, draw a line around the area you wish to select.
If you have superhuman control, you can use the Lasso Tool to make complex selections.
However, for the rest of us, it is difficult to use the mouse to select intricate shapes in one swoop.
Release the cursor, and the selection, depicted by marching ants, will be created.
4. Polygonal Lasso Tool
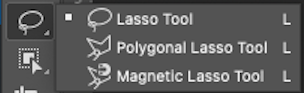
The Polygonal tool is useful for making selections made up of straight lines.
You can create a zig-zagged selection, including as many straight lines as you like.
Open the Polygonal Lasso tool and click on the canvas to begin the selection.
Every additional click you make will add a new anchor point. The anchor points will make up the selected area.
Hit Enter on your keyboard when you want to complete the selection.
5. Magnetic Lasso Tool
The Magnetic tool automatically attaches anchor points to the edges of a shape as you create a lasso around it.
Open the Magnetic Lasso tool and click on the workspace to start the selection.
As you drag the cursor around the shape, the Magnetic Lasso will attach anchor points to its edges.
It appears as if the Magnetic Lasso is magnetically attracted to the edges.
The closer your cursor is to the edge, the more accurate the selection will be.
You can zoom in to achieve a more accurate selection.
Hit Enter when you want to complete the selection.
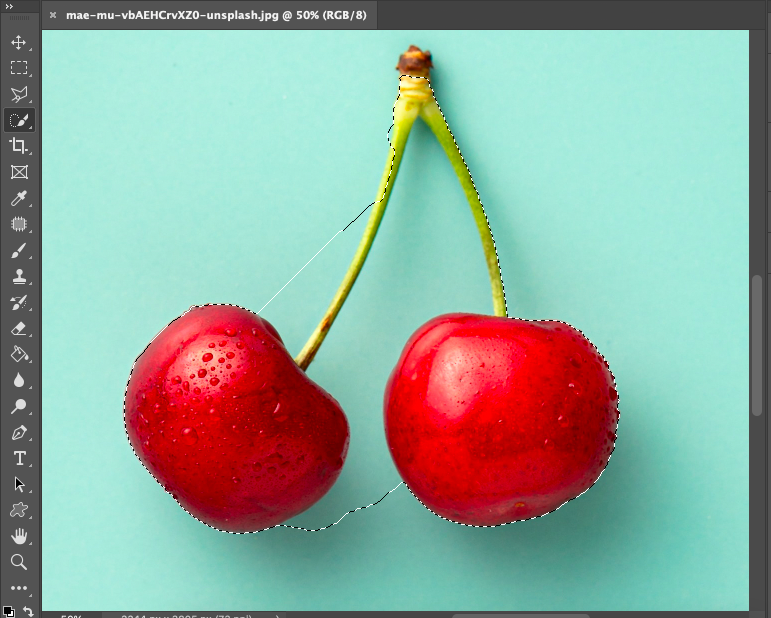
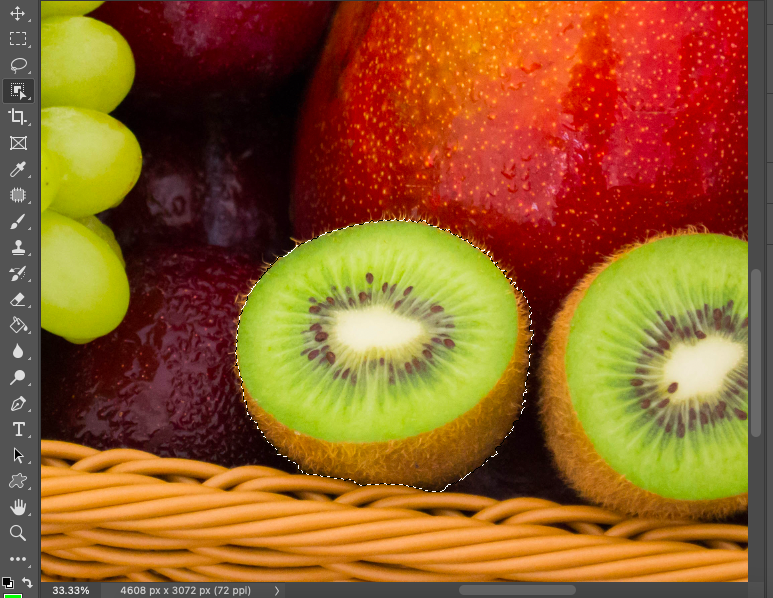
6. Quick Selection Tool
The Quick Selection tool will do just as it says: Quickly select an area.
It works by selecting an area from the inside outward.
Select the Quick Selection tool from the toolbar, or for the keyboard shortcut, hit W.
The tool’s option bar will open above the workspace.
![]()
To add areas to the selection, choose the paintbrush with the plus icon. To subtract, choose the paintbrush with the minus icon.
Click on the circle icon to alter the size and hardness of the selection brush.
Tick the box beside Enhance Edge when you want to reduce the roughness of the edges.
Drag the cursor over the object. The selection will expand outwards as you drag.
Release the cursor when you want to complete the selection.
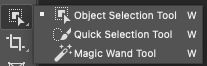
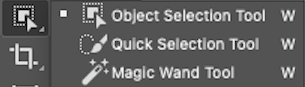
7. Object Selection Tool
The Object Selection tool is used to select complex shapes quickly.
Once the object is clicked, Photoshop will access the chosen area to find its edges.
From the toolbar, select the Object Selection tool.
Alternatively, for the keyboard shortcut, click W.
The tools option bar will open above your canvas workspace.
![]()
Here, you can set the preferences for your selection.
Click the first square icon to create a new selection. Tick the box beside Object Finder to activate Photoshop’s AI object finder.
Choose a marquee or lasso tool from the option bar to create a rough selection guideline around the object.
The lasso is helpful if the object is surrounded by other distracting shapes, as in the image below.
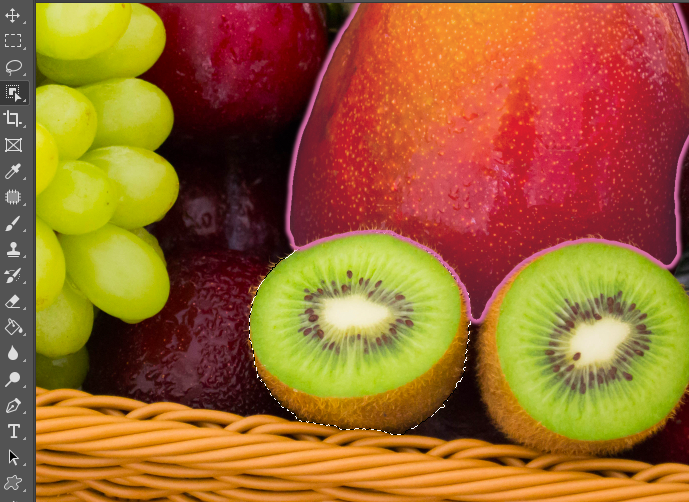
Once you have created the guideline for the selection, Photoshop will calculate the outline of the object.
Photoshop will create the selection around the object.
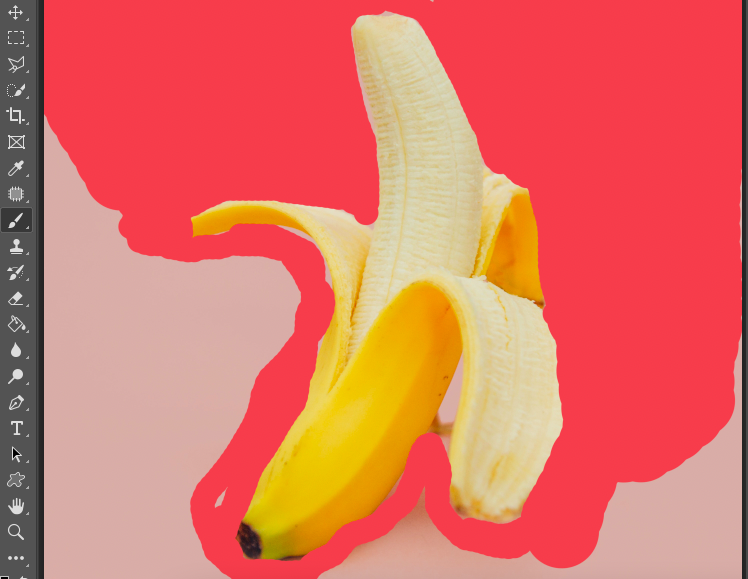
8. Pen Tools
Some people are control freaks, and when it comes to editing, that’s a good thing.
The Pen tool is useful when you need full control over your selection.
The Pen tool is used to create a path. This path can then be changed to create a selection.
Select the Pen Tool from the toolbar, or for the keyboard shortcut, hit P.
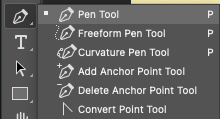
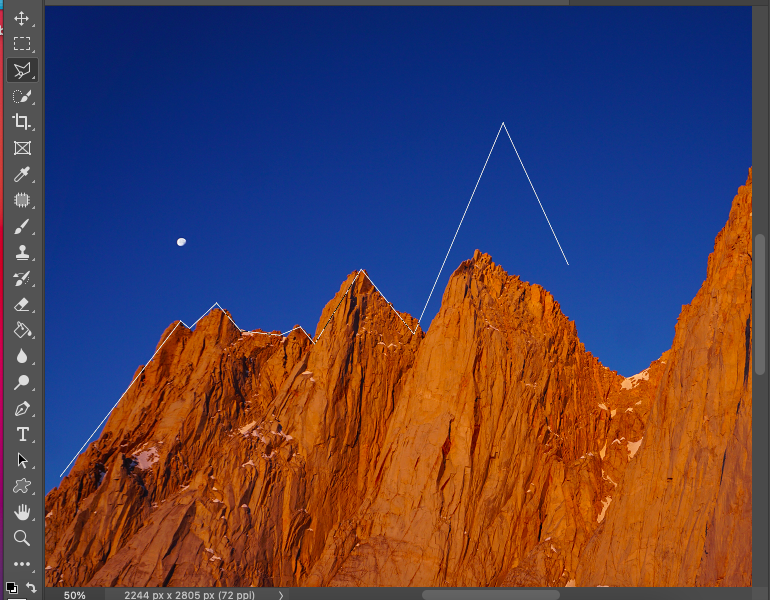
Click on your canvas workspace to add anchor points around the edge of your object.
You can curve the line between each anchor point by holding the shift button as you click on an anchor point.
A line will appear. Drag the line to alter the size and shape of the curve.
To complete the path, click on the first anchor point.
To create a selection, head to the Paths panel and click the dashed circle icon at the bottom of the panel.

Your selection will be created.
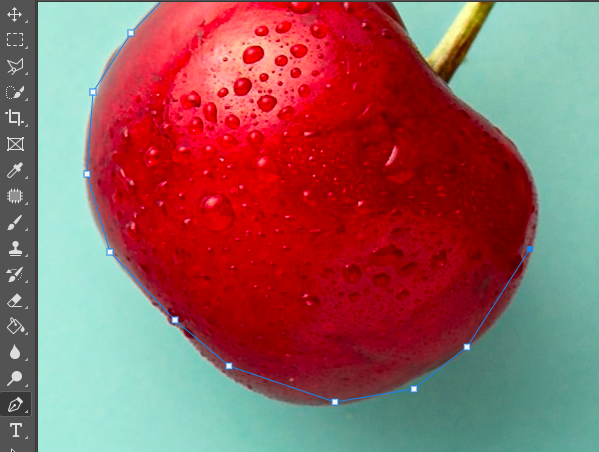
9. Brush Tool
The Brush tool, in conjunction with the Quick Mask mode, can be used to create selections.
Head to the top menu bar and choose Select > Edit in Quick Mask.
Change the size, opacity, and hardness of the brush to suit your task.
Paint over and cover all the areas you don’t want to select.
The paintbrush will apply a red color to the masked areas.
When you have created your desired selection, click the mask icon. Your object will now be surrounded by marching ants.
10. Select Color Range
The Select Color range works in a similar way to the Magic Wand tool. It selects a specific color or color range of an image.
You can select the colors from the entire image or a select image area.
Head to the top menu bar and choose Select > Color Range.
Once clicked, the Color Range dialog window will open.
You can select a color using the eye dropper or by choosing a color range, such as Cyan, from the drop-down menu.
Click the box beside Detect Faces if you want to select only the faces in an image.
Slide the Fuzziness slider to increase or decrease the range of colors included in the selection.
If you have ticked the Localised Color Cluster box, use the Range slider to include or exclude areas.
The Range slider will include colors that are close to the sample area and exclude colors that are far from the sample area.
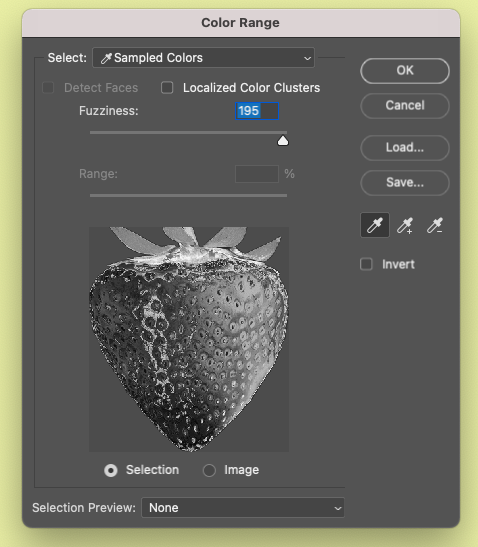
You can set your preference of viewing mode beside Selection Preview.
When you are happy with the selection, hit OK to save it and go back to your workspace.
If you need to deselect the area, try this Photoshop guide – How to deselect in Photoshop.
11. Select Focus Area
The Select Focus Area will allow you to select the areas in an image that are in focus.
Navigate to the top menu bar and choose Select > Focus Area.
Once clicked, the Focus Area dialog box will open.
Use the In-Focus Range slider to increase or decrease the selected area.
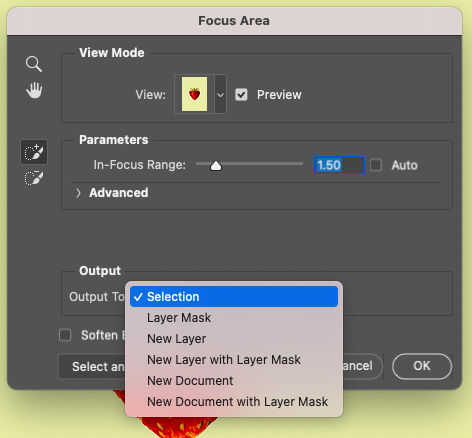
Use the plus or minus brush to add or subtract areas to the selection.
Tick the box beside Soften Edges if you want softer edges.
When you are happy with the selection you have created, click OK.
12. Select Subject
If you have a well-defined subject and you don’t need to fine-tune the selection action, use the Select Subject action.
Simply head to the top menu bar and click Select > Subject.
Photoshop will automatically select the subject (or all subjects) from the image.
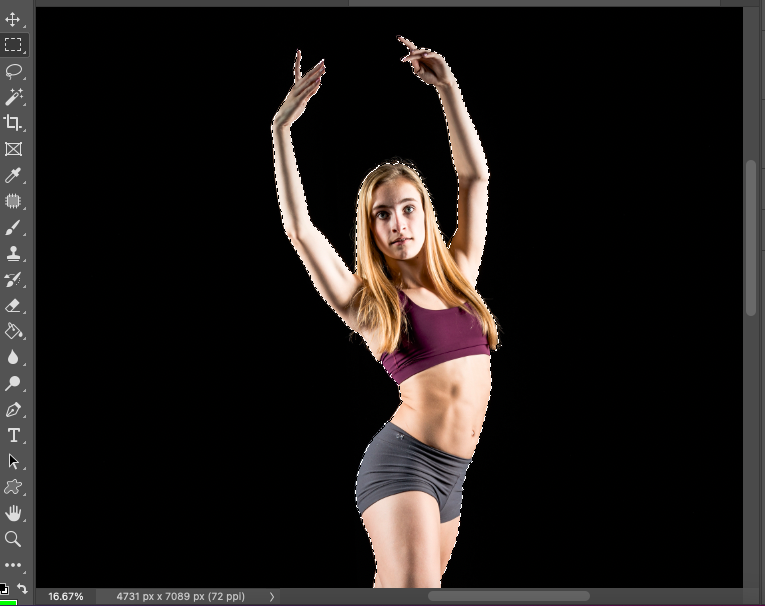
You might wonder how the Select Subject action differs from the Object Selection Tool.
The Select Subject action will select all the subjects in an image, whether that is one subject or many.
You can use the Object Selection Tool to define which object (or subject) you wish to select from many.
13. Select Sky
The select sky action was added to Photoshop in October 2020, but many photo editors are still unaware it exists.
You can use the Select Sky action to select sky areas with one click.
There are two ways to select the sky.
Method One
The first method is by far the quickest, and the result will be exactly the same.
Head to the top menu bar from the drop-down menu bar under Select choose Sky.
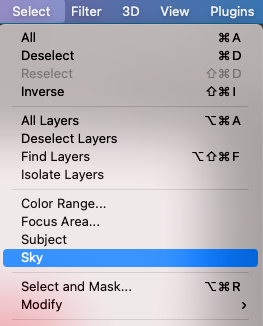
Once Sky is clicked, Photoshop will automatically select all areas of the sky.
Method Two
For the second method, access Select Sky via the Discovery panel.
Step 1. Open the Discover Panel
In the top right-hand corner of your canvas workspace, click on the search icon. The Discover Panel will open.
Step 2. Quick Actions
In the search bar, enter “Quick Actions” to locate the Select Sky action.

Step 3. Select Sky Acton
Scroll down the list of Quick Actions and click on Select Sky.
When you select the Select Sky action, Photoshop automatically selects the sky in your image.
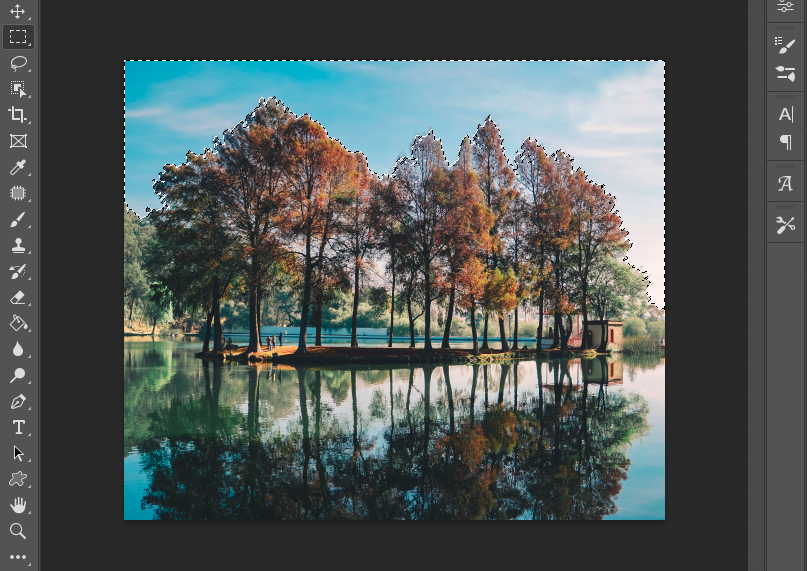
The Select Sky action is great for basic sky selections.
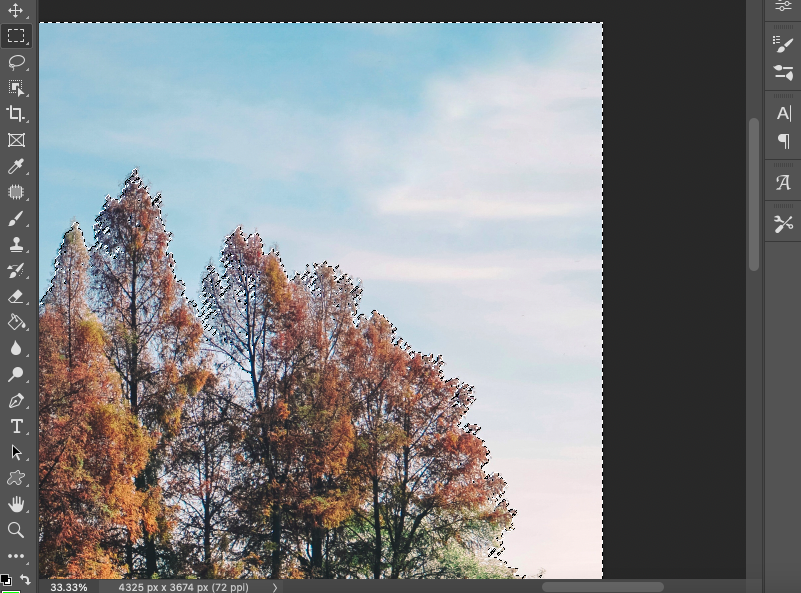
Unfortunately, it isn’t good at selecting the sky in between branches and leaves, as you can see in the image above.
If you want to add extra areas to your selection, follow the method below.
Add Areas to a Selection
No matter how intelligent AI becomes, it seems it can’t do everything.
That includes finding the exact outline of an object or all the sky areas.
If you want to add extra areas to your selection, you can use the Magic Wand Tool.
Select the Magic Wand Tool from the toolbar.
In the options bar that opens above your canvas workspace, select the second square icon (two overlapping white squares).
You can now click on areas of the image to add them to your original selection.
Invert the Selection
You can invert a selection area. For example, change the selected area from the object to the object’s background.
To do this, head to the top menu bar and select Selection > Invert.
Or, for the keyboard shortcut, click Shift plus Control (for Windows) or Command plus Control (for Windows)
Your selection will immediately switch from the chosen area to its surrounding area.
Conclusion
Now, you have everything you need to create the perfect selection for your editing task. Be that simple or complex.
The more you use selection tools, the quicker you will become at picking the correct selection tool for the task.
When you have learned how to create accurate selections, use this Photoshop guide- How to use selective color in Photoshop.
Happy editing.


Judyth is an experienced studio photographer and glass artist. When she isn’t Photoshopping comedians into the bellies of sharks, you can find her cooking delicious treats for her guests.

WELCOME TO SHOTKIT
Enter your email to be sent
today's Welcome Gift:
19 Photography Tools
🔥 Popular NOW:


Shotkit may earn a commission on affiliate links. Learn more.