


How to Change your Brush Size in Photoshop (with Shortcuts)
Adjusting our brush size on the fly in Photoshop is an essential time-saving skill to learn. Here are the two best methods to do it with shortcuts.
Photoshop | Software | By Judyth Satyn
Long gone are the days when designers, photo editors, and Photoshop fanatics used the toolbar to select their tool of choice.
Clicking on shortcuts to avoid using the settings panels may only save you mili seconds, but when you are editing all day, those mili seconds sure add up.
Similar to typing, once you have muscle memory associated with Photoshop keyboard shortcuts you don’t even have to think when you go to use them, so you won’t miss a beat when editing.

Download the latest version of Adobe Photoshop to follow along with this simple tutorial.
Start a free 7-day trial today
Using shortcuts, you can make quick, simple clicks instead of navigating to the brush settings panel or brush preset panel each time you need to alter the size of your brush.
The brush is one of the most utilized tools in Photoshop, so it is a great one to know the shortcuts for.
To learn how to change your brush settings with shortcuts, let’s get started.
Table of Contents
How Do You Change your Brush Size in Photoshop?
Shortcut 1 – Using the Keyboard
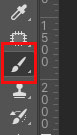
First thing first, select the Brush Tool from the Tool Bar.
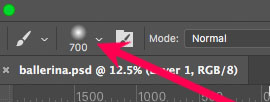
One way to change brush size settings in Photoshop is by using the Bracket Keys.
On standard keyboards, you will find the bracket keys beside the P.
The Bracket Key looks like this [ or ].
When you want to Decrease your brush size tap the Left Bracket Key.
By tapping the left bracket key a few times you will speedily decrease brush size without using brush settings.
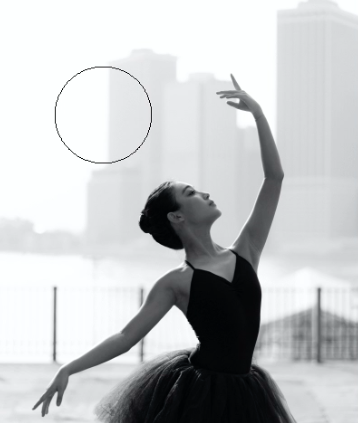
A black circle will appear over the image, indicating the brush size.
To Increase brush size, tap the Right Bracket Key.
To familiarise yourself with this short cut, tap the Left and Right Bracket Keys, and watch the brush size increase and decrease, so simple!
If you need to you can zoom in or out to get a closer look at the area, to ensure you have the right brush size.
When you use this shortcut to increase or decrease brush size, you will notice the brush size settings in the brushes panel will jump in increments.
For example, when the brush setting is above 10 and between 100, the keyboard shortcut will increase the size of the bush tool, in increments of 5.
Over 100-200, the brush size will be increased in increments of 25.
You will find that for most editing tasks this brush size shortcut will be perfectly suited.
However if you don’t want to use the brush presets panel and want more control over the brush size, you might prefer the next shortcut, using a keyboard and mouse.
Shortcut 2 – Using the Mouse
This shortcut is the best to use if you want more control over the size of your brush tool, for precision edits.
Let’s start with increasing and decreasing the size of your brush.
This short cut involves holding the mouse button and using a dragging motion.
Depending on which way you move the mouse, you can indicate if you want to increase or decrease the brush size.
Once you get the hang of the dragging action you need to increase and decrease the brush tool size, you can also increase or decrease the brush fuzziness.
Hold Option, Control, and the Mouse Button, then drag horizontally (for Mac) Hold Alt and Right Click your Mouse Button, then drag horizontally (for Windows)
When you drag to the Right your brush settings will Increase in size, when you drag to the Left your brush settings will Decrease in size.
This will give you incredible control and save time, perfect for days when you have hours of editing.
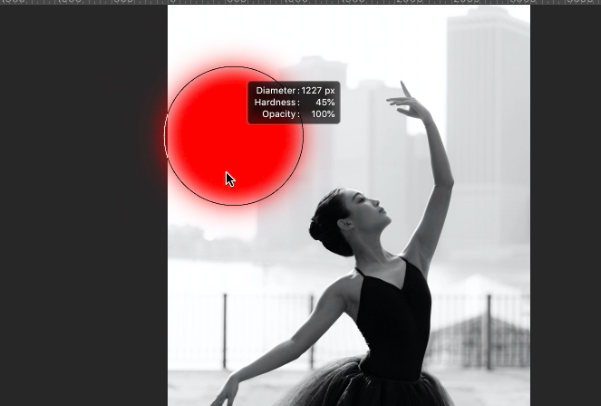
When you use this shortcut you will notice a circle appear with a red circle.
Don’t worry if you haven’t picked red as your brush’s color from the brush settings panel, the red is to indicate the size, opacity, and hardness of your brush.
When using this shortcut a dialogue box will appear beside the brush, giving you information on the brush size.
This dialogue box will also indicate the hardness and opacity of the brush tool.
The brush tool will visually increase and decrease in size as you drag your cursor horizontally.
Release the keyboard keys when you have reached your desired brush size.
Ok, now to learn how to resize your brush via keyboard shortcuts, but let’s not stop there.
What is the Shortcut for Brush Hardness in Photoshop?
Now you have mastered the wonders of a brush-size photoshop shortcut, maybe you are itching to learn another shortcut.
Here are two sneaky shortcuts to use next time you are editing.
Shortcut 1 – Using the Keyboard
This shortcut goes hand in hand with the brush-size Keyboard Shortcut.
Hold down the Shift Key and tap your Square Bracket Keys, this will change the hardness of your brush edge.
Shortcut 2 – Using the Mouse
Not only can you change the size of your brush by dragging your cursor horizontally, but you can also change the hardness of your brush edge.
In the previous shortcut using a dragging action to change the size of your brush, a dialog box opens, giving information on the size, opacity, and hardness of the brush.
This box also gives you the option to increase or decrease the hardness of the brush.
Hold Option, Control, and the Cursor, then Drag Vertically (for Mac) Hold Alt and Right Click while Dragging Vertically (for Windows).
Drag Upwards to Decrease the hardness of the brush and drag Downwards to Increase the hardness of the brush edge.
Once you have keyboard shortcuts stored away in your muscle memory, you won’t miss a beat when you are editing.
Brush Size in Photoshop not working?
Ok, so you have put the time in and have completely mastered all the shortcuts for changing the brush size, but suddenly it won’t work.
What could be wrong?
Usually, it is pretty straightforward troubleshooting in Photoshop to see what’s gone wrong.
Possibility 1 – Caps Lock
The most common reason why photoshop shortcuts aren’t working is that your Caps Lock is on.
Check to see if your Caps Lock is on, if it is on click it off and try again to alter your brush size.
Possibility 2 – Command Key
Another common error people make while changing their brush size is to hold the Command Key while hitting the Brackets.
Holding the Command Key and hitting the Brackets Key will select the move tool.
Make sure not to hold the Command key, instead only use the Bracket Keys.
Possibility 3 – Wrong Tool
The last option is that you haven’t selected the brush tool, make sure you haven’t selected another tool.
Hope this helps, and have fun using the brush tool.
If you have enjoyed this Photoshop Tutorial, Check Out – How to Mirror an Image in Photoshop.
 Time-Saving Lightroom Shortcuts for Mac & Windows
 How To Make Dotted & Dashed Lines In Photoshop (3 Ways)
 How to Use the Liquify Tool in Photoshop
 How to Photoshop Nudes Photos (Tips and Examples)
 Where to Download the Best Free Photoshop Brushes (+ How to Make Them Yourself)

Judyth is an experienced studio photographer and glass artist. When she isn’t Photoshopping comedians into the bellies of sharks, you can find her cooking delicious treats for her guests.

WELCOME TO SHOTKIT
Enter your email to be sent
today's Welcome Gift:
19 Photography Tools
🔥 Popular NOW:


Shotkit may earn a commission on affiliate links. Learn more.