


12 Most Commonly Asked Photography Questions (+ Answers)
Discover the answers to all the most commonly asked photography questions to help you improve your skills and knowledge in capturing great images.
Learn | By Tammy Danan
We gathered the most common questions about photography to answer in this guide.
You’ll see these photo questions asked time and time again by beginner and enthusiast photographers in photography forums and communities.
(Some experienced photographers may not even know the answers, too!)
Whatever your experience with a camera, it’s always good to refresh your knowledge about photography.
So, let’s dive in and start answering these popular questions about photography right now.
Table of Contents
12 Questions About Photography (And Their Simplified Answers!)
1. What’s the difference between DSLR and mirrorless cameras?
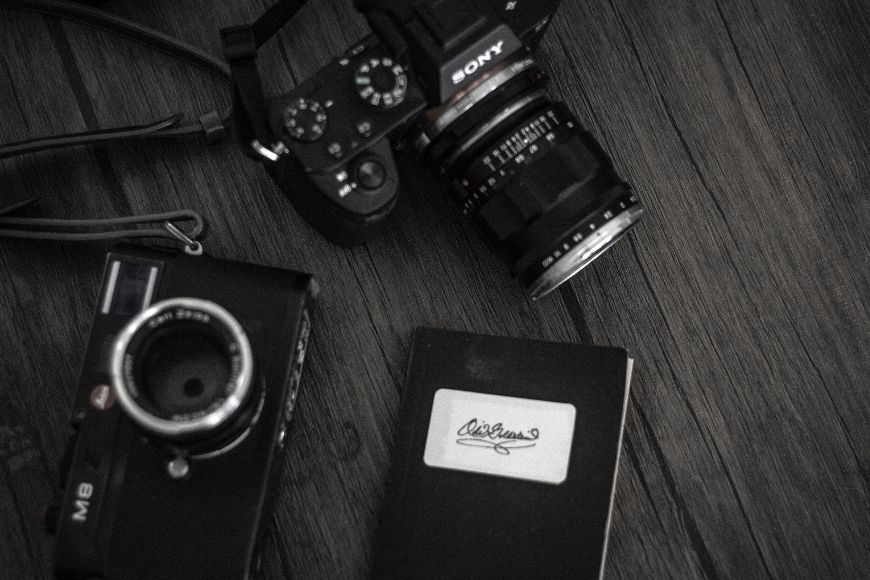
Image Credit: Unsplash
A DSLR or digital single-lens reflex camera uses a mirror and pentaprism/pentamirror system to reflect the image into an optical viewfinder.
A mirrorless camera doesn’t have a mirror and uses an electronic viewfinder (EVF) or an LCD screen.
DSLRs are typically bulkier and heavier due to the mirror and optical viewfinder components, while mirrorless cameras are more compact and offer live views.
DSLRs also traditionally use phase-detection autofocus (PDAF), which is generally faster and more accurate for tracking moving subjects. In contrast, mirrorless cameras use contrast-detection, phase-detection, or hybrid autofocus systems.
Regarding lens compatibility, mirrorless cameras are more adaptable to different lens systems thanks to shorter flange distances, although native lens selections can be more limited.
On the other hand, DSLRs have a wider selection of native lenses and extensive compatibility with older lenses through lens adapters.
- Learn more: DSLR vs Mirrorless
2. How do I achieve a blurry background or bokeh in my photos?
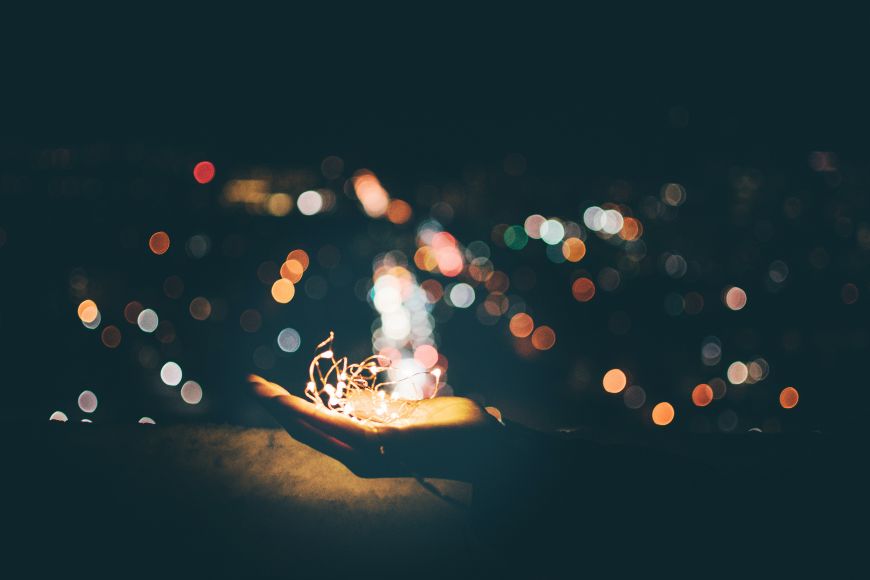
Image Credit: Unsplash
Achieving a blurry background, often referred to as “bokeh,” is a popular technique in photography.
Using a wide aperture (f/1.8, f/2.8, or wider) is one of the keys to achieving the bokeh effect because the wider the aperture, the shallower the depth of field, and the more pronounced the background blur.
It’s also essential to find the right lens, and prime lenses with wide apertures, such as 50mm f/1.8 or 85mm f/1.4, are popular choices as they allow more light to enter the camera and provide a shallower depth of field.
Use your camera’s autofocus or manual focus to precisely focus on the subject’s eyes or the point of interest.
Ensure you have the right camera settings like faster shutter speed, lower ISO, or perhaps add a neutral density filter to reduce the amount of light entering the camera.
Achieving bokeh takes practice and patience, so explore different angles, perspectives, and compositions to find unique ways to incorporate blurred backgrounds into your photography.
- Learn more: How to create a bokeh background
3. What is the exposure triangle, and how does it affect my photos?
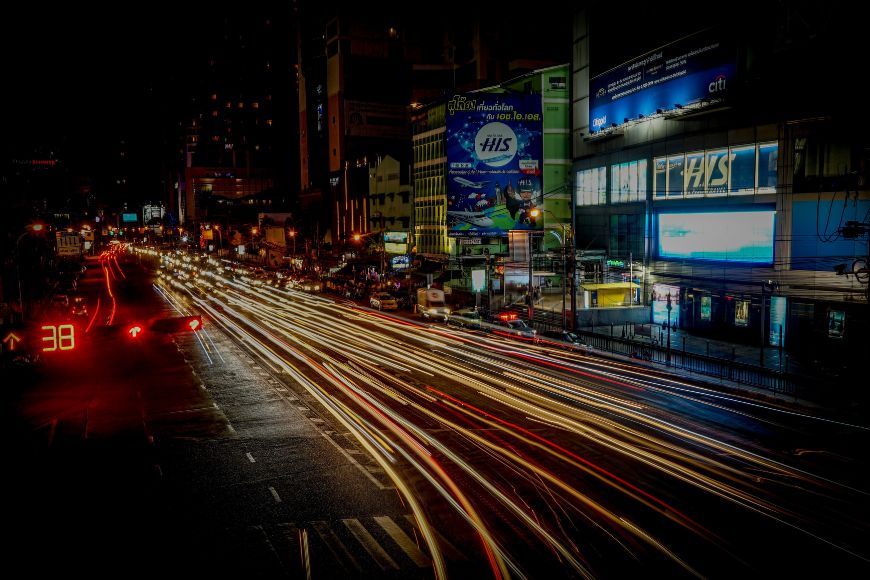
Image Credit: Unsplash
The exposure triangle is a fundamental concept in photography that explains the relationship between three key factors that affect the exposure of your photographs: aperture, shutter speed, and ISO.
It’s like a three-way balance in photography: it involves adjusting the aperture, shutter speed, and ISO to control the brightness and look of your photo.
Think of it as the recipe for perfect exposure.
To achieve a well-exposed image, you’ll need to balance these factors.
- Learn more: Understanding the exposure triangle
4. How can I prevent my photos from coming out blurry or out of focus?
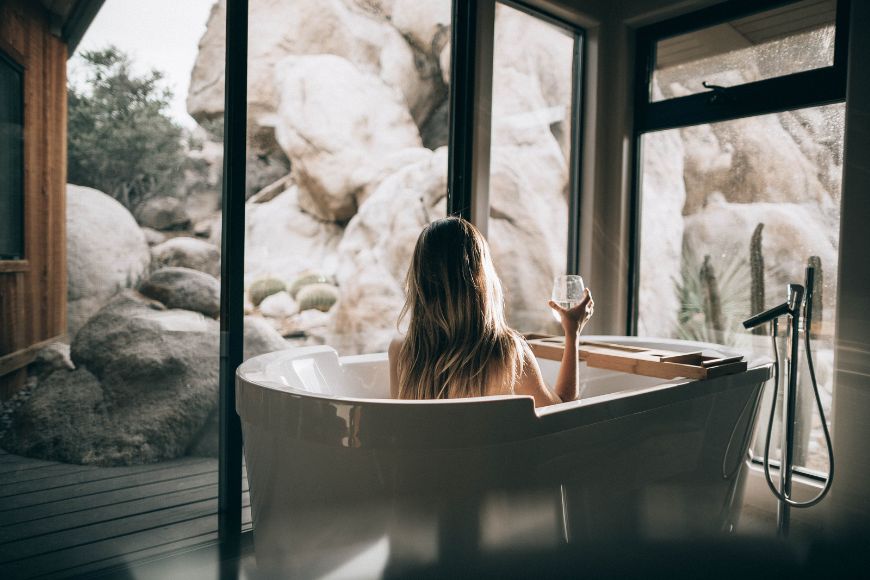
Image Credit: Unsplash
There are many ways to produce a sharp, focused photo; one solid tip is to select the right auto-focus mode.
Most modern cameras offer multiple autofocus modes: single-point, continuous, and tracking autofocus.
Single-point autofocus is often recommended for still subjects, while continuous or tracking autofocus is better for moving subjects.
Choose the mode that best suits your subject and shooting conditions.
Another tip is to pay attention to your aperture.
Using a wide aperture (e.g., f/1.8) narrows the depth of field, which can result in a blurred background but requires precise focusing on the subject.
In contrast, a narrow aperture (e.g., f/11) creates a deeper depth of field, making it easier to achieve overall focus.
Your shutter speed is important, too!
As a general rule, use a shutter speed that is at least as fast as the reciprocal of the lens focal length (e.g., 1/125 for a 50mm lens) to minimize motion blur caused by camera shake.
If you’re still not confident, there’s nothing wrong with grabbing a tripod to help with stability and shakiness.
- Learn more: How to fix blurry photos using apps
5. What type of lens should I use for [portrait/landscape/macro] photography?
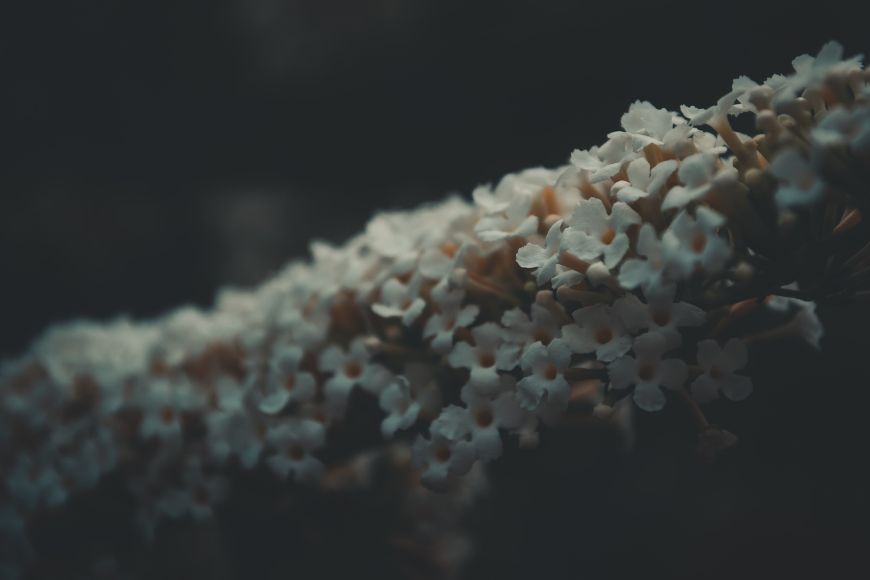
Image Credit: Unsplash
The type of camera lens you’re using plays a vital role in the end result, which is to say it plays a vital role in the type of photography you’re doing.
Here are some guiding principles about portrait, landscape, and macro photography lenses.
Prime lenses are a popular choice for portrait photography, specifically 50mm or 85mm prime lenses, as they provide a natural perspective and pleasing compression of facial features.
Zoom lenses in the 70-200mm range are also an option because they offer a range of focal lengths to work with, allowing you to frame your subject comfortably from different distances.
For excellent subject isolation, medium telephoto lenses (e.g., 105mm, 135mm) are ideal for headshots and half-body portraits as they compress facial features and create flattering perspectives.
See more about the best lenses for portrait photography.
Ultra-wide angles, such as 16-35mm, are suitable for grand landscapes because they allow you to capture expansive vistas and foreground elements and provide a greater depth of field.
They’re also excellent for scenes with dramatic perspective.
Another option is standard zoom lenses (24-70mm), which can capture wide scenes and more detailed, compressed compositions.
Then, tilt-shift lenses provide precise control over focus and perspective.
They are ideal for architectural photography or for controlling the plane of focus, such as in tilt-shift panoramas.
See more of the best lenses for landscape photography.
Dedicated macro lenses (60mm, 100mm, 105mm, 180mm) are designed specifically for close-up work.
They allow for 1:1 magnification, meaning the subject’s size on the sensor is life-size.
The choice of focal length depends on your subject and working distance, with shorter macro lenses (e.g., 60mm) suitable for subjects like insects, while longer macro lenses (e.g., 180mm) are used for subjects that require more working distance.
See more of the best lenses for macro photography.
6. How do I properly compose a shot? What is the rule of thirds?

Image Credit: Unsplash
Composing a shot effectively is a fundamental aspect of photography that can greatly enhance the visual impact of your photos.
Proper composition involves arranging the elements within the frame to create a visually pleasing and meaningful image.
One of the most well-known composition techniques is the rule of thirds.
The rule of thirds divides the frame into a 3×3 grid, creating four intersection points where the lines intersect—these intersections are known as “power points.”
The rule suggests that placing key elements or points of interest along these lines or at the intersections creates a more balanced and visually pleasing composition.
For example, when photographing a landscape, you might place the horizon on either the top or bottom third line, depending on whether the sky or ground is more interesting.
When capturing a portrait, you could position the subject’s eyes along one of the horizontal lines.
The rule of thirds helps avoid placing the subject dead center, which can result in a less dynamic and engaging composition.
Principles of Proper Composition
- Balance – Balance in composition helps distribute visual weight across the frame. You can achieve this through symmetry, asymmetry, or radial balance.
- Leading lines – These are elements that guide the viewer’s eye through the image and often lead to a focal point, adding depth and structure to the composition.
- Symmetry and patterns – These elements can create a sense of order and balance in a composition.
- Negative space – This is the area around your subject, and it can create a sense of isolation or emphasize the subject’s presence. Sometimes, less is more.
- Rule of thirds – Of course, we have the rule of thirds, where the idea is to place key elements along these lines or at the intersections to create a balanced composition.
Learn more: Rules of photography composition
7. What’s the difference between RAW and JPEG, and which should I shoot in?

Image Credit: Unsplash
RAW and JPEG are two common image file formats used in digital photography, and each has its own set of advantages and disadvantages.
The choice between the two depends on your specific needs and post-processing preferences.
RAW is an uncompressed and unprocessed image format that contains all the data captured by the camera’s sensor, including color information, brightness values, and more.
RAW files store the highest quality data, preserving all the details, dynamic range, and color information, and also offer more extensive post-processing capabilities.
Finally, RAW editing is non-destructive, meaning you can make changes without altering the original image data. You can experiment and revert to the original state at any time.
However, it’s important to note that RAW files are significantly larger than JPEGs, require post-processing to achieve their full potential, and are not readily shareable or viewable on all devices without conversion to another format.
JPEG Format
JPEG is a compressed image format that processes and reduces the image data captured by the camera’s sensor.
It’s a widely supported standard format and is suitable for sharing and viewing on various devices because of its significantly smaller in file size.
Many cameras offer in-camera processing options that allow you to fine-tune color, sharpness, and other settings before capturing your JPEG image.
It’s important to note that if you edit and save a JPEG image multiple times, you may experience a cumulative loss in image quality.
Which Format to Choose
Shoot in RAW if you value maximum image quality, plan to do extensive post-processing, or anticipate challenging lighting conditions.
This format is ideal for professional photographers like you and me and those who want complete control over their images.
On the other hand, shoot in JPEG if you want a more convenient and easily shareable format, have limited storage space, or need images for quick sharing on social media.
This is for casual and hobbyist photographers who prefer minimal post-processing.
- Learn more: RAW vs JPG
8. How can I improve my photos in low light conditions without using a flash?
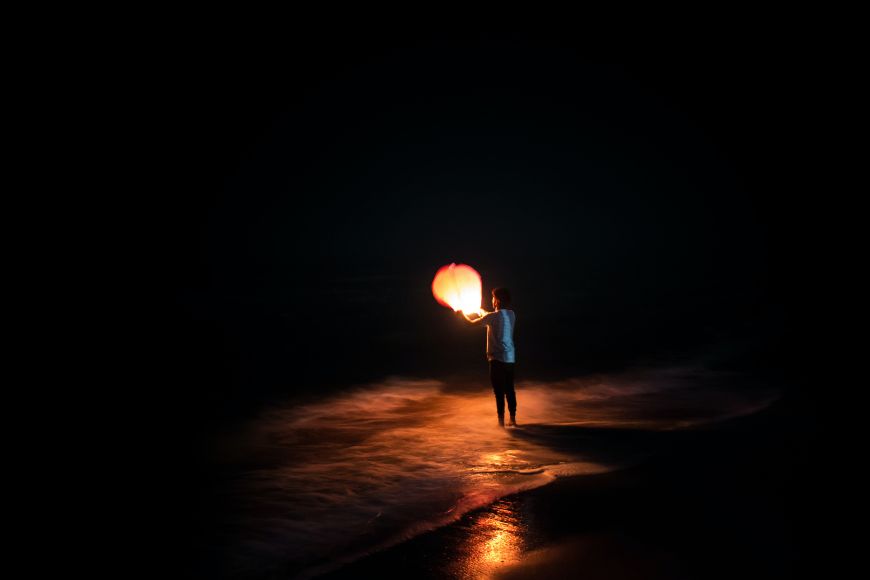
Image Credit: Unsplash
Low light conditions are challenging, but there are many ways for you to take great photos still. Like any advice, this takes patience and practice.
Raise your camera’s ISO setting to a higher value to make the sensor more light-sensitive, allowing you to use faster shutter speeds.
However, be mindful of potential noise (grain) that may occur at higher ISO settings.
While modern cameras often handle high ISOs well, finding a balance that maintains image quality is important.
If your camera or lens has image stabilization (often referred to as IS, VR, or OIS), use it as it helps reduce the effects of camera shake and allows you to shoot at slower shutter speeds while maintaining sharpness.
Set your camera to aperture priority (A or Av) mode and choose a wide aperture (low f-number) to maximize the amount of light entering the lens.
In low light, autofocus may struggle to lock onto subjects, which is why it’s best to consider switching to manual focus and using focus peaking or magnification features if available.
Take your time to focus accurately.
Use exposure bracketing to capture a series of shots at different exposures for high-contrast scenes in low light.
- Learn more: Low light photography tips and techniques
9. What are the best settings for shooting [sunsets/sports/night sky]?
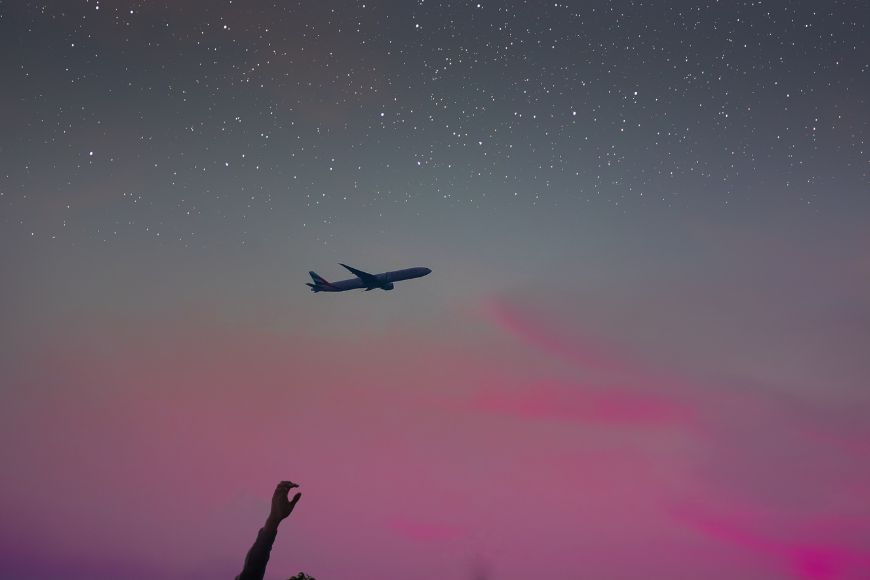
Image Credit: Unsplash
The best camera settings for shooting sunsets, sports, and the night sky can vary depending on your specific camera, lens, and the desired creative effect. Here are some starter information:
Sunsets
For epic sunset photography, use a mid-range aperture setting, typically between f/8 and f/16, to capture the full range of colors and details in the sunset.
Also, a smaller aperture can create a starburst effect from the sun, which can be aesthetically pleasing.
Slower shutter speed to allow more light into the camera, and depending on the lighting conditions, you may start with a shutter speed between 1/60 to 1/15 seconds.
Set the white balance to Daylight or Cloudy to enhance the warm, golden hues of the sunset.
You may also want to use graduated neutral density (ND) filters can help balance the exposure between the bright sky and the darker foreground during sunsets.
Sports
For sports photography, use a wide aperture (e.g., f/2.8 or wider) to achieve a shallow depth of field and help better isolate the subject from the background.
Use a fast shutter speed (1/500 to 1/2000 seconds) to freeze fast-moving subjects and adjust according to the speed of the action.
Depending on the lighting conditions, you may need to increase the ISO to maintain a fast shutter speed while keeping exposure balanced.
Finally, a telephoto lens (70-200mm or longer) is ideal for sports photography, allowing you to get close to the action and capture distant subjects.
Night Sky
Use a wide aperture (e.g., f/2.8 or wider) to gather as much light as possible. This is crucial for capturing stars and celestial objects.
To capture stars without trailing, use the “500 Rule” as a guideline or divide 500 by the focal length of your lens to determine the maximum shutter speed (e.g., for a 24mm lens, 500 / 24 = 20.8 seconds).
Because it’s the night sky, you’d want to opt for wide-angle lenses (14mm-24mm) for capturing the entire sky or specific constellations.
You’d also want to switch to manual focus and use the camera’s live view mode to focus on a bright star or distant object.
10. How do I use manual mode, and why would I choose it over automatic mode?

Image Credit: Unsplash
This one is not better than the other scenario, although sometimes, one is better than the other—it depends on the situation.
Use manual mode when you want full creative control, especially in tricky lighting or for specific effects.
When setting the aperture, a lower f-number (e.g., f/2.8) results in a wide aperture, creating a shallow depth of field with background blur, while a higher f-number (e.g., f/16) results in a narrow aperture, making more of the scene appear in focus.
With shutter speeds, remember that a faster shutter speed (e.g., 1/1000) is suitable for freezing fast motion, while a slower shutter speed (e.g., 1/30) can create motion blur.
If you’re using a slow shutter speed, using a tripod to avoid shakes is best.
When it comes to setting your ISO manually, remember that a lower ISO (e.g., 100 or 200) results in high image quality with minimal noise. At the same time, a higher ISO (e.g., 800, 1600, or more) increases sensitivity but can introduce noise.
Most cameras have a built-in light meter that measures the scene’s brightness.
Use the camera’s meter to ensure proper exposure by adjusting the aperture, shutter speed, or ISO until the meter indicates a balanced exposure (typically zero or close to it).
So, why choose manual mode?
First off, it allows you to make creative decisions about the depth of field, motion, and exposure, and you can achieve unique and artistic effects by controlling all the settings yourself.
Another reason is that manual mode lets you fine-tune the settings for the best results when shooting in low light or with high contrast.
It ensures consistent exposures across multiple shots in a series or varying lighting conditions, especially when you need precise control over your shots.
Lastly, manual mode is often favored in specialized photography, such as long-exposure photography, astrophotography, and macro photography, where precise control is necessary to achieve the desired results.
- Learn more: How to use Manual Mode on your camera
11. What’s the best way to store and organize my photos?

Image Credit: Unsplash
It’s so easy to end up with a chaotic digital library—you’re not alone in this.
But there are ways and systems you can implement to store and organize your photos.
Invest in high-capacity, reliable external hard drives to store your photos and ensure you have at least one backup drive to protect your images in case of data loss.
Set up a regular backup schedule to keep your photos safe.
Cloud storage services like Google Drive, Dropbox, or dedicated photo services like Google Photos, iCloud, or Amazon Photos are perfect for a digital option.
These services provide automatic backups and remote access to your images.
To organize them, clear folder names are a good start.
Create main folders for different years or events and subfolders within them to further categorize your images.
It’s also best to give your photo files descriptive names, including dates and keywords, or go further and add metadata and tags because many photo management software tools allow you to add and search by this information.
At the end of the day, it’s all about figuring out a system that works for the type of photographer that you are.
The system that works for me might not work for you, and vice versa.
But these options above are pretty solid.
- Learn more: How to store digital photos
12. How can I get started with post-processing or photo editing?

Image Credit: Unsplash
One of the most important post-processing steps is determining which software you’re most comfortable with.
Here are some options for the best photo editing software.
- Adobe Lightroom: Ideal for photographers of all levels, Lightroom offers powerful editing tools and an intuitive interface. It’s excellent for managing and editing large photo collections.
- Adobe Photoshop: While more complex, Photoshop provides advanced editing capabilities. It’s well-suited for in-depth retouching, compositing, and creative effects.
- GIMP (GNU Image Manipulation Program): An open-source alternative to Photoshop, GIMP is free and provides a wide range of features for image editing.
Once you’ve found your preferred software, import your photo and start practicing.
The best way to learn photo editing is through hands-on experience.
Experiment with your photos, make adjustments, and see how they affect the final result.
Don’t be afraid to make mistakes; you can always revert to the original photo or create duplicates for experimentation.
There are also many online tutorials and courses you can check.
Make sure you edit non-destructively.
Many editing programs allow you to create layers or use virtual copies, so you can always return to the original photo without losing your edits.
Remember that photo editing is a creative process, and there are no strict rules.
Your style and preferences will influence how you edit your photos.


Tammy Danan is a freelance storyteller and the founder of Moss Content Studio. She’s a highly visual person who loves exploring how the art of photography intersects with our everyday lives.

WELCOME TO SHOTKIT
Enter your email to be sent
today's Welcome Gift:
19 Photography Tools
🔥 Popular NOW:


Shotkit may earn a commission on affiliate links. Learn more.