


Best Light Meter for Photography (+ How to Use Them)
If you're a studio photographer or someone who works with flash a lot, a dedicated light meter is essential. Discover the best models and 11 Tips for using them.
This guide will help you choose the best light meter to measure the amount of light in a scene accurately.
Light readings are measured by reading the light falling on the subject (‘incident metering’) or the ‘reflected light’ which travels from the subject.
Small, light, versatile and accurate down to a tenth-of-a-stop, this little gadget is a must-have for photographers and videographers alike.
A dedicated handheld light meter calculates the correct exposure far better than the light meter inside your camera.
(Your camera can only measure reflected light, so it gets confused quickly!)
If you’re using studio lights or work a lot with camera flash, light meters are an essential accessory.
Some of them can even measure flash power as well as ambient light!
Let’s look at the best light meter products of the year so you can improve your photography lighting skills.
Table of Contents
Best Light Meter in 2023
| Image | Product | Features | |
|---|---|---|---|
 | Sekonic L-308X-U FlashmateOUR #1 CHOICE |
| View Price → |
 | Sekonic L-858D SpeedmasterTOP RATED |
| View Price → |
 | Gossen Digisix 2 |
| View Price → |
 | Sekonic 401-208 Twin Mate |
| View Price → |
 | Lumu Power 2 |
| View Price → |
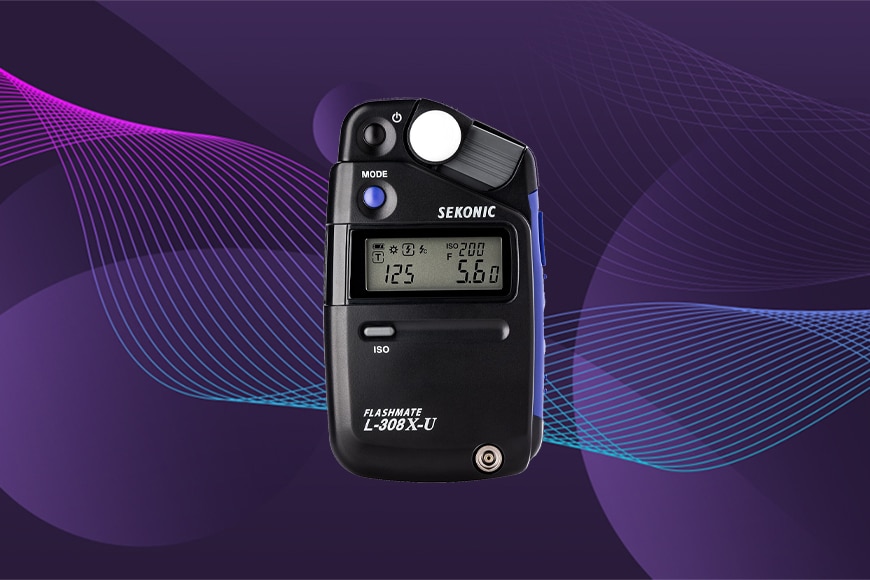
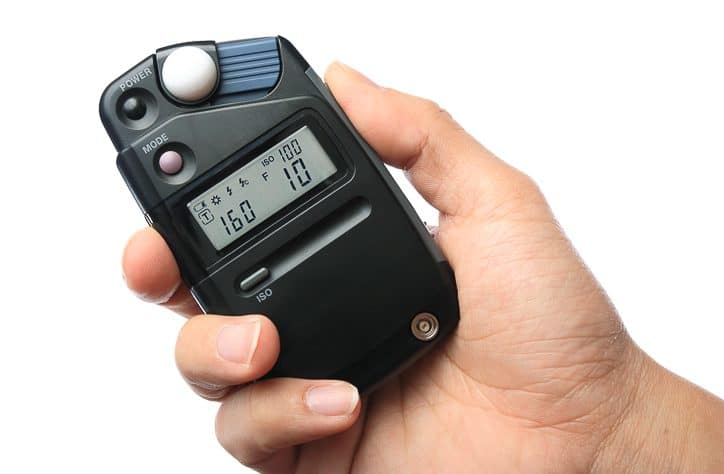
Sekonic L-308X-U Flashmate
- Photo and video modes
- Extensive flash metering range
- Accurate ambient metering
- Supports priority modes
- Budget-conscious
- Could be more robust
The Sekonic L-308X-U Flashmate is at the top of our list for good reason. Aside from being the most popular pocket-sized digital light meter, it’s one of the most accurate and user-friendly options on the market.
It’s also one of the best light meters due to its range of features and usability in both photography and cinematography.
The Sekonic provides accurate incident light metering for both ambient light sources and off-camera flash. As a result, it’s ideal for people who shoot portraits and products in a controlled studio environment.
One great feature of the Sekonic L-308X-U is that it matches your camera’s aperture and shutter priority modes to guide your choices for camera settings.
For videographers, the Flashmate is capable of providing dedicated metering with Cine and Cine HD modes.
It’s a compact digital meter that takes up next to no room in your camera bag or back pocket. Plus, the backlit LCD makes reading in low lit conditions easier.
For the professional photographer needing accurate flash metering when using multiple light sources, the Flashmate has a flash range of f/1.0 to f/90.9 at an ISO value of 100. What’s more, it provides an exposure time reading of 1/800 to 60 seconds.
Designed for studio or fieldwork, it features a sliding lumisphere rather than a removable dome cap.
Among a sea of cheaper and inferior light meters, the Sekonic L-308X-U Flashmate is our pick as the best light meter for enthusiast photographers and videographers of the year.
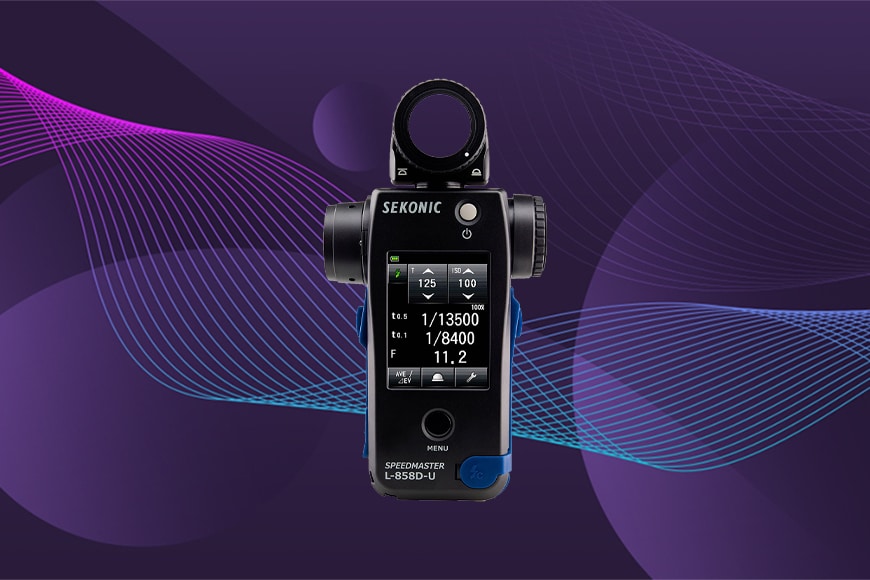
Sekonic L-858D Speedmaster
- 270-degree rotating lumisphere
- Optical viewfinder for spot metering
- Impressive flash metering range
- 2.7″ colour LCD
- Expensive compared to most
The Sekonic L-858D Speedmaster makes our list of the best light meters thanks to its pro-level features, performance and capabilities.
The weather-sealed Speedmaster digital light meter is a much bigger unit than the Flashmate. It features a 2.7″ colour touch-sensitive LCD screen that allows for quick and accurate input of settings and it displays metering readings.
The Speedmaster features an optical viewfinder for 1-degree spot metering, allowing you to achieve super-accurate metering of a single spot in your composition – such as reading the light on the cheekbone of a model.
The L-8f8D has a top-mounted lumisphere that rotates 270-degrees for ease of use when reading ambient light or flash readings. (See also: what is ambient light?)
One of the most impressive features of the Speedmaster is adapting it with add-on radio modules. You can use these to trigger wirelessly and control remote flash units within your working space.
Professional photographers will appreciate the Speedmaster’s ability to support high-speed sync flash as well as measuring flash at speeds of 1/40 to 1/55,500 of a second.
In addition, the Sekonic L-858D records ambient light with shutter speeds between 1/64,000 of a second to 30 minutes and 1/16,000 seconds to 30 minutes with flash.
For professional videographers and cinematographers, the Speedmaster flash meter caters for all video settings.
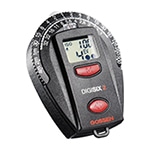
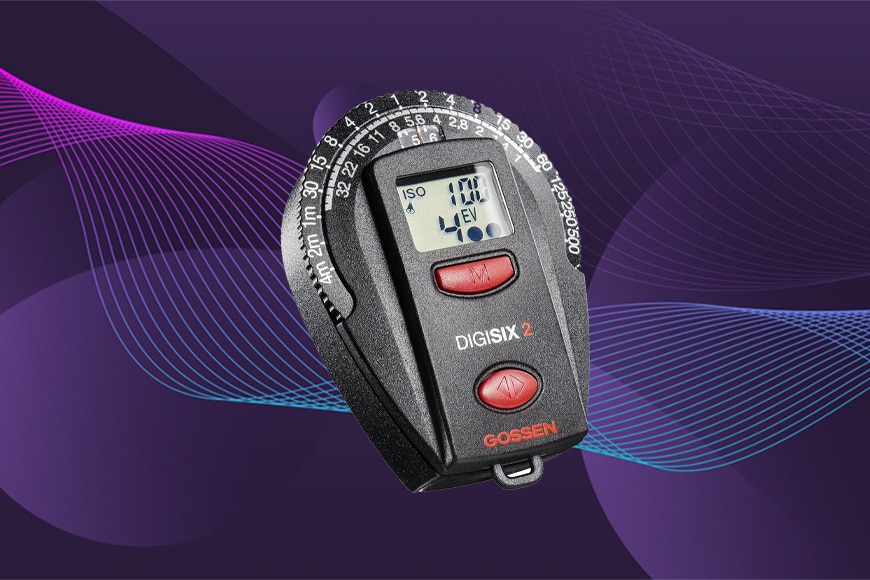
Gossen Digisix 2
- Analog meter
- Small and lightweight
- Simple controls
- A mix of analogue and digital controls
- Affordable
- No flash metering
- Analogue controls not for everyone
The German-made Gossen Digisix 2 provides a unique blend of digital technology and an analog meter. It’s lightweight and compact, making it an ideal solution for those on the go or needing a light meter for their camera bag.
The Gossen has the two metering modes that are standard on all the top light meters – incident light and reflected light.
It provides an ambient light temperature reading on its display to ensure you finely tune the white balance.
The Digisix 2 works well in low light conditions such as twilight or a dark studio. It features a timer that allows for exposure readings for up to 30 minutes, plus a memory to store and display recent settings.
The analogue wheel of the Digisix 2 gives a unique tactile feedback when dialing in your desired combinations of shutter speed and aperture, with the light reading displayed on the small digital screen.
While it doesn’t offer cine modes or the ability to meter the use of flash, the Gossen Digisix 2 is accurate, affordable and straightforward.
Flash meters come in all shapes and sizes, but the mixture of digital display and analogue dial on the Digisix 2 makes it a popular choice.
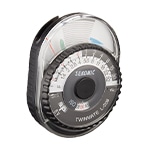
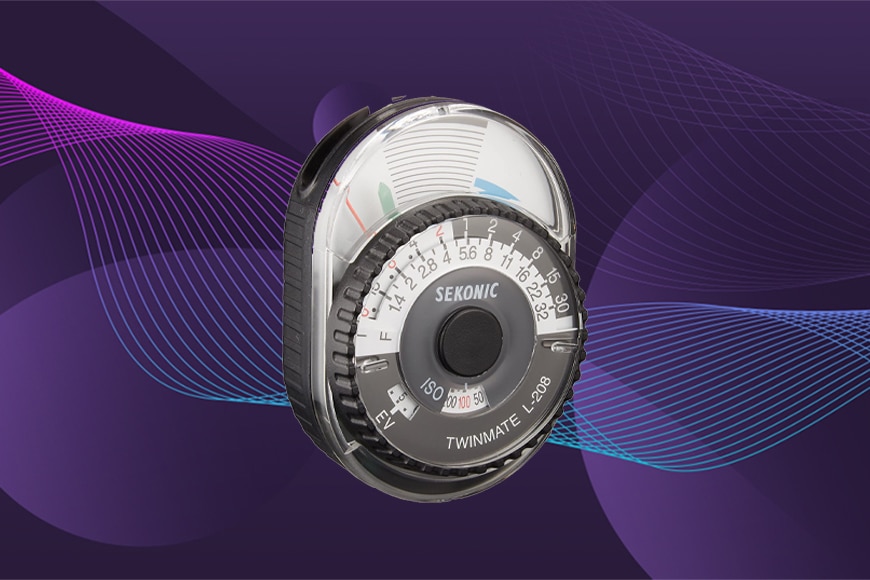
Sekonic 401-208 Twin Mate
- Simple analogue function
- Budget-friendly option
- Ideal for students
- Fiddly manual controls
- No display or LCD screen
The Sekonic 401-208 Twin Mate is a tiny and cost-effective light metering option for those just getting started with flash photography.
It’s a tiny and ultra-compact device that looks more like it belongs in a retro museum than a digital photographers bag – it even runs off a watch battery with low power consumption.
The Twin Mate measures the ambient or incident light readings plus the reflected light – it combines these measurements for an average measurement range.
The rest of its operation is left to several analogue dials and a gauge with a needle to show when achieving correct exposure. You manually dial in the camera settings with these dials.
The Twin Mate features a useful ‘hold and read’ button, which allows the meter to read the light for 15 seconds to achieve an average measurement range.
With a 33-degree field of view, the Sekonic 401-208 Twin Mate is the budget-friendly option perfect for students or those trying out portrait photography for the first time.
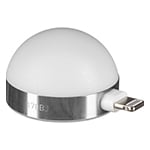
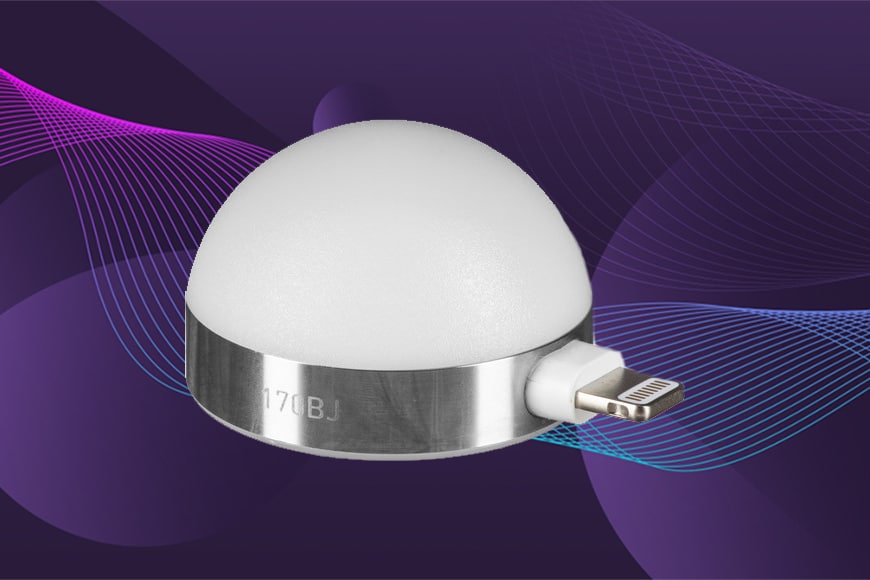
Lumu Power 2
- Tiny and lightweight
- Easy to upgrade an existing smartphone
- Affordable
- The smartphone becomes the display and control
- Limited metering range
- Not always in stock
The final option on our list of the best light meters is the Lumu Power 2 – but it’s not a typical light meter.
Instead, the Lumu Power 2 is a lumisphere that plugs into an iOS device’s lightning port.
In essence, by connecting the small silicon photodiode sensor and activating the Lumu app, your iPhone or iPad becomes a meter.
While it may look like a gimmick, the Lumu Power 2 is an accurate meter that offers several modes, including those required for ambient and flash exposure and cine applications.
The Lumu Power light meter also features two sensors – one to measure light temperature (1600 to 18000K) and can sync with flash units operating at 1/250 t0 1/40000 of a second.
It’s a unique and affordable solution for those who love to make the most of smartphone technology when capturing photos or recording video.
It’s also tiny and feather-light, meaning you can always have a flash meter in your pocket ready for deployment. The only real issue is finding it in stock – it’s a popular product!
Best Light Meter App

Before you rush out to your camera store to pick up the latest light meter, consider the one that’s already in your pocket.
Believe it or not, your smartphone already has all the necessary elements to create an accurate light meter. Current generation smartphones have a light sensor and a camera lens (in some cases, four!).
All you need is a light meter app to complete the equation and provide the interface to read the light. Lux Light Meter Pro is one of the most popular and accurate of all the best light meter apps available for mobile devices.
Lux Light Meter Pro sets itself apart from most of the other apps as it uses both the front-facing and primary rear camera to conduct light readings.
The app provides two light metering options. First is one-time metering that takes an instant-read and delivers the results. The second is a real-time option that works as a live read of changing light conditions.
Lux Light Meter Pro has a simple user interface that’s easy for first-timers to master. Unfortunately, it’s only available for iOS devices, but there’s plenty of other paid and free options available for Android.
Here’s a list of some of the best light meter apps for both iOS and Android:
- Light Meter Free is an Android app that provides both an incident light meter and a spot meter using the phone’s light sensor and camera lens.
- Pocket Light Meter is a paid app only available on iOS devices and provides accurate light readings in Kelvin.
- Lux For Android is another free but very effective app only available on Android devices.
- Photo Light & Exposure Meter is a free iOS app with basic settings and in-app purchases to elevate the user experience.
11 Tips for Using Light Meters
1. Use Spot Metering To Create An Average
Spot metering allows you to read the reflective light on a specific part of a subject rather than the whole subject or surrounding space.
Use a light meter to view the scene and target the ‘spot’ on the area of the subject you wish to read. Then do the same across several parts of the subject to gain individual readings.
Use the individual outcomes to formulate the average metering of the available light.
2. Use A Wider Field of View
When using a camera to gain metering through the lens, the lens’s focal length dictates the field of view.
If shooting portraits, this will be around 85mm and results in a relatively narrow field of view. Most meters have a broader field of view – usually around 40-degrees.
Use a meter to gain a wider field of incoming light to determine the average better.
3. Always Start With Incident Metering
Incident metering takes into account the ambient light that exists in the space you’re working.
As opposed to reflected light metering, incident light metering reads the light that’s falling on the subject. It’s an ideal first step for shooting product or portraits where you want to achieve moody images.
Most meters have an opaque plastic dome, or lumisphere, that fits the light sensor for incident metering.
4. Use Metering To Measure Flash
Another great application of a light metering system is to measure the power of off-camera flash photography units.
Again, use this when shooting portraits and products to achieve the best possible exposure. With the opaque lumisphere fitted to the light meter, hold it in front of your subject and fire the flash.
You can then use this metering to determine the flash’s power and if you need to adjust the settings.
5. Use a Light Meter and Camera in Low Light
If you’re shooting in very low light, such as outdoors at night, consider using a combination of the light meter and the camera light readings.
Even the best light meters are not ideal in very dark settings – in some cases, a camera can do a better job.
Use this knowledge to your advantage by metering the light conditions with both the camera and light meter.
6. Go Old School…or Not
Some light meters use an analogue function to show you the best shutter speed and aperture based on the reading.
It’s a little clumsy but just as effective at providing an accurate indication of shooting conditions. Plus, these are usually more affordable than their digital counterparts.
However, the best light meters use a digital display to show you the exact details plus the light value or EV.
These products display recommended shutter speeds and aperture that’s especially useful during flash exposures in a studio.
7. Use a Light Meter to Match Priority Modes
If you prefer to shoot in aperture or shutter priority modes, the best light meters can match these settings to provide accurate incident readings.
If you intend to shoot at a set shutter speed, the light meter will display the best aperture and ISO values to set your camera.
It’s popular with DSLR shooters that like to use either fixed aperture or shutter priorities.
8. Light Metering For Video
Light meters are incredibly popular and important in video production as cinematographers need to read the ambient light to expose the scene correctly.
There are even dedicated cinematography light meters for this very genre.
9. ISO Matching
It’s critical that when using a light meter, you set it up correctly before conducting a reading.
Failing to do so results in an incorrect reading and an incorrectly exposed image.
The first step in setting up your light meter is to determine the ISO you’ll use. Once you’ve entered the ISO range in your camera (ISO 100), set the same ISO range in the light meter (ISO 100).
That way, the camera and light meter are handling the sensitivity of light in the same way.
10.Read It Right
Another key element to using a light meter is to hold it in the right direction to read the light correctly.
If you’re shooting a portrait and want to ensure that you gain the correct exposure on the face, hold the light meter against the face. That way, the meter will read the light as it hits the face.
If you’re using a light source like a flash, point the metering sensor at the light source and fire the flash – do the same if using multiple flash units to gain an average.
11. Dial It In
Now that you’ve performed a light reading with your meter, enter the results into your camera settings using the ISO, aperture and shutter speed controls.
If you’ve completed an accurate assessment of the light on your subject, you’re guaranteed a photograph with the best exposure settings.
Light Meter FAQs
What does a Light Meter do?
With the advancement in camera technology, you’re probably asking yourself, ‘why do photographers use light meters?’.
In short, the best light meters provide an accurate measurement of the light reflected from your subject (a camera can do this too) and the ambient light falling on your subject (a camera can’t do this).
Meters are ideal for those that need exposure readings for their lighting setups. Such a product will display the amount of light and what camera settings to use.
Do you need a light meter?
Depending on the style of photography you shoot, a light meter may not be essential.
If you shoot in a studio using off-camera flash units, then a light meter is ideal. It ensures you achieve accurate light readings to expose your shot correctly.
Can I use my phone as a light meter?
Yes, you can use a smartphone as a light meter; most mobile devices have at least one lens and a light sensor. All you need is a suitable light meter app that uses the phone’s hardware to read the light.
How do I test my light meter?
To test your light meter’s accuracy, compare the readings against another light meter in the same space. If you think that your light meter is no longer accurate, have it serviced or consider investing in a new one.
Final Words
Light meters are a tool from the days of film photography that have stayed relevant in the digital age. Whether you need a light meter or not depends on your workflow and what you shoot.
If you work in a studio setting with off-camera flash and strobe lights, then a light meter is a good investment. It’s especially the case for those that shoot with light falling on the subjects rather than just relying on the light that reflects off subjects.
There’s only so much that a digital camera can do – in time, they’ll supersede and do away with light meters. But until that day, consider investing in the best light meter you can afford, in order to improve your understanding of light and exposure.
At the very least, invest a few dollars in a smartphone app to get the hang of metering light in a given space.
What are your thoughts on the need for light meters? Do you use one as part of your studio kit, or do you always carry one in your camera bag?
Let us know in the comments below and join the conversation.
Small, light, versatile and accurate down to a tenth-of-a-stop, this little gadget is a must-have for photographers and videographers alike.


I am a Melbourne based street photographer and blogger. I love to travel and make a regular trip to Japan to photograph and document its dynamic culture.
1 Comment
Leave a Comment

WELCOME TO SHOTKIT
Enter your email to be sent
today's Welcome Gift:
19 Photography Tools
🔥 Popular NOW:


Shotkit may earn a commission on affiliate links. Learn more.
Thanks for checking out my article. If you have any questions, comments, or want to join the conversation please do so here. Cheers. G