


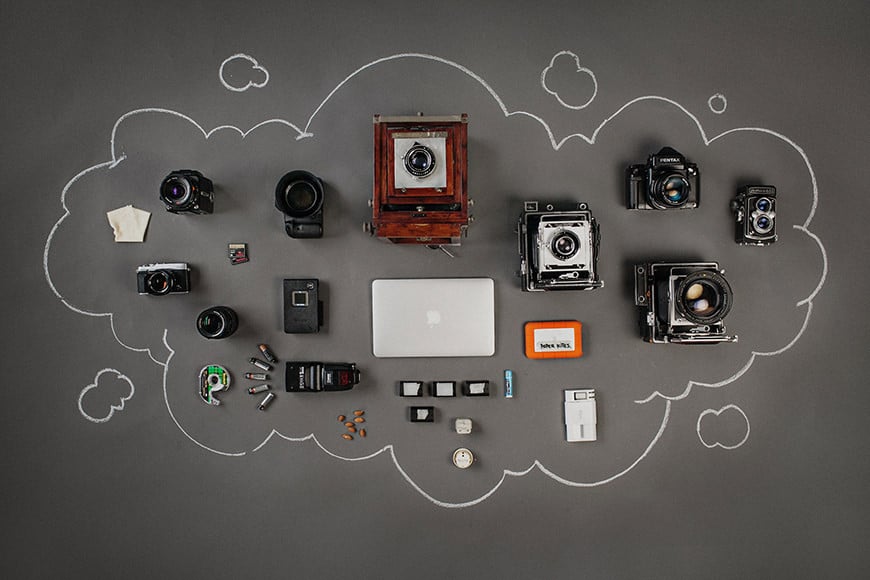
Useful Tips for Film (Analog) Photography for Beginners
Learn all about Film/Analog Photography in this must-read guide! Start experimenting and have some fun with this nostalgic and rewarding way of taking photos.
Film Photography | Learn | By Andy Day
Film photography can be magical, offering an experience that is far more tactile, physical, and engaging of a process when compared to digital photography.
There’s a wide choice of affordable analog cameras and second-hand photography equipment, and the process of making photographs using film and a dark room can provide a lot of satisfaction.
In addition, photography with film allows you a deep insight into how images are captured and how the world of photography has evolved over the last 200 years.
Even here in 2023, film photography is a great way to learn and enjoy the photographic process and discover its rich history.
Table of Contents
What is Film / Analog Photography?
Analog photography is a means of producing images through the use of chemical processes.
It describes a wide range of photographic methods, from using a pinhole camera to project an image onto light-sensitive paper, to using a lens to project light onto a small strip of chemical-coated plastic — i.e., film — to create a negative image that is later used to create a positive print.
Film photography is essentially a type of analog photography and is a much slower process than digital. Typically it requires more preparation — such as loading your black & white or color film stock — but the biggest difference is the ‘time gap’ between releasing the shutter on your camera and seeing the results.
Once you have finished shooting, the film needs to be processed (see: how to develop film at home) and your images printed (or projected) before you can properly see your photographs.
You can also develop your film at an online lab for the best results, or if you’re looking for something cheaper, you can develop film at Walgreens.
What is an Analog Camera?
If you’re asking yourself “What’s the difference between an analog and a digital camera?” here’s a detailed guide to how they compare.
A digital camera — whether it’s the smartphone in your pocket or a large DSLR used by photojournalists — captures an image as a result of light being projected by a lens onto an electronic sensor.
This is an array of tiny light-sensitive diodes which converts the light into electronic data. This data is then processed by the camera and constructed as an image that can be viewed on the back of the camera or on a computer.
By contrast, an analog camera uses an entirely chemical process to convert projected light into a photograph.
A film photography camera uses a transparent plastic strip that has been painted with a thin layer of gelatine emulsion. This emulsion contains silver halide crystals which, when exposed to light, burns an invisible imprint onto the gelatine emulsion.
This imprint must then be fixed in place by developing the film which involves bathing it in a series of chemicals (see below).
Depending on the type of film being used, this process creates a negative version of the image that was captured, which can then be projected onto photosensitive paper to create a positive image.
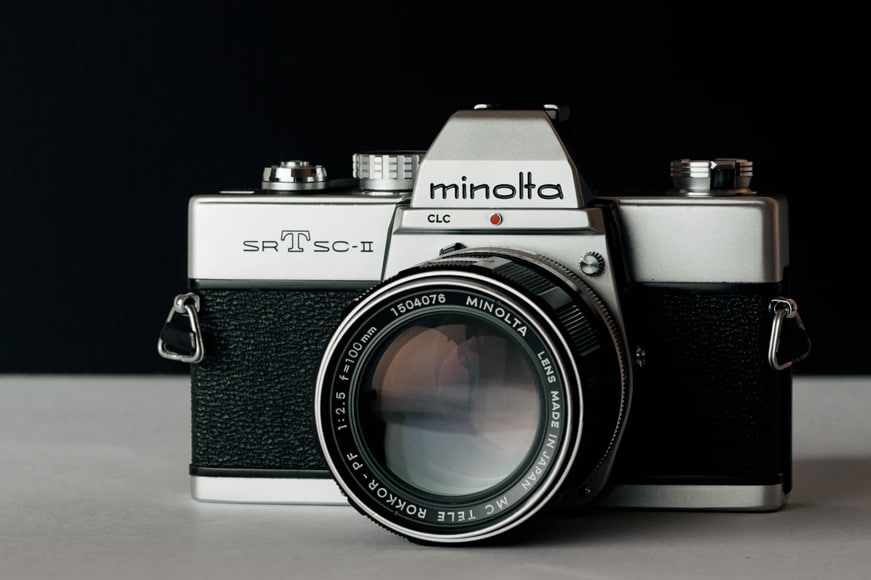
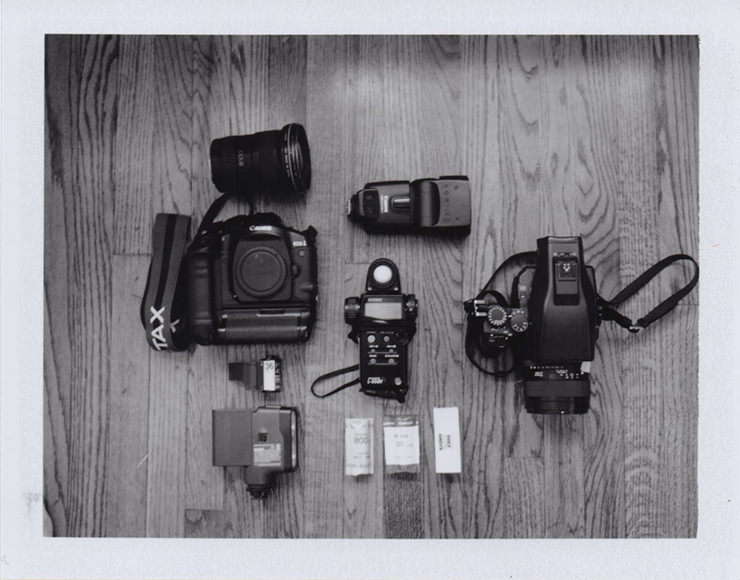
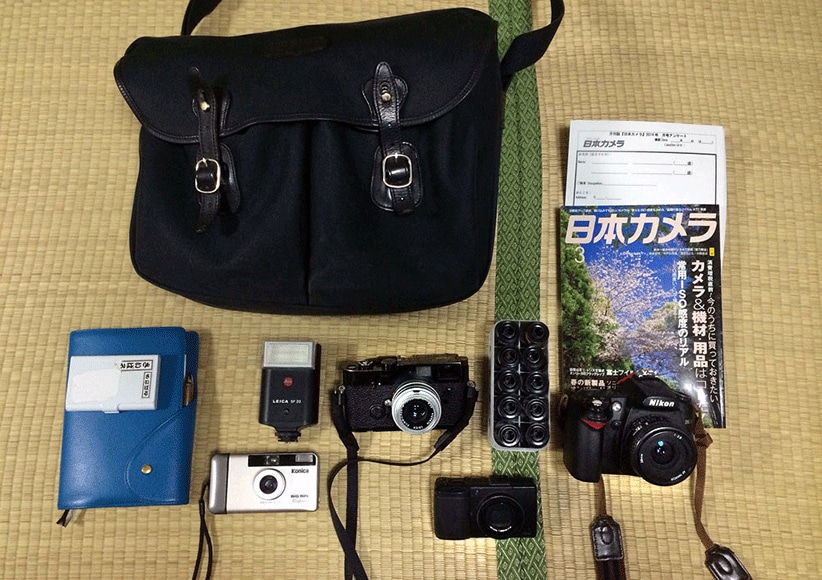
Types of Film Camera (& How to Choose One)
Credit: Oli Sansom
There is a wide range of film cameras available – the most popular of which are very easy to buy second hand.
The film’s physical size that goes in the camera gives a balance between convenience and quality: as a generalisation, the bigger the film, the higher the image quality, but the bulkier the gear, and the slower the process.
The naming conventions are a little strange — 35mm is smaller than 120 and yet bigger than 110 — but don’t let that put you off!
-
35mm (a.k.a. Full Frame a.k.a. 135)
35mm film is the best-known and most widely-used format. The image area measures 36mm x 24mm, giving a ratio of 3:2.
The 35mm camera was created in the 1920s by Oskar Barnack, a German inventor who designed the first Leica camera. As an asthmatic, he wanted photographic equipment that was more convenient and lighter than the large cameras that were being used at the time.
At the time, the movie industry was using 24mm x 18mm film which also had perforations along the top and bottom edge to allow it to be pulled mechanically through the camera. Barnack borrowed this idea, increasing the size to 36mm x 24mm, which was still significantly smaller than what was typically being used by stills photographers at the time.
For Barnack, this smaller film format meant that camera gear could be far more compact and efficient.
35mm is sometimes called “Leica format” or “Barnack format” as a nod to the designer who pioneered its use in stills photography. You can buy it in rolls of 24 or 36 exposures, and because of its popularity, there are more types of 35mm film than any other format.
Historically, the arrival of 35mm film was a significant evolutionary step for photography as suddenly cameras were far more portable, and were quicker and simpler to use.
Focusing is easier, and lenses are smaller — both factors that made 35mm very popular with photojournalists and which enabled us to document events like never before.
In addition, the more compact cameras were cheaper to produce and thus more accessible to the general public.
Credit: Weston MacKinnon
A little confusingly, 35mm is sometimes referred to as “full frame” even though the images captured on the film are much smaller than the 120 format (see below). The term full frame has come to be used in digital photography to describe cameras that contain sensors measuring the same 36mm x 24mm format as 35mm film.
There are thousands of different types of 35mm film cameras from which to choose. While Nikon finally stopped manufacturing the last, mass-produced, professional film camera — the legendary F6 — in 2020, there is a vast number available for purchase second hand.
What is the best 35mm film camera to buy? That’s a tough question, since 35mm cameras vary massively…
You could choose a classic rangefinder that requires you to adjust all of the settings manually.
Alternatively, you could opt for a compact point-and-shoot film camera with a fixed lens that does everything for you automatically.
There are also huge DSLRs built like tanks that can capture as many as ten frames per second.
In addition, there is a huge variety of lenses available, from vintage, manual focus lenses with distinctive results, through to huge telephoto zoom lenses with autofocus.
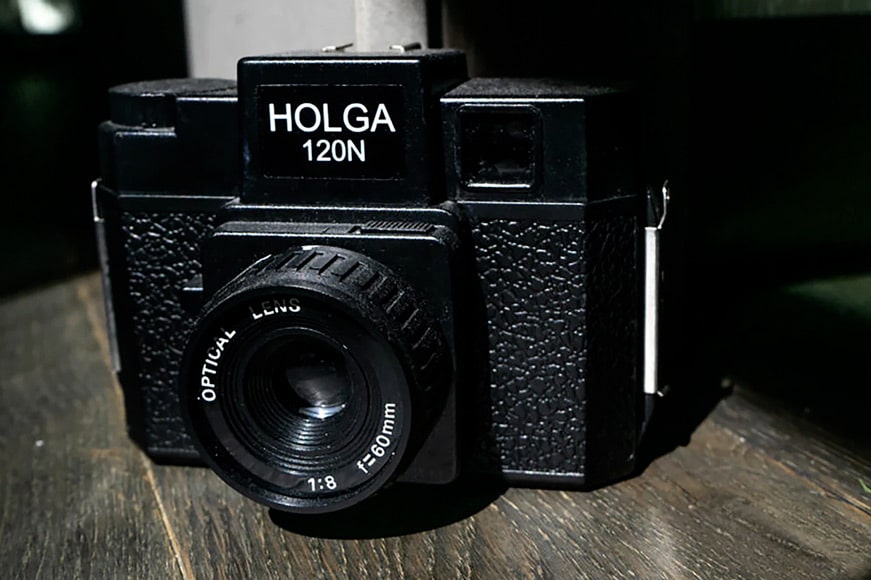
A few 35mm cameras remain in production — typically point-and-shoot or fun, plastic cameras, sometimes designed for use underwater. Many of these have their own charm and idiosyncrasies and can be a lot of fun to use.
-
110
110 is probably the most obscure of the formats listed here, created by Kodak in 1972. Production of 110 film ceased in 2009, but Lomography picked it up again in 2011, and they are the only company which still makes 110 cameras.
110 cameras have half the frame size compared to 35mm, measuring only 13 x 17 mm. This means that the resulting image quality isn’t as good, but 110 cameras are significantly smaller than their 35mm counterparts.
It’s also easier to use as, unlike 35mm film, 110 film comes in a self-contained cartridge that requires next to no effort to load. You simply open your 110 camera, pop the film in, close the camera, and start shooting.
There are plenty of 110 cameras available second-hand and Lomography has a selection of new, plastic cameras keeping the format alive. 110 is about convenience and fun, and the cameras you’ll find out there will reflect this.
-
120 (a.k.a. Medium Format)
The 120 is almost the opposite of 110: the image area is much bigger — twice as wide as 35mm film — allowing photographers to capture very high-quality images with excellent detail, accurate colours and very fine grain.
The name derives from a slightly confusing convention used by its creators, the Eastman Kodak company, which started producing 120 film in 1901 for the second iteration of its revolutionary camera: the Brownie.
120 was originally designed to cater to the mass market, but it was soon pushed aside by 35mm, leaving 120 to become primarily for professional photographers who loved the premium quality that the format offers.
As you’d expect, 120 film cameras are much bigger than 35mm cameras, and they come in various formats.
The film — often referred to as medium format — is 6cm across which means that each frame is 6cm in height. Some cameras produce an image that is 6cm x 4.5cm (often named as 645 cameras), and others shoot a square 6cm x 6cm format.
You will also find cameras that shoot 6cm x 7cm and 6cm x 9cm photographs. The bigger the image, the more detail can be captured.
Beyond that, there are 120 cameras that shoot very wide, panoramic images up to 12cm or even 17cm in width. On a roll of 120 film, you might only be able to capture 4 photos compared to 15 or 16 if you were shooting images that measure 6cm x 4.5cm.
The comparison below also shows how 35mm film compares to 120 film. Note that the actual image area (given in brackets) ends up being slightly smaller than the name suggests.

Medium format is often thought to have a certain look to it, partly due to the large step up in image quality, but also because, thanks to physics, it allows photographers to create a shallower depth of field, giving greater subject separation.
120 cameras are larger and more expensive than 35mm cameras, as are the lenses that go with them.
-
Instant
Rather than exposing an image onto a film and then having to wait for that film to be developed and make prints, instant film cameras shoot directly onto photographic paper, which reveals the image within a matter of minutes through a chemical process.
The pioneer of this technology was Polaroid, who created the first instant camera for the mass market back in 1948. In its time, the instantaneity of the images was completely unprecedented.
Colours can be inaccurate and overall image quality is not as good as film, but instant photographs have a nostalgic, vintage feel that gives them a lot of character.
Instant photography isn’t as popular as it was, but there are still plenty of cameras being made, and they have a physicality that can make a nice change from always staring at images on a screen.
In addition, there’s a good choice of second-hand instant cameras to be found.
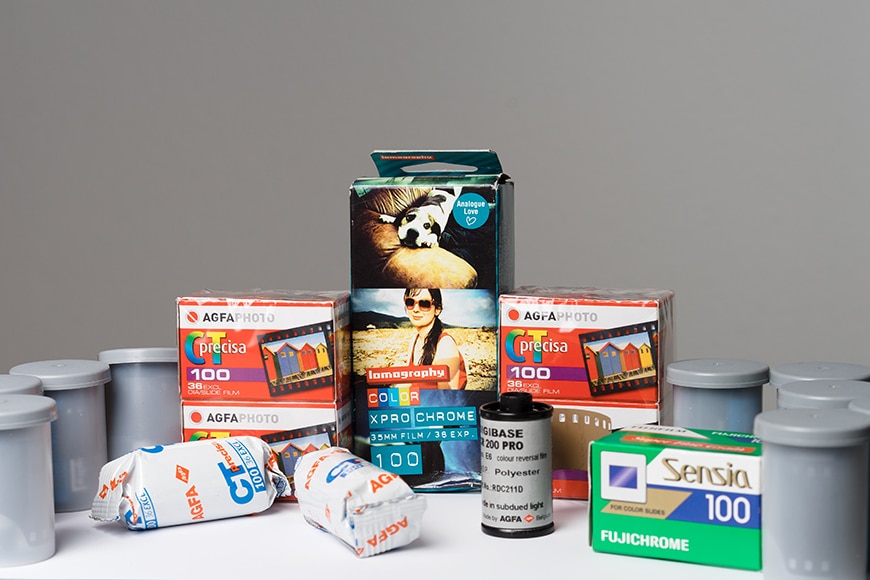
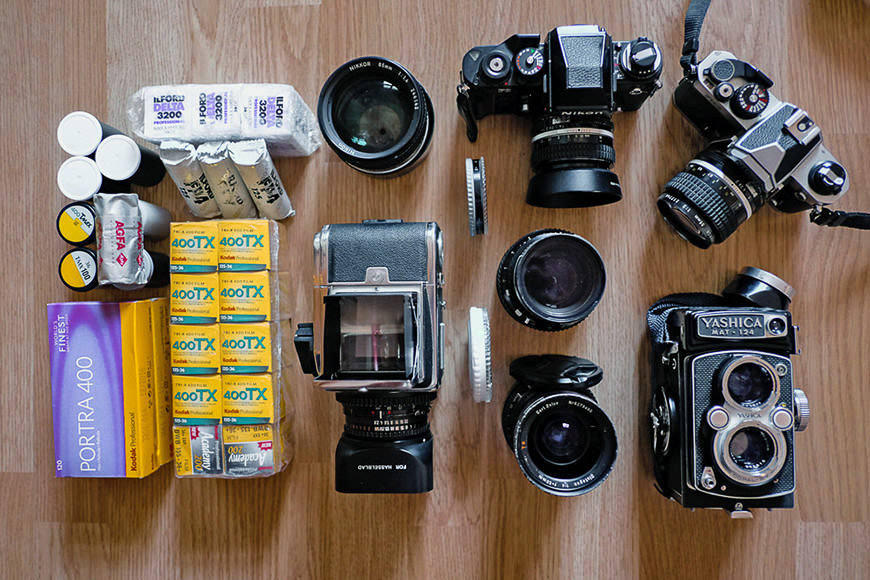
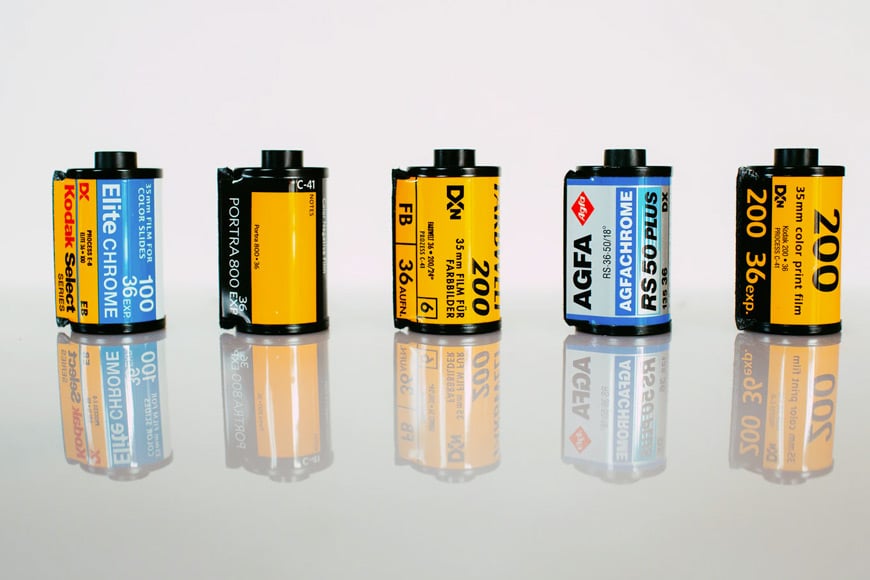
Types of Photography Film
Credit: Marcus Winkler
Though not as widely produced compared to the pre-digital era, there is a wide range of film for photography available for purchase.
Some film stocks have been discontinued, but a few have then been resurrected by enthusiasts keen to rediscover and recreate a specific film type.
Among the different formats, countless brands, names, and numbers – film comes in different types.
-
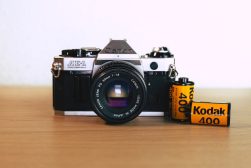
Black and white film (B/W)
Arguably the best place to start and the most widely used across the history of film photography, black and white film has a long history. There’s a wide range of ISO levels available, and you can even buy colour-process monochrome film which can be cheaper and easier to process at the lab.
Printing your own photographs will be far easier and badly exposed images can more readily be recovered.
Kodak Tri-X is a 400 ISO film that offers fine grain and can capture a huge amount of dynamic range — more than the digital sensors found in many of today’s cameras. Like a lot of monochrome film, it can be very forgiving, especially if you blow out the highlights.
If you want to shoot at night or indoors or capture fast-moving subjects in gloomy conditions, consider a roll of Ilford Delta 3200. You can even “push” it to 6400 (you just have to account for this when you come to developing).
Ilford XP2 Super is a C41 process film (see below) which means that it can be cheaper and easier to have developed by a lab, potentially making it more convenient to use.
See our guide on what makes good black and white photography to get some ideas for your next photoshoot.
-
Colour negative film (C41)
There are more types of colour negative film than any other type of film, with a wide range of different speeds (i.e., ISO numbers) available. In addition, some are better suited to high contrast situations, while others will be more accurate when capturing skin tones.
Kodak Ektar 100 is regarded as a classic, giving clean and crisp details while still retaining that distinctive film look. It has a bold, vivid colour palette, but this means that skin tones can come out a little red.
For natural light portraits, you might want to consider Portra 400 which captures fine detail and keeps skin looking natural and realistic. The grain on Portra 400 is not pronounced but if you need something even smoother, opt for Portra 160.
For shooting in darker conditions, consider Fujifilm Superia 1600. The grain gives you a pronounced film photography feel without being too distracting.
-
Colour reversal / slide film (E6)
Colour reversal film (also known as slide film) creates a positive image. Being less popular, it tends to be more expensive to process as it requires different chemicals to C41.
There isn’t such a wide choice, but the grain is finer, and colours can be more saturated. Make sure to be spot on with your exposures; however; E6 is less sympathetic to poorly exposed images!
Fujichrome Velvia 50 and Velvia 100 are arguably the two classic film stocks when it comes to slide film. Colours are vibrant making it great for landscapes, and the grain is extremely fine, particularly on the Velvia 50.
A better option for portraits might be Kodak Ektachrome E100 (resurrected by Kodak in 2017) as it’s less saturated and doesn’t add as much magenta as Velvia, and gives more natural results.
-
Infrared film
If you want to shoot infrared images on a digital camera, you’ll need to send your camera off to be converted. By contrast, film photography allows you to simply load a roll of infrared film, throw on a filter, and start creating otherworldly images.
The hardest part of shooting infrared film is probably finding the film stock itself, as sadly, there aren’t too many infrared films that are still being made.
Fortunately, Rollei Infrared Black and White 400 still exists, offering a fine grain structure and good contrast.
5 Advantages of Film Photography (vs Digital Photography)
Credit: Mark Rafaelov
The digital revolution may have brought some dramatic changes, but there are still plenty of reasons to choose film photography over digital.
1. You learn more – Film photography requires you to have a deeper understanding of the photographic process, benefiting you as a photographer and allowing you to develop a greater level appreciation as to how images are created.
2. You slow down – Film photography demands a much more measured approach. Because you need to pay for each roll and have it developed, every frame costs money, prompting you to be far more considered in your photography.
3. You get greater satisfaction – It’s hard to convey the sense you get from the tactile experience of triggering a chemical process that turns into a photograph. The physicality of shooting on film can make you feel as though every photograph is like peering into a memory.
4. High dynamic range – digital sensors have come a long way in the last 20 years, but many types of film are still capable of capturing more highlights and shadows within the same shot.
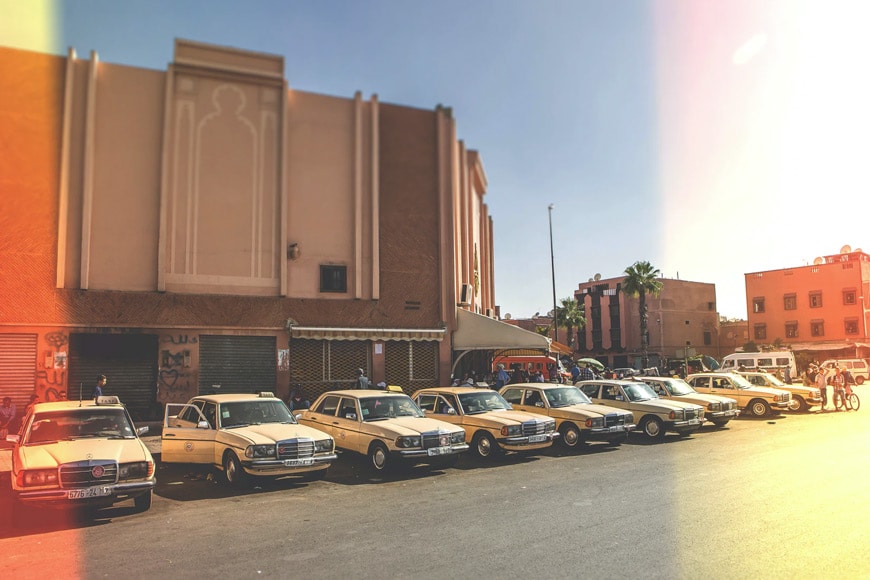
5. That film look – Whether it’s the grain, its ability to retain highlights, or something about the colour reproduction, there’s a look and feel to film photography that digital photography struggles to replicate.
6. The anticipation – waiting for photos to be printed from analog cameras is a unique experience that’s largely absent from today’s ‘instant’ culture and spontaneous indulgence of digital images.
7. The inconsistencies – from light leaks to expired film stock, analog photography brings with it a wonderful exploration of inconsistent results. Where digital can produce near-identical images when camera settings and lighting remain consistent, analog photography can be much more random – and therein lies the beauty.
8. No computer time – sure, you may need to create online backups or prefer to scan the odd film strip of color negatives, but analog photography is mostly devoid of time spent twiddling away with sliders and dials in Lightroom.
9. Lower barrier to entry – digital photography can be an expensive hobby, especially if you want to turn pro. By contrast, many film cameras can be obtained cheaply second-hand, while still being able to produce excellent images… in the right hands, of course. When comparing medium and large format film cameras, the price difference to digital is especially noticeable.
10. Uniqueness – let’s face it – every (wo)man and his/her dog has a digital camera or fancy smartphone these days. Shooting film is still rare, and if you get good at it, you can charge a premium for the ‘non-digital’ experience, especially to clients who grew up around it.
7 Film (Analog) Photography Tips
Credit: Kurt Boomer
Film and analog photography is an entire world waiting to be discovered. Here are some tips to help you make the most of it.
1. Expose for the Shadows
When we shoot digital, we’re often trying to stop our highlights from blowing out to avoid losing information. By contrast, when you shoot on film, we tend to expose for the shadows to make sure that we are capturing some detail, even if that means overexposing.
2. Get a light meter
Many older film cameras don’t have light meters built into them, and there are plenty that do that no longer work.
Using your own handheld meter will ensure that you’re always exposing correctly as well as give you a solid understanding of light levels and how to set your camera accordingly.
Check out our guide: what should I look for in a light meter for more handy tips before you head out to the shops.
You should also learn about the Sunny 16 rule to determine if your film camera’s meter it accurate.
3. Experiment with different types of film
Credit: Markus Spiske
Every film brings with it very distinctive characteristics, and with so many to try, you’ll need to work your way through a lot before you can decide which one lends itself best to your style of shooting or to a particular subject. Some are more forgiving than others when it comes to exposure, so try starting out with Portra 400, Tri-X, or Ilford 400.
4. Slow down
Digital is about speed and instantaneity. Film is about taking your time and immersing yourself in the process.
5. Find a reputable lab
When you’re starting out, destroying your work through an error when developing a film can be heartbreaking. Find a lab that you trust and get to know them; anyone working with film will also have a love for the medium, and they will be keen to offer advice.
6. Start cheap
Credit: Matt Moloney
You definitely don’t need to spend a lot of money when you first start shooting on film. Plus, older cameras and lenses have a charm to them that invests the act of shooting with a special feeling.
7. Forget perfection
Credit: Lee Blanchflower
Shooting film means encountering many happy accidents and embracing the missed focus, light leaks, and heavy vignettes. Part of what makes film photography distinctive is that it lacks the clean, clinical perfection that so often characterises digital photography.
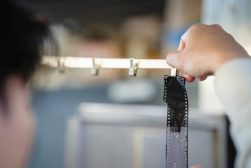
How to Develop Film
Credit: John Sypal
Developing your own monochrome film is not a complicated process and simply requires a small amount of equipment and the right chemicals.
Once you have your negatives, you can easily scan them yourself, again with relatively little gear.
1. Set up the film bath – fill your bucket with 70° F (21°C) water, using a thermometer to get it spot on
2. Prepare your chemicals – depending on your choice of chemicals, measure out what you need and mix accordingly
3. Transfer your film onto the spool and into the developer tank – this is where it gets fiddly as this needs to be done in complete darkness
4. Add the developer to the tank – set your timer, agitate, and then pour out
5. Add the fixer – again agitate for the required period of time, and then pour out
6. Rinse – remove the spool of film from the tank and rinse it in the bucket of water
7. Dry – hang your negatives up to dry
Final Words
The arrival of digital made photography faster and more convenient, but it took away many of the physical elements that make film photography a unique and satisfying experience.
With so many analog cameras still available to purchase today and at a range of different prices, photography on film can be a cheap way to enjoy being creative and it will give you a much better understanding of how photography works.
If you have any questions or comments, be sure to leave them below!
 Where to Develop Film in 2023 (In Person and Mail-In)
 Guide to Camera Film Stock: Types, Developing, Examples
 Comparison of All Common Film Formats & Sizes in 2023
 Cheapest Place to Develop Film: How Much Does it Cost?
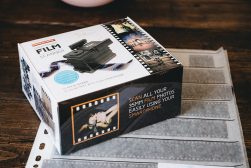 8 Best Film Scanners Worth Using in 2023
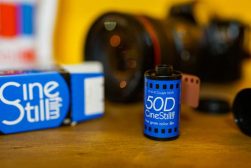 CineStill Film: Everything Your Need to Know in 2023

Andy Day is a British photographer and writing, living and working in France, specialising in adventure, travel, architectural and landscape photography.


WELCOME TO SHOTKIT
Enter your email to be sent
today's Welcome Gift:
19 Photography Tools
🔥 Popular NOW:


Shotkit may earn a commission on affiliate links. Learn more.