


How to Perfect Your Light Trail Photography

If you’re wondering how to perfect your light trail photography, I’ve got you covered!
In this guide, I’ll go over the ins and outs of light trail photography and how to bring your photos to life by highlighting light movement.
Let’s dive in!
Table of Contents
What is Light Trail Photography?
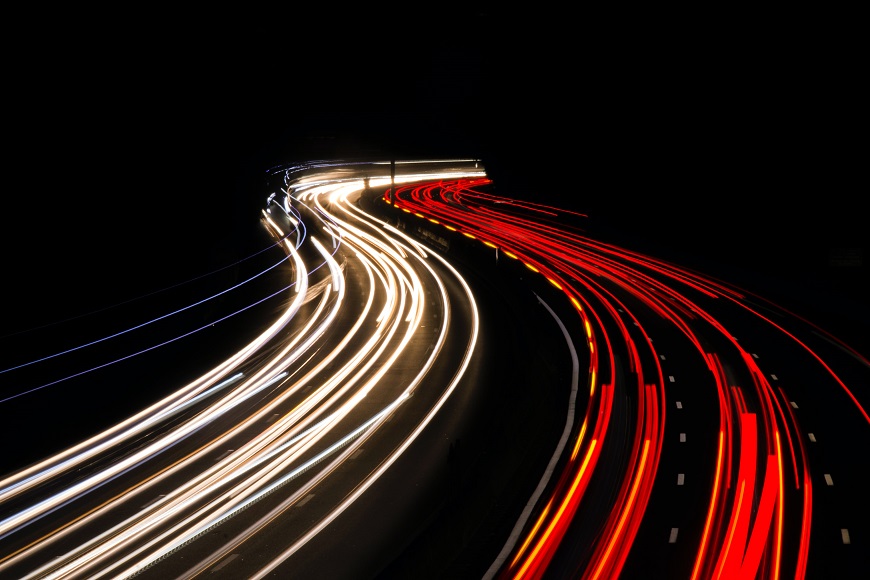
Light trail photography is a long-exposure method of photography that highlights moving light through extended shutter speed.
You’ll typically be working in a dark setting where picking up light is an exciting challenge that will help you grow your photography skills and confidence.
With appropriate adjustments to your ISO, shutter speed, and aperture, you can achieve light trail photography worthy of a mention on Adobe.
How Do You Shoot Light Trails?
Shooting light trails may seem like something only experts can do, but that’s a total myth!
Beginners can easily accomplish masterful light trail photography with a few of my how-to tips below.
1. Dial in the best light trail photography settings
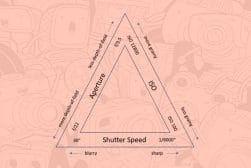
As touched on above, camera settings are paramount in light trail photography, so let’s dig deeper into the best settings for the low light conditions you can expect here.
- Shutter speed: Shutter speeds will vary with preference, but you’ll want a minimum of 5 seconds if not longer. Play around with 5-60 seconds by taking test shots to see which shutter speed gives the best light trail images.
- ISO: A higher ISO means greater light sensitivity, which is what we’re going for here! While this will vary with preference, shoot for an ISO of 800 to start.
- Aperture: The pros don’t always agree on the best aperture for light trail photography, but experiment with an f/8 to f/16. You’ll want a narrow aperture and shutter speed that complement each other.
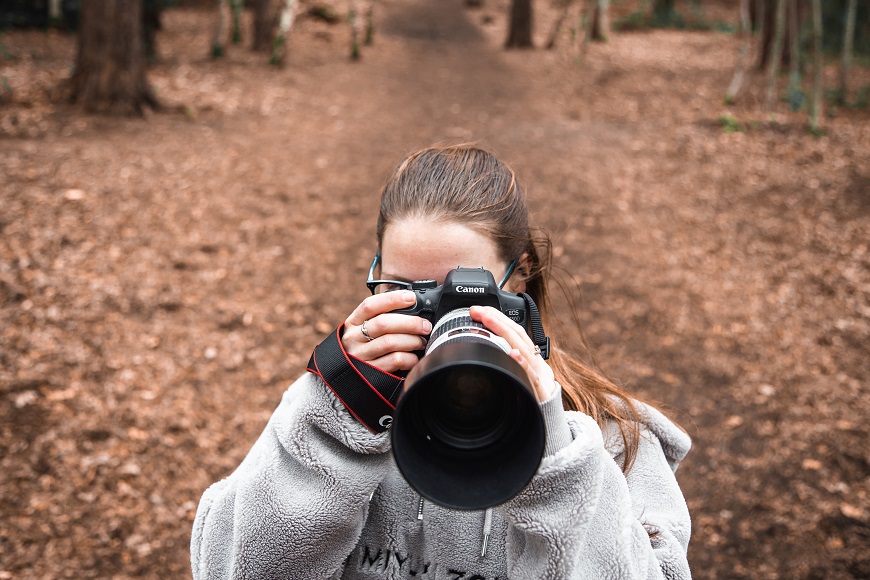
2. Choose the best gear for shooting light trails
The right gear is essential in clear, crisp light trail photography.
Let’s go over everything you can lean on for the typically low light environment you’ll be working with in the case of light trail photography.
- Tripod: To avoid bumps that can create blurs, a sturdy tripod is arguably the most important piece of gear for beautiful light trail photography.
- Lens: A wide angle lens will allow you to capture the full scene needed to appeal to the viewer when shooting car lights and street lamps.
- Remote: A shutter remote gives you the freedom to alter your camera shutter from afar for seamless adjustments sans camera shake.
- Flashlights: Body flashlights and headlamps can help substantially in making minor tweaks to your camera settings in dark conditions. You can also use them for light painting, but more on that later!
- Creative tools: You can easily add some creativity when you photograph light trails with things like LED wands and other lighting accessories.
If you’re hoping to shoot light trail photography before the sun goes down, you’ll want to consider filters. Neutral density (ND) filters promote longer exposure times in bright settings, making them great for daytime light trail photography.
3. Choose the right location for your light trail image
There’s an endless sea of options when it comes to photographing light trails! Let’s go over just a few options below!
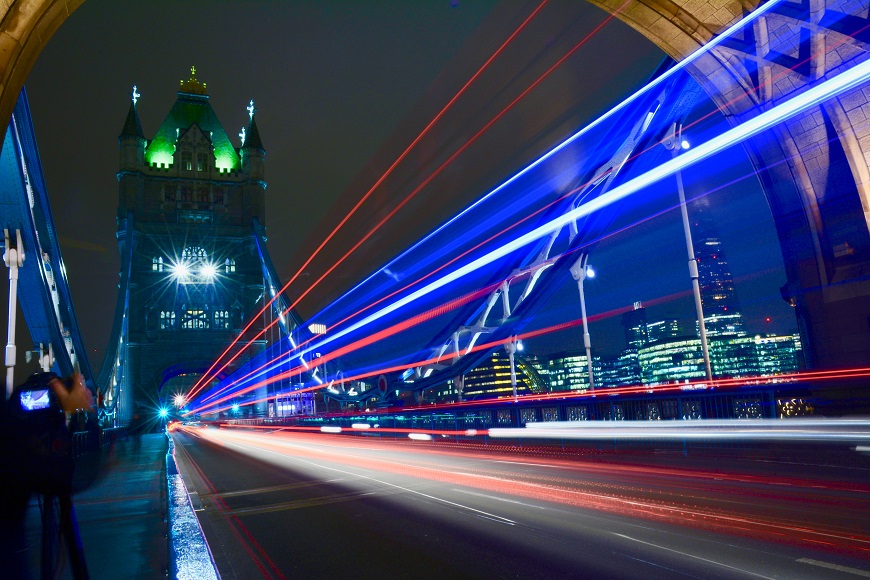
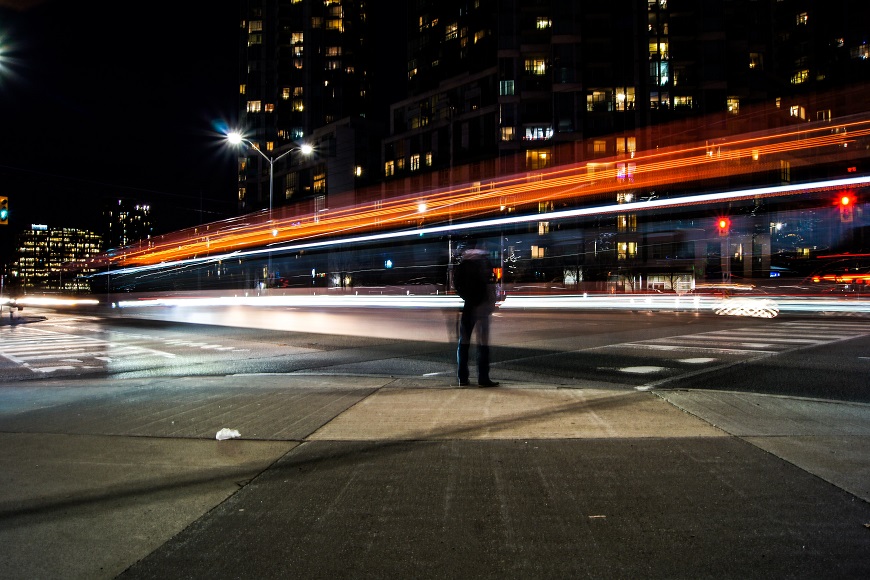
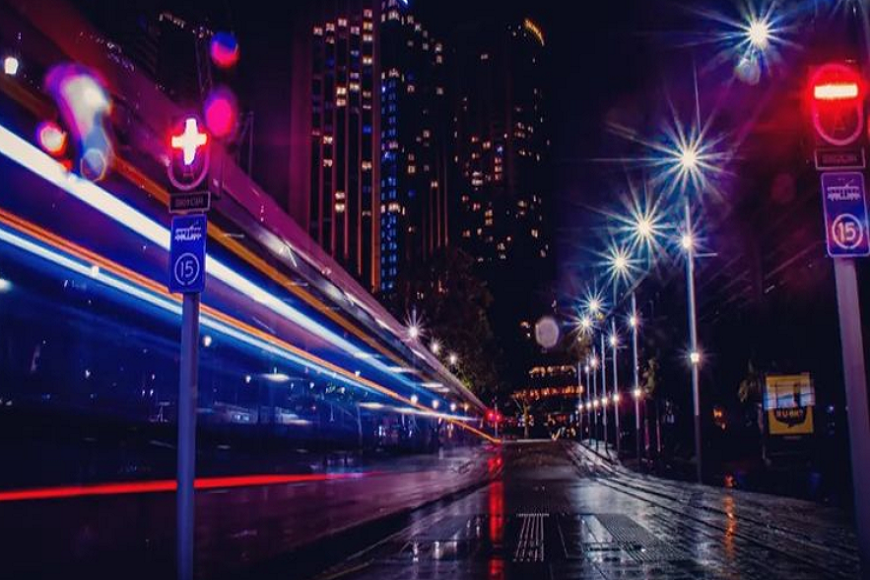
Urban settings: Streets and highways lined with car headlights are ideal locations for shooting light trails, but really, anywhere dark will suffice! Head to a high vantage point: think of a nearby rooftop bar, the sky lounge on the top floor of your apartment building, a bridge, or a safe position on a busy street like below.
Natural settings: If you’re outside at night, you’ll see tons of light trail options from stars, fireflies, neon signage, and more.

Safety is also of utmost importance, so let’s discuss some some precautions:
- Position: It can be tempting to do something risky to get the perfect shot, and we’ve probably all done that! However, when it comes to photographing light trails, avoid standing in unsafe areas in high-traffic zones: stick to pedestrian areas of busy streets.
- Height safety: If you decide to head to the top floor of a building to shoot light trails, make sure you don’t hang over edges or anything else that feels risky.
4. Choose the right time of day to capture light trails

While photographing light trails at night is very popular, you can make light trail photography work well with digital cameras most times of day.
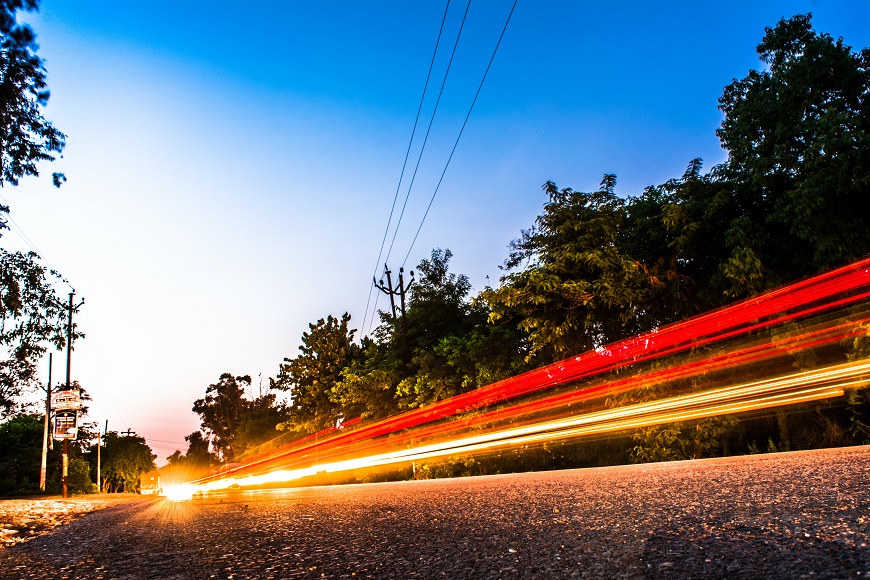
- Blue hour is hands-down the best time to shoot light trails. Because of the sun’s gradual sinking, you’ll be able to capture blue shades in the sky during this special period between sunset and nightfall.
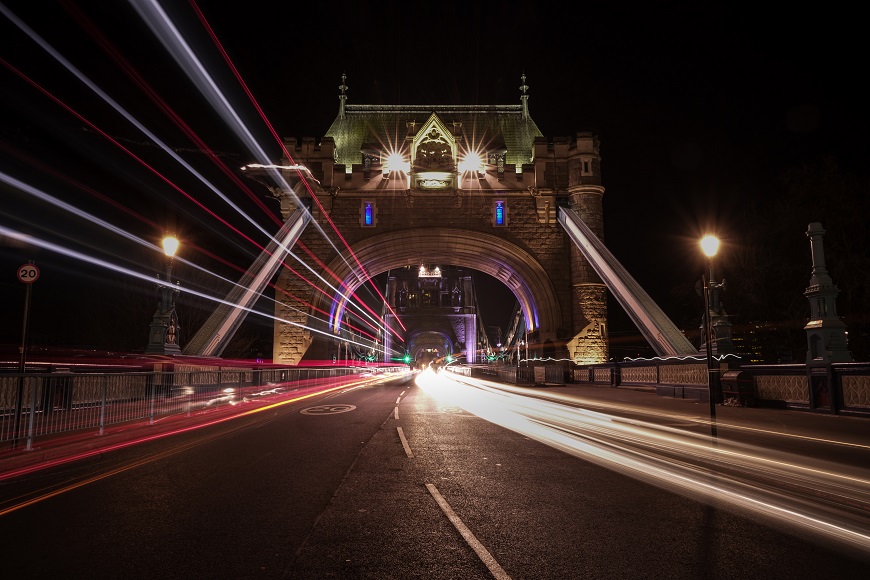
- Nighttime may not be as optimal as blue hour according to some pros, but with correct exposure, you can get some gorgeous night photography light shots.
- Just before sunset is another time period to consider for light trail photography because you’ll have time to set up and start experimenting in ambient light with the right exposure and learning more about your camera’s sensitivity.
Advanced Tips & Techniques for Capturing Light Trails
Once you’ve learned the basics of light trail photography like exposure settings, aperture settings, and the best shutter speeds, you’ll be ready to discover some advanced tips, which I’ll discuss below.
Creating Dynamic Compositions
In almost every style of photography, leading lines and the rule of thirds matter.
By breaking your photo up into three equal parts, your viewer will be able to easily locate what you’re trying to highlight in the left third or right third of the image — whether it’s an illuminated car, building, or a cityscape.
Thankfully, light trails themselves typically function as leading lines, guiding the viewer’s eye to your foreground, background, or subject.
Moving lights are what make up light trail photography, so keeping your camera still and stable will allow you to master the long exposure photography needed to capture both the blur of moving lights and the illumination created from crisp, clear stationary elements nearby.
Set your camera up for fantastic images by using a tripod to prevent camera shake and adjust your settings so you have a slow shutter speed for optimal drama.
Experimenting with Movement
Experimenting with movement is critical when shooting light trails.
Panning with moving subjects will allow you to track them before, during, and after you take the photo, which will create gorgeous blurs of street lights and clear images of cars passing by.
Zooming during exposure is also an excellent technique for night scenes with street lights and other interesting light trails.
For effective zooming during exposure, try the following:
- Set your camera on your tripod.
- Set your camera to manual mode.
- Set manual focus by zooming in completely and locking it in.
- Check framing by zooming out and adjusting as needed.
- Start exposure and zoom out while the shutter is opened.
You can then start experimenting with different times and zoom speeds to see what works best.
Combining Multiple Exposures
You can create some really cool special effects when capturing light trails by stacking images with photo stacking software.
My favorite way to do this is in Photoshop with these steps:
- Open Bridge.
- Pick your photos.
- Navigate to Tools, select Photoshop, and then Load files to begin layering.
Once your layers are done loading, you’ll have the option to include them all by picking the layer at the bottom, pressing Shift on your keyboard, and finally, clicking on the layer at the top.
You’ll then have to blend the layers to get a seamless display of light trails by navigating to the Layers panel and selecting Blending Mode Options.
Select Lighten from the drop-down menu then click and voilà, you’ll have a robust image with more light trails.
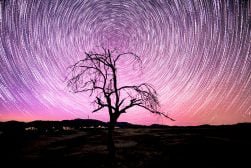
Star Trails
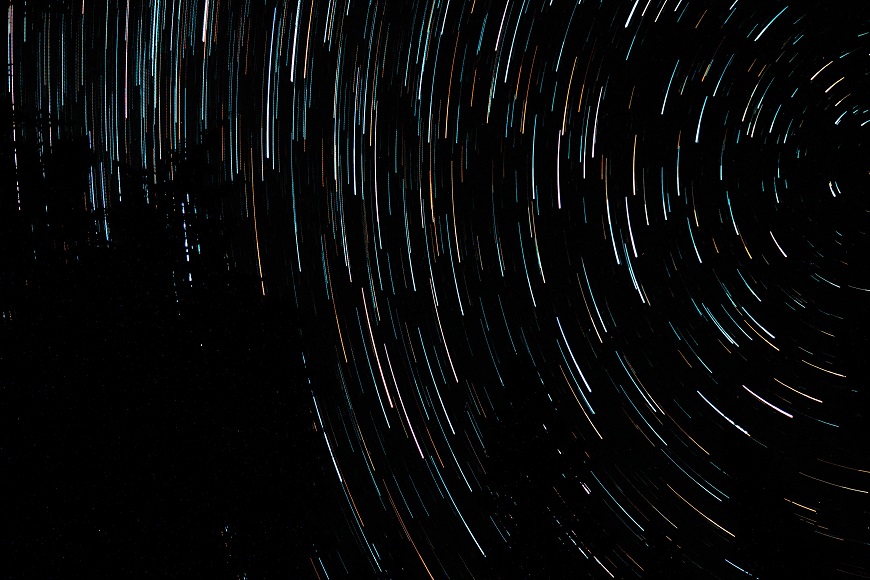
Star trails are probably one of the coolest things you can ever capture when exploring light trail photography with long exposures.
Created as the Earth rotates, these trails show the stars in motion across minutes or even hours.
In this case, you’ll want wide angle lenses and the piece of gear I can’t emphasize enough: a tripod.
Aperture and shutter speed settings are vital here too!
I recommend a shutter speed of 30 seconds, an f/2.8 aperture, and an ISO of 600 — but play around with as low as 400 and as high as 800 to see what looks best.
You’ll need to use bulb mode for exposures above 30 seconds with most mirrorless cameras.
You can also combine star trails with landscapes using the layering method discussed above.
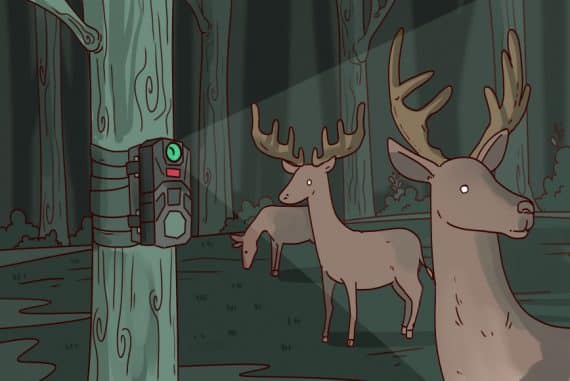
Painting with Light

Light trail photography doesn’t have to be limited to cars and street lights!
Glow sticks and flashlights can be game changers in helping you achieve an artistic final image.
In the same style as fire spinning, moving flashlights around in the air can produce some fun and funky art known as light painting.
You can also capture storefront signs highlighted in LEDs to create abstract light trail art with different subjects around the store!
How To Edit Light Trail Photos
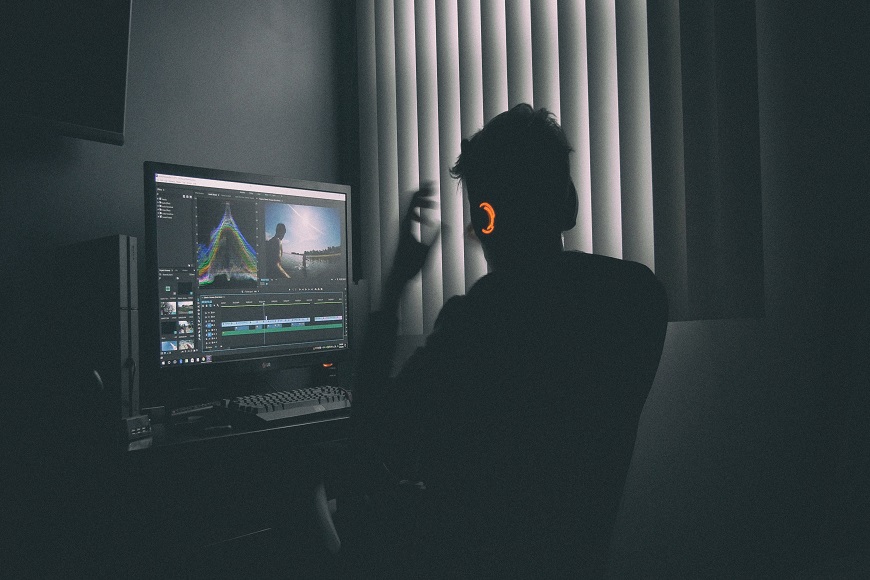
Whether you’re a Photoshop pro or just learning how to use Lightroom, elevating the look of your light trail photos can be easy with a few steps.
Basic Edits
Small tweaks to exposure and contrast will let you see which shadows or areas of light can pop more, while minor adjustments to color balance and saturation can bring out the gorgeous colors of the setting.
A simple rule of thumb here would be to decrease highlights, shadows, and blacks and then bring up the whites in the image.
Then, you’ll want to increase black, clarity, and texture.
Just make sure this is applied to all the light trail exposures!
Noise Reduction
When it comes to reducing noise, I prefer the ease of Photoshop with these steps:
- Navigate to Filter.
- Click Reduce Noise.
- Play around with the options: Reduce Color Noise, Sharpen Details, Preserve Details, and Strength.
Remember: a little bit goes a long way when editing photos. Minor adjustments to any of the options above will offer greater control over noise reduction related to luminance, as well as details, edges, color pixels, and more.
Combining and Blending Exposures
Combining and blending exposures is a brilliant way to shape light to your preference.
While I cover step-by-step details earlier in this guide, you can read more on that here.
How To Take Light Trail Photos on a Phone
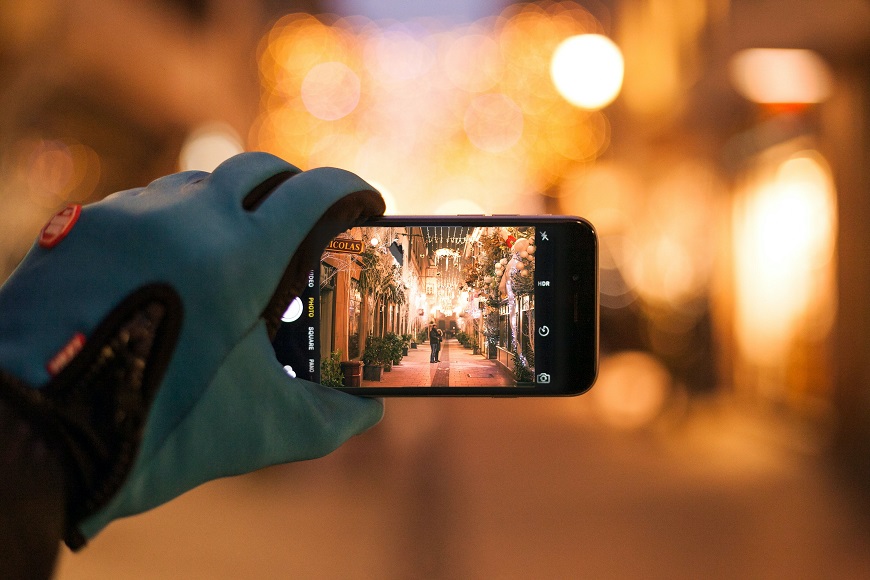
As many photographers already know, light trail photos aren’t exclusively taken with cameras!
Let’s jump into some basic light trail photo tips for iPhones and Samsung models.
iPhone
Light trail photos can be taken from an iPhone in a couple of different ways.
Here’s option 1:
- Open your Camera app.
- Hit the Live icon.
- Take the desired photo.
- Open the Photos app.
- Tap on the desired photo.
- Tap the Live icon then click the Long exposure button.
Option 2:
- Download the Slow Shutter Cam app.
- Open the app and hit Settings.
- Select the Light Trail option.
- Adjust the Shutter Speed by moving it to the far right to enter Bulb mode.
- Frame your image and tap the Shutter.
You can save the first photo or like most of us do, experiment with new angles and keep tweaking your settings.
Samsung Galaxy
Don’t worry if you’re not team iPhone, there’s an easy method for Samsung users to take light trail photos too!
Here’s how to take stunning light trail photos with a Samsung Galaxy phone.
- Open the Camera app.
- Select Pro mode.
- Adjust the ISO to 80.
- Adjust the F1.5 to 10 seconds.
- Select MF and slide to the middle.
Then, rinse and repeat like above and start experimenting!
Best light trail photography apps
For those looking to boost their light trail photography game, here are some apps to consider:
- Light Trails – Star Trails: This Google app is easy to use for creating start trails, city light trails, stacked moon stages, and more.
- Slow Shutter Cam: Users also reported this app is easy to use and delivers bright nighttime photos and solid motion blur control.
- Camera+: This app has excellent shutter modes for long exposures and stabilizing, as well as Action mode for capturing swift subjects.
- Filmic Firstlight – Photo App: Another easy-to-use app that makes manual adjustments to ISO, Shutter Speed, and more a breeze.
- Shutter Stop: The ideal long exposure slow shutter app could possibly be Shutter Stop thanks to its top-notch sensitivity sensors and freeze settings.
Talented Light Trail Photographers to Follow
Sydney cityscape by James Hammond.
- Tim Leifheit: Based in Cincinnati, Leifheit’s grid is full of exceptional photos, but also includes a link to his portfolio full of light trail work.
- Sarwaar Mohammed: With an IG profile covered in a diverse range of both light and star trails, Sarwaar Mohammed is easily a must-follow.
- Green Light Visions: Known only as Kirk on IG, the man behind Green Light Visions has an IG covered in everything related to Brooklyn, including light trails.
- Susan Magnano: Susan Magnano’s landscape and light trail shots make her another must-follow and what’s better? The link in her IG bio also includes a special section dedicated to light painting.
- James Hammond: Australian photographer, James Hammond, has a grid featuring gorgeous light trails across Sydney you have to see to believe.


WELCOME TO SHOTKIT
Enter your email to be sent
today's Welcome Gift:
19 Photography Tools
🔥 Popular Now:


Shotkit may earn a commission on affiliate links. Learn more.