


Guide to Forced Perspective Photography
The best photographers know this technique for taking captivating shots. Are you using Forced Perspective yet? Learn about it in this guide!
Learn | Photography Guides | By Teryani Riggs
Forced perspective is a technique, in photography and movie making, that creates an optical illusion which makes objects appear larger, smaller, closer, or farther away than they really are. A forced perspective is most often used in changing the apparent size of the objects or to merge two objects.
Ever see a photo of a tourist seeming to hold up the leaning Tower of Pisa or touch the top of the Eiffel Tower? How about “touching” the sun with their hand? These images were made using an in-camera technique called “Forced Perspective.”
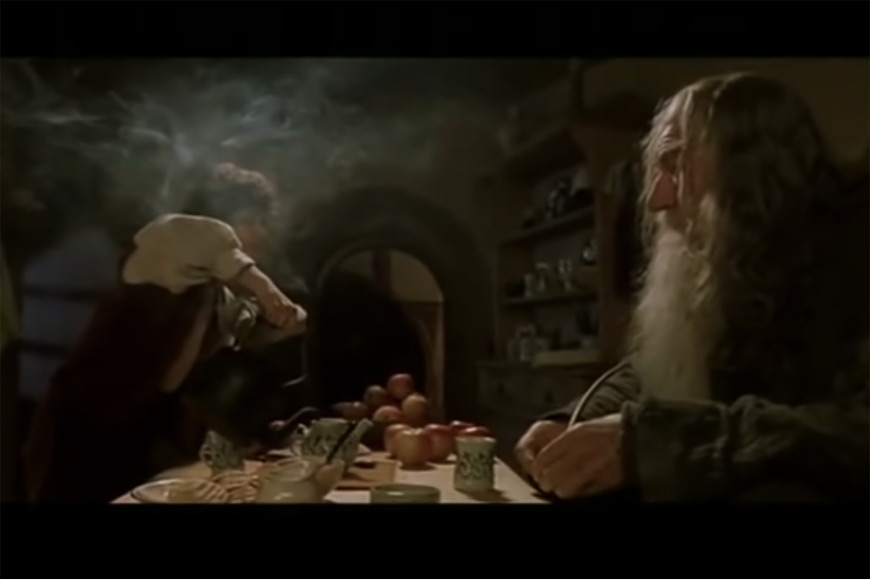
You’ve probably seen forced perspective in movies. Godzilla was a great example. More recently, Peter Jackson used forced perspective to make the hobbits look smaller than normal folk in the Lord of the Rings.
Similarly, forced perspective works well in still photography. You can use it for humor, to create special effects, or to create unique, meaningful images that will definitely grab the eye.
Let’s take a look at how it’s done.
Table of Contents
How Do You Take a Forced Perspective Photo?
The idea behind forced perspective photography is to literally force a different perspective onto the viewer by how you compose the photo.
Usually, this is done by manipulating the distance between your subjects and/or the line of sight from which you’re shooting.
Here are some tips to get you started:
1. Perspective Literally is Everything
In Peter Jackson’s The Lord of the Rings, the smaller characters were always farther from the camera but placed in a relationship to the larger characters, so they appeared to be in the same focal plane.
With forced perspective, you don’t have to go down the rabbit hole to have things shrink or become insanely large.
By carefully considering where you place your subjects in the field of view, you can make them appear larger or smaller than they actually are.
There are two simple rules for changing how the viewer will see the size of your subject(s):
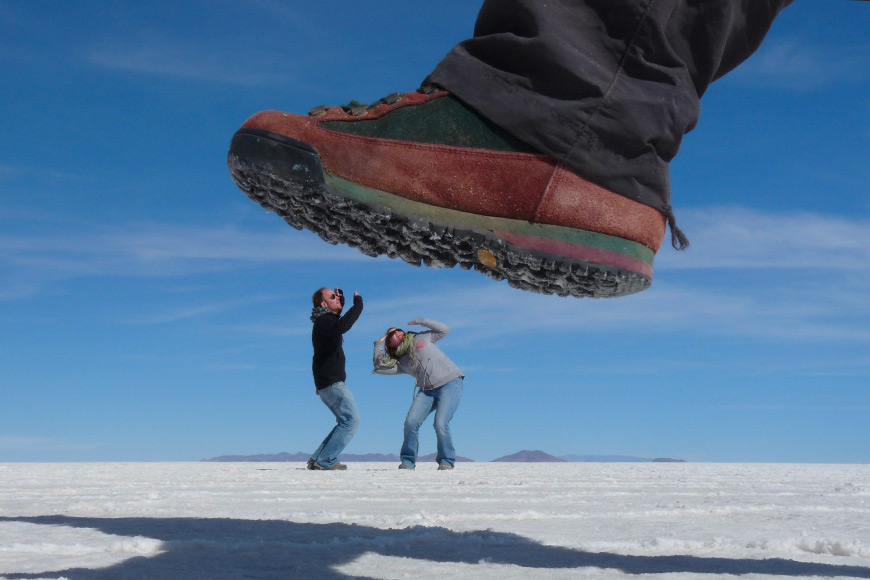
- To make an object larger, place it closer to the camera.
- To make an object smaller, place it farther from the camera.
Next time you’re taking a photo, keep those rules in mind and have some fun with your compositions.
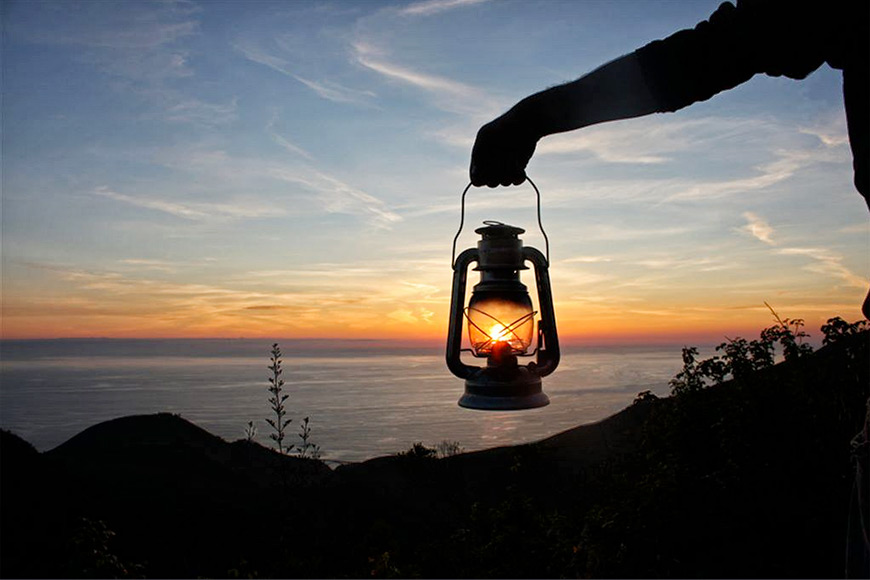
2. Keep Everything in Focus (i.e. use a narrow aperture)
Credit: Alan Travers
Part of the trick to convincing the eye that the foreground and the background are at the same distance from the camera is by keeping everything in focus.
This means stopping down to a narrow aperture. In most cases, f/16 works really well.
There are times when having a shallow depth of field (see guide) can work, but unless you have a particular reason to have the background (or foreground) blurred, keeping things sharp is the best way to go.
Keep in mind, though, using a smaller aperture will require more light. Either make sure your scene is well-lit or boost your ISO a bit to compensate.
3. Use a Wide Angle Lens
Using a wide-angle lens can make composing a forced perspective image much easier | Credit: Jrtce1
While not strictly necessary, using a wide-angle lens will definitely give you more wiggle room when creating a forced perspective image.
Not only do they give you a wider field of view, but you can generally get a lot closer to your foreground subject than with a narrower lens.
Generally, anything under 35mm is considered to be wide-angle, but I’d recommend going a bit wider than that if you can. That said, don’t go so wide that you introduce distortion.
Of course, you can do forced perspective photos without a wide-angle lens – just about any lens and camera will do. All you really need is to think outside the box and compose your photo with a new perspective in mind.
Still, a wide-angle will give you more options and make things easier.
4. Give Yourself Lots of Space
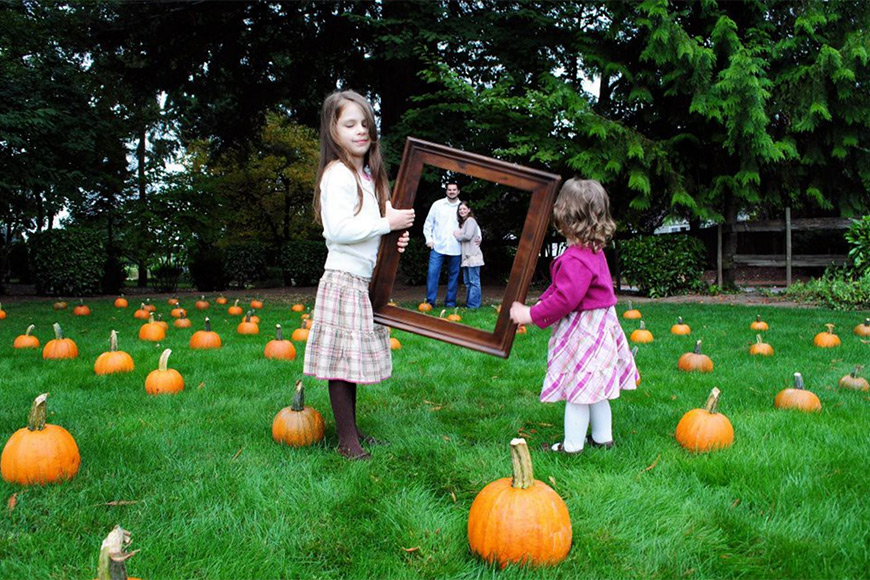
The size of this pumpkin field gives the photographer plenty of room to create the optical illusion they’re going for. | Credit: Kelleigh Strange
The more space you give yourself to work with, the easier it will be to arrange your subjects and objects.
If you’re using something in the sky, this won’t be a big deal – you’ll have all the space you need. If you’re aligning subjects and objects in the same focal plane, you’ll need enough space to get the distances correct.
In the image above, the subjects in the rear of the image are considerably farther away than the children in the front of the image. It’s not something that could be done easily indoors, say in a bedroom or kitchen.
5. Plan Out Your Composition Ahead of Time
Caption: Planning out your composition ahead of time can make all the difference in how well your photography shoot goes. | Credit: Trevor Larson
To do forced perspective photography well, you’ll need to take some time really thinking about your composition. Having elements just a little bit off can make the optical illusion less convincing.
It also helps to know your location and have played around a little with how close or far you’ll need to be from the different elements in your shot.
You don’t need to have every detail figured out, but try to have at least a solid general idea. The more you think ahead, the quicker your shoot will go.
6. Keep Your Image Simple
Limit the elements you include when using forced perspective so that nothing deters from the illusion. | Credit: Tatianna
Simplicity in the composition is important, regardless of genre or technique (more techniques here). With forced perspective it’s vital.
Optical illusions tend to need near-perfect composition, and every additional element added to the frame is one more thing that can be out of whack.
In general, make sure that everything in the frame is part of the optical illusion. Any extra elements that make it into the photo run the risk of providing the context of the original perspective.
This, in turn, will weaken the impact of the new perspective you’re trying to achieve.
7. Work with a Partner

While this shot might look like the photographer took it, most forced perspective shots are much easier to do with a buddy. This shot, while possible one-handed, would definitely be easier if someone other than the person holding the can was composing the shot in-camera. | Photo Credit: Delacorr
Forced perspective photography can be particularly challenging on your own. The placement of objects within a composition often needs a fair amount of fine-tuning and continually walking back and forth from them to the camera’s viewfinder can get a bit time-consuming.
Having someone move the objects around per your directions is a lot simpler. Also, sometimes things need to be held, or your composition needs a human subject. Having that one extra person can help with your photo-shoot.
If you don’t have friends willing to help, consider reaching out to other photographers and take turns composing and shooting. Not only will it speed up the shots, but you might also find that the collaboration gives you new ideas to try.
8. Above All, Use Your Creativity
Credit: Wzopf
The thing that’s most important for creating truly stunning forced perspective images is creativity. You’ll need to change your own perspective on things and be able to imagine how things would look from a totally different vantage.
The most common forced perspective photos – pretending to hold or carry a building, using toys or similar props is a great place to start, but there are many other ways of looking at things.
Opportunities for optical illusions abound – you just need to learn to look at the world differently.
Forced Perspective Photography FAQs
What is photographic perspective?
Perspective in photography is created by the spatial relationship between objects in an image. It’s this relationship between objects that helps us perceive depth, distances, and the size of different elements.
How does forced perspective work?
It works by manipulating our perception of space and distance. Due to the vantage point of the camera, forced perspective makes objects appear larger, smaller, closer or further away than they really are.
How do you do photography illusions?
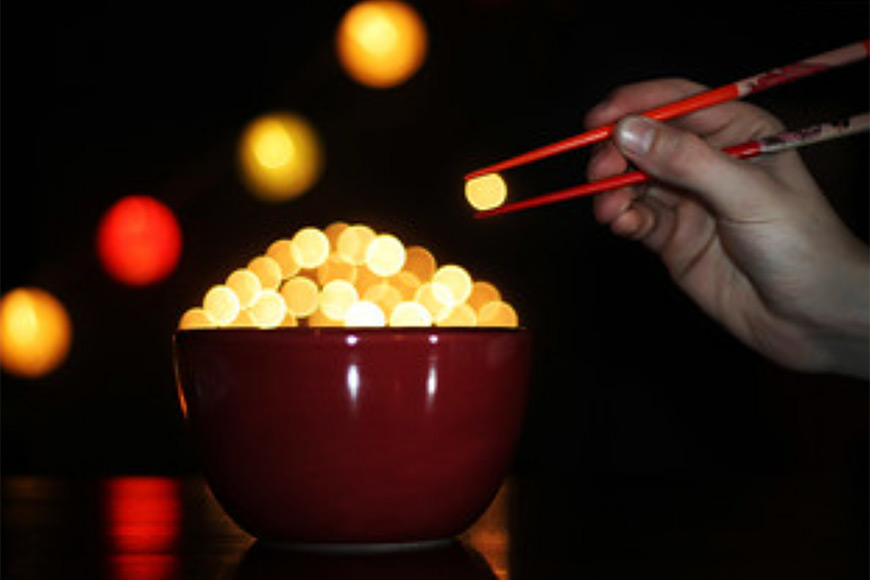
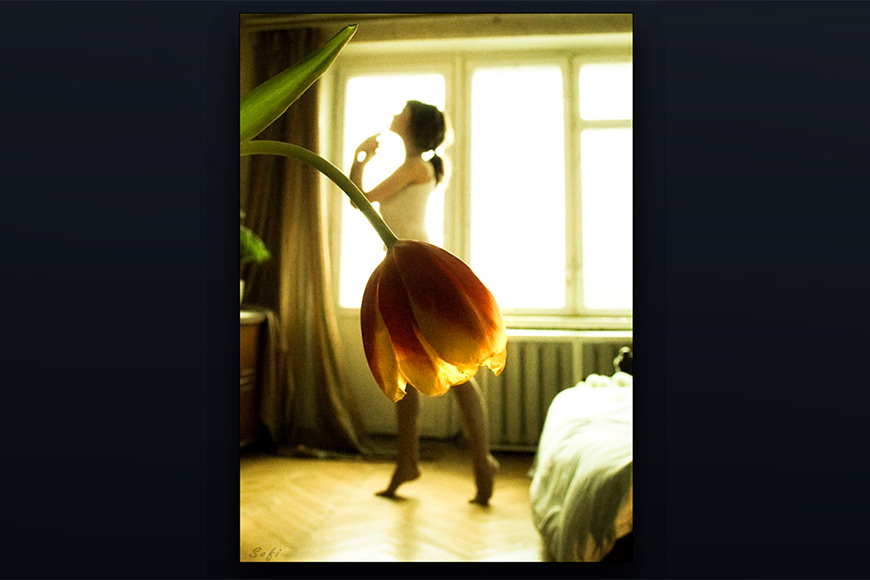
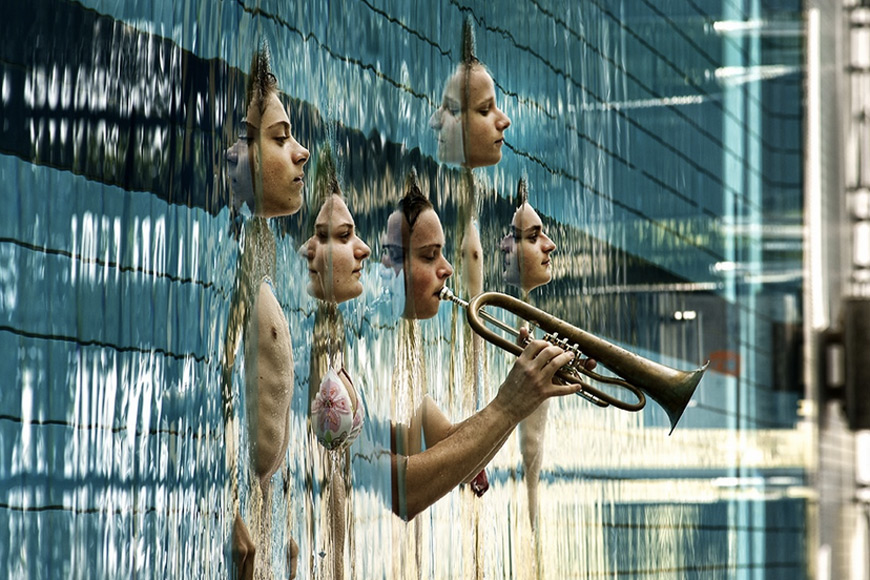
Using forced perspective is one fun way to create illusions with your photography. Try positioning objects in ways that they appear larger or smaller than they really are, or so that they appear to interact with each other in impossible ways. See the examples above for some great inspiration and ideas.
Final Words
There are many benefits to using forced perspective as an in-camera photographic technique, particularly in the area of creativity.
It requires you to think about what you see in very different ways than ordinary human perception would suggest.
Obviously, many forced perspective images can easily be created in Photoshop. Still, the out-of-the-box thinking required for truly excellent shots in-camera can help inform all of your other photography genres as well.
What are some of your favorite ways to use forced perspective?
 Best Wide Angle Lenses in 2023 for Nikon, Canon & More
 What is Perspective in Photography (Complete Guide with Tips & Examples)
 67 Best Photography Books of 2023 for All Levels
 121 Different Styles & Types of Photography To Try in 2023
 Best Sony Lenses in 2023: Ultimate E-Mount Guide
 121 Camera and Photography Tricks to Wow Your Friends in 2023

WELCOME TO SHOTKIT
Enter your email to be sent
today's Welcome Gift:
19 Photography Tools
🔥 Popular NOW:


Shotkit may earn a commission on affiliate links. Learn more.