


Creative Fire Photography Ideas – How to Photograph Flames
Learn how to take photos of fires and flames in our in-depth guide. Fire photography is fun when practised safely - here's how to do it for maximum effect.
Learn | Photography Guides | By Ana Mireles
Do you enjoy fire photography, but you’re struggling to improve your technique? Then, this is the article for you.
It’s not easy to photograph fire because you have to deal with very contrasting scenes. While the flames themselves are very bright, they aren’t enough to illuminate a large area around them.
The tricky part in fire photography is learning how to balance that contrast.
So-called fire photographers are professional or amateur photographers specializing in shooting fire. This can be a bonfire, firefighting operations, and even steel wool photography.
In this article, you’ll find some tips and tricks for fire photography. Even if you don’t focus only on fire pictures but you include an occasional candle in a still life or do interior photography where there’s a fireplace, you’ll learn some valuable tricks.
So, let’s jump in.
Table of Contents
11 Fire Photography Tips & Tricks
1. Safety always comes first
Credit: Pixabay
Fire photography can look really impressive, but it can be pretty dangerous. You must plan well and take all the safety measures required for the photoshoot to ensure everyone’s safety.
Here are some essential safety tips. However, you can contact your fire department to ask for more safety guidelines and regulations if you’re shooting with big fires.
- Keep flammable things away from any open flame. Also, you and your models should keep a safe distance from the fire.
- Bring with you some protective equipment, a small extinguisher, and a fire blanket.
- Make sure you’re in a well-ventilated area to avoid breathing in the smoke. Also, your equipment can get damaged by fire and smoke.
- Have an emergency plan in case things get out of control. This should include an exit route and the fire department’s emergency contact.
If the conditions aren’t safe, it’s better to forget about the photo – it’s just not worth the risk. It’s better to reprogram the photoshoot or find another way to proceed.
The most important thing is that you’re not putting yourself, your models and assistants, your equipment, or anyone and anything else in danger.
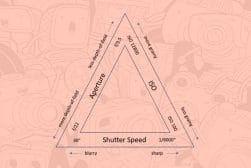
2. Camera settings for fire photography
Credit: Pixabay
In fire photography, you face very challenging lighting conditions due to the high contrast created by the fire. This type of situation is difficult for the camera if you leave it in auto mode.
So, the first thing you need to do is switch to either manual mode or one of the semi-automatic modes.
- Manual – Here, you have full control. You’ll need to decide which settings to prioritize and which ones you use to compensate. If you have a moving subject or want to create motion blur, start with a 1 or 2-second exposure and balance with the other settings. To control the depth of field instead, begin by setting the aperture. Use an f/2.8 or the widest one you have for selective focus – if you want a sharp image, use f/8 or f/11. In any case, try to keep the ISO as low as possible to avoid noise, especially in the shadows.
- Aperture Priority Mode – You should use this mode if you need to control the depth of field, but you don’t want to worry about compensating for all the camera settings. Remember that wide apertures let in more light and create a narrow depth of field, and narrow apertures do the opposite.
- Shutter Priority Mode – This mode is perfect if you want to do long exposure fire photography or for when you want to freeze a subject, which is done with a fast shutter speed.
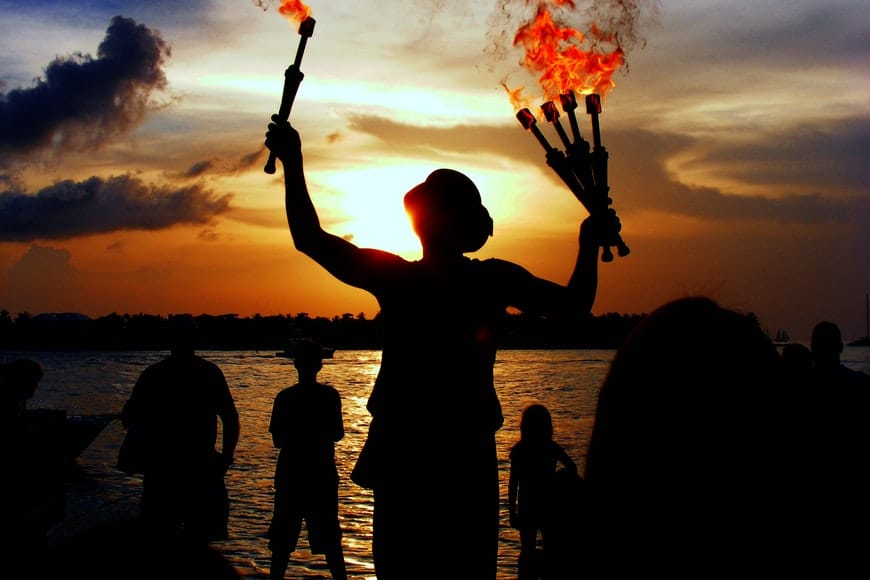
3. Use fire as your primary light source

Credit: Tomáš Malík
Fire is a great way to light your subject with a warm color to create an atmosphere. Depending on the size of the fire, you’ll probably need a slow shutter speed to compensate for the low light.
To do this, you need to use a tripod and, ideally, a remote shutter release to avoid camera shake. If your subject moves, you might need to open the aperture and set a high ISO to prevent it from getting blurred.
Using fire as the main light source might not be enough for the autofocus to work properly, in which case you’ll need to switch to manual focus.
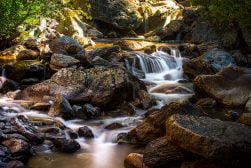
4. Try some long-exposure photography
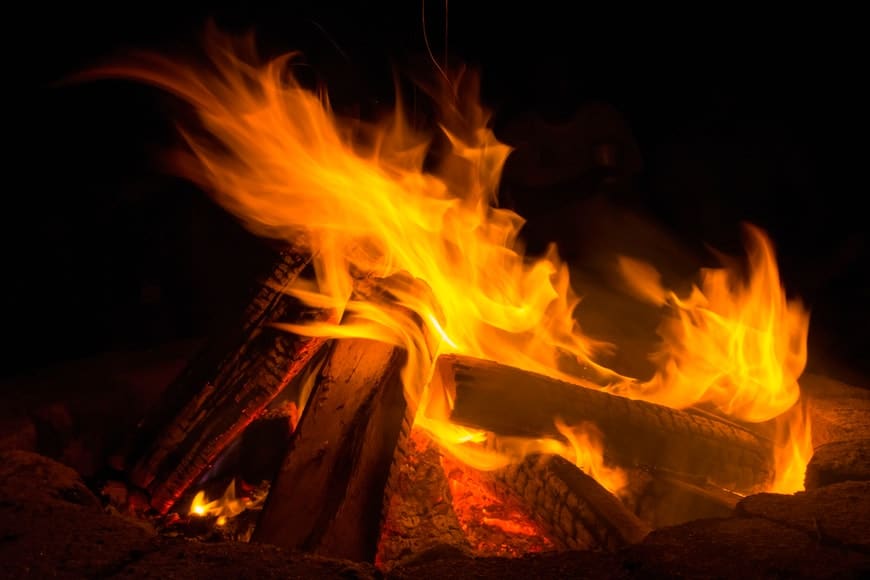
Credit: Mohan Nannapaneni
If you want to include some motion blur in your photography, you’ll need to use slower shutter speeds – this is called long exposure photography.
This isn’t difficult to do. You just need to use the proper camera settings to avoid overexposing your images.
So, if you’re wondering how to do long exposure with fire, let me tell you that you have two choices.
The first option is to mount your camera on a tripod to keep a steady frame and only capture the movement of the flames. The other possibility is to move the camera to create an intentional camera shake (ICM).
Depending on the movement that you want to capture, you might still need a tripod and a camera timer. If you’re going to experiment with free-hand movements, go ahead and get creative without one.
Now you need to determine the shutter speed. There isn’t a hard and fast rule on this – it depends on what you’re planning to achieve. You can set it to one second or two and just start shooting, then review how the fire looks and adjust accordingly.
Remember that a longer exposure will cause more blur, while a short exposure will make things sharper.
If you’re using your camera in manual mode, you have full control of the exposure settings. – so remember to compensate every time you change the shutter speed. Alternatively, you can use the shutter priority mode.
Long exposures create amazing fire images, but there’s a lot of trial and error. You can spend hours doing them, so enjoy the process.
5. Capture sparks
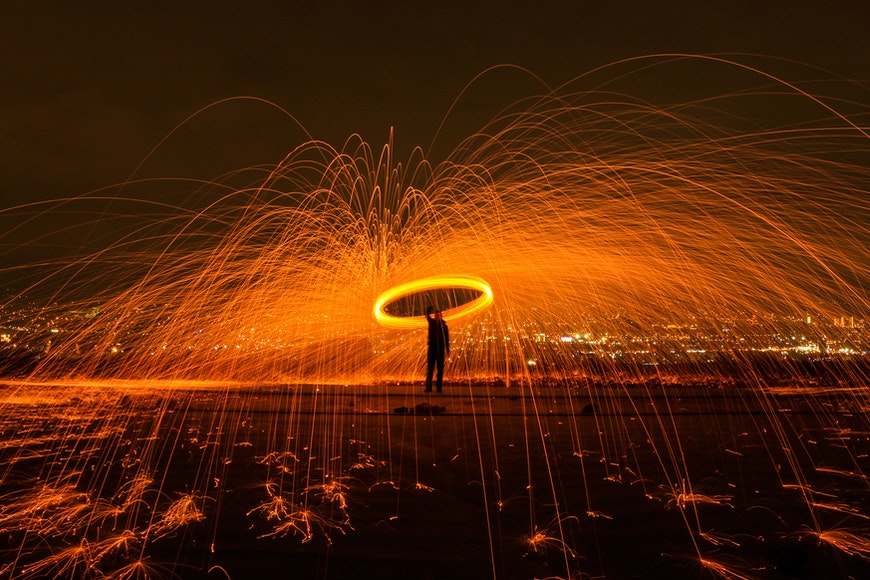
Credit: Burak Kostak
A subgenre of fire photography is spark photography. You can photograph party sparkles, a welder at work, or try some steel wool photography (just remember that the latter might not be legal in your area, so please check for local regulations and safety measures).
So, how do you take pictures of sparks? Once again, we’re talking about long-exposure photography.
A fast shutter speed won’t capture many sparks – so the longer you keep the shutter open, the more sparks you’ll capture. You can start with 2 seconds and adjust from there.
As mentioned before, you’ll need to use a tripod and a trigger – this way, you won’t cause camera shake when you press the shutter button.
Use manual focus to keep your subject sharp, and try to keep a close aperture to have a deeper depth of field. You’ll probably need a higher ISO unless you add another light.
Since sparks can fly far, make sure you keep a safe distance. Also, wear eye protection and protective clothing – and make sure the fire is far away from any dry grass or other flammable things.
6. Candlelight photography
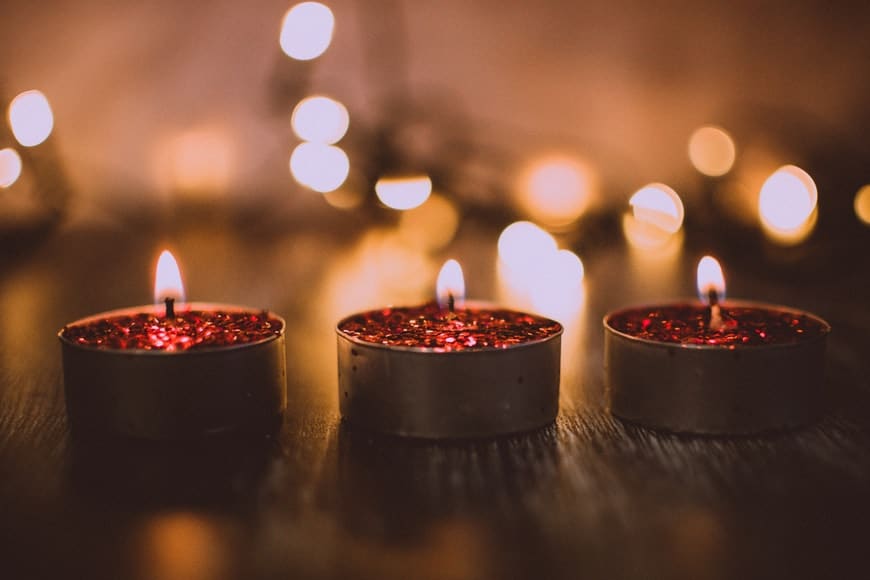
Credit: Lisa Fotios
Candles are a great way to get you started in fire photography because they aren’t as risky as other fire photos with big open flames.
That said, you still need to make sure that there isn’t any paper or fabric near the candle flame that could catch on fire. So, adhere to all the basic safety measures for your photo shoot.
When there are many candles, using the widest aperture to have a narrow depth of field will give you excellent results because the other flames will create beautiful bokeh. It’s also great to compensate for the low light.
Since you have a wider aperture, you can use a faster shutter speed. This is perfect if you don’t have a tripod or there’s a moving subject.
Once you set these values, compensate with the ISO.
7. Photographing fireplaces
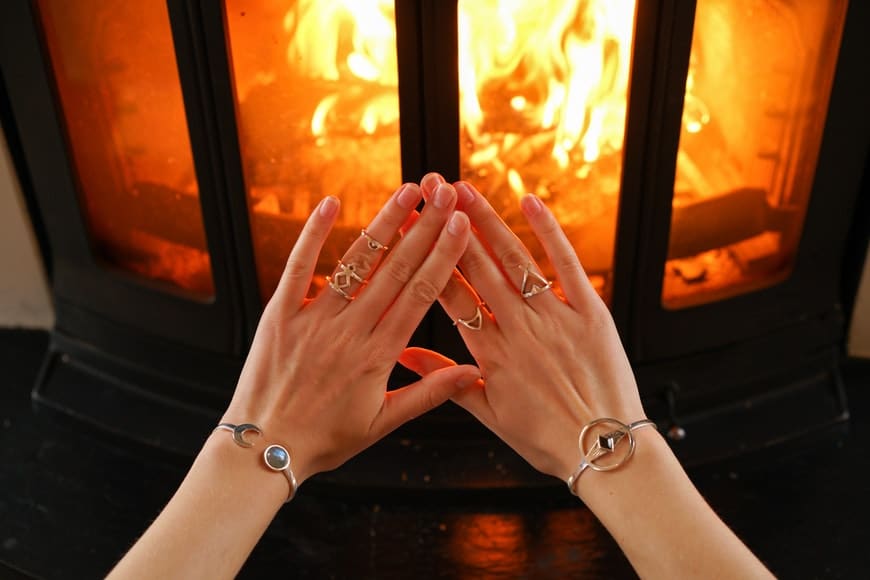
Credit: Arthouse Studio
Whether the fireplace is an accent for an interior or lifestyle shot or it’s the main subject of the picture, you need to expose it properly.
One way to do this is to take the photograph during daylight or add extra light to match the scene’s brightness to that of the fire.
Otherwise, many photographers use a technique called HDR. What this means is that you shoot the same image with several different exposures. You then merge the images together in Photoshop or other processing software.
Some cameras have an HDR mode that does the entire process automatically.
8. Use fire in portraits – Fire portrait photography
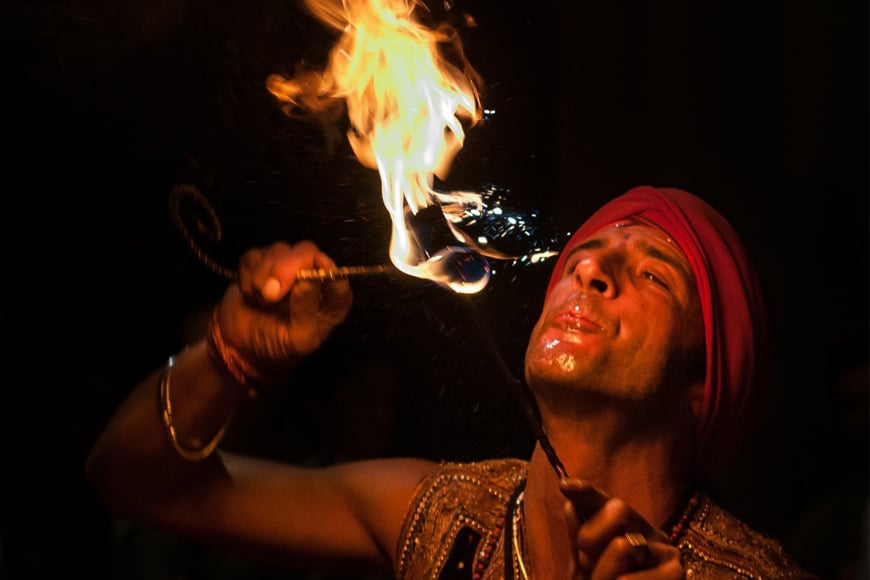
Credit: Pixabay
If you’re a portrait photographer, you can also photograph fire. You can do this in environmental portraits or lifestyle portraits.
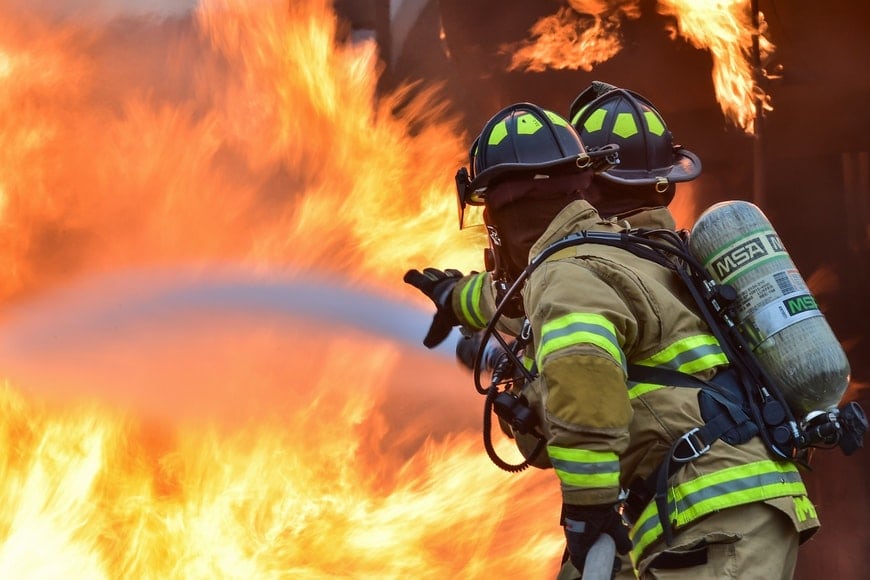
Many professions involve fire, so photographing people at work can be an excellent way to approach fire photography – think about welders, firefighters, chefs, etc.
Lifestyle photography is another way to capture fire in a controlled environment. It can be a couple in front of the fireplace, a group of friends gathered around a bonfire, someone grilling in their backyard, or many other situations.
The most important thing is that you need to nail the exposure of the face – it’s a portrait, so the main subject is the person.
If properly exposing the subject causes the fire to overexpose, you should consider adding a light source to brighten the face.
9. Fire photography with your phone
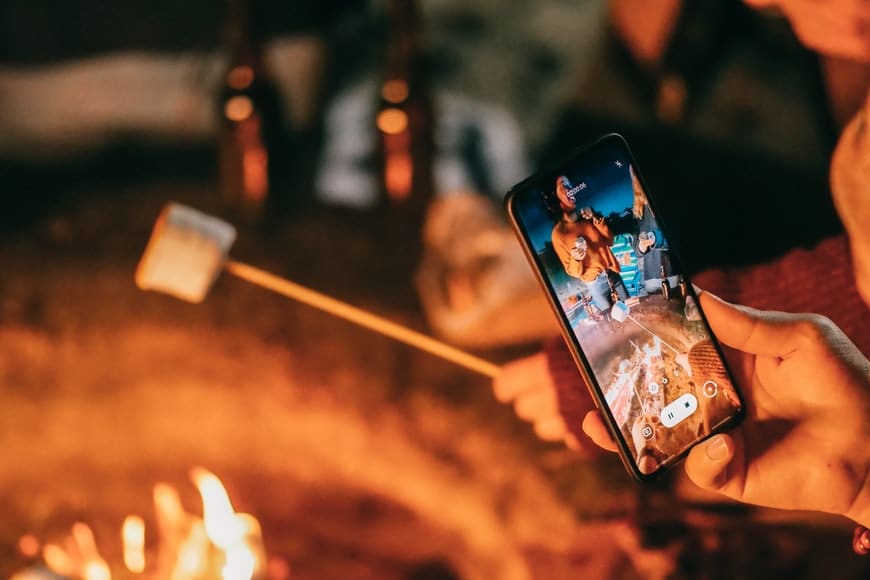
Credit: Kindel Media
So far, we’ve only talked about photographing fire using a camera. But you may be wondering, how do I capture fire on my phone?
You’ll need a tripod because you’ll use a slow shutter speed. You can also set up the timer to avoid accidentally moving your phone when you start shooting.
If you know your way around the camera settings, you can use a camera app that allows you to work in manual mode. Then, follow the same advice given to photograph fire with a camera – slow shutter speed, high ISO, etc.
Otherwise, use the regular app you usually use. Turn off the flash, and tap on the flame or the main subject if you’re using fire as ambient light. Then, swipe up and down to adjust the exposure until you find the right one.
10. Have you tried photographing fireflies?
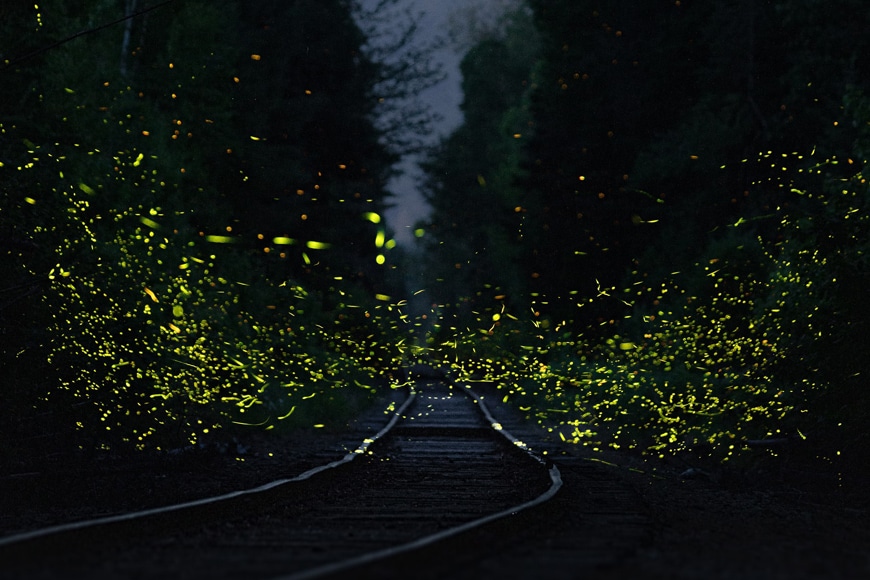
Credit: Evan Leith
I know fireflies are not made of fire – so, I apologize for the wordplay. They are worth mentioning here though because you can get a great shot using the same techniques that you use for fire photography.
The process is very similar to photographing sparks. Set up your camera on a tripod and hook it up to a remote trigger.
You’ll need to capture a bigger scene because you don’t know their exact trajectory, and you’ll want to capture a trail. So, use a wider angle and compose the frame.
Remember that you can better see fireflies on moonless nights, so you’ll be mainly in the dark. Use a torch or a light to illuminate something in the scene and use that object to set the focus. Then turn the light off.
Now, use a slow shutter speed and a wide aperture, and try to keep the ISO low to avoid noise – but do some trial shots and see if you need to adjust. Again, it’s about trial and error.
How do you capture fireflies on your phone cameras? Well, smartphones aren’t that flexible regarding the exposure settings. The best thing is to get an app designed for night photography or astrophotography.
Usually, these apps have long exposure options like low light mode or star trail modes. ProCam 7 is a great app for firefly photography.
11. How to edit fire photography
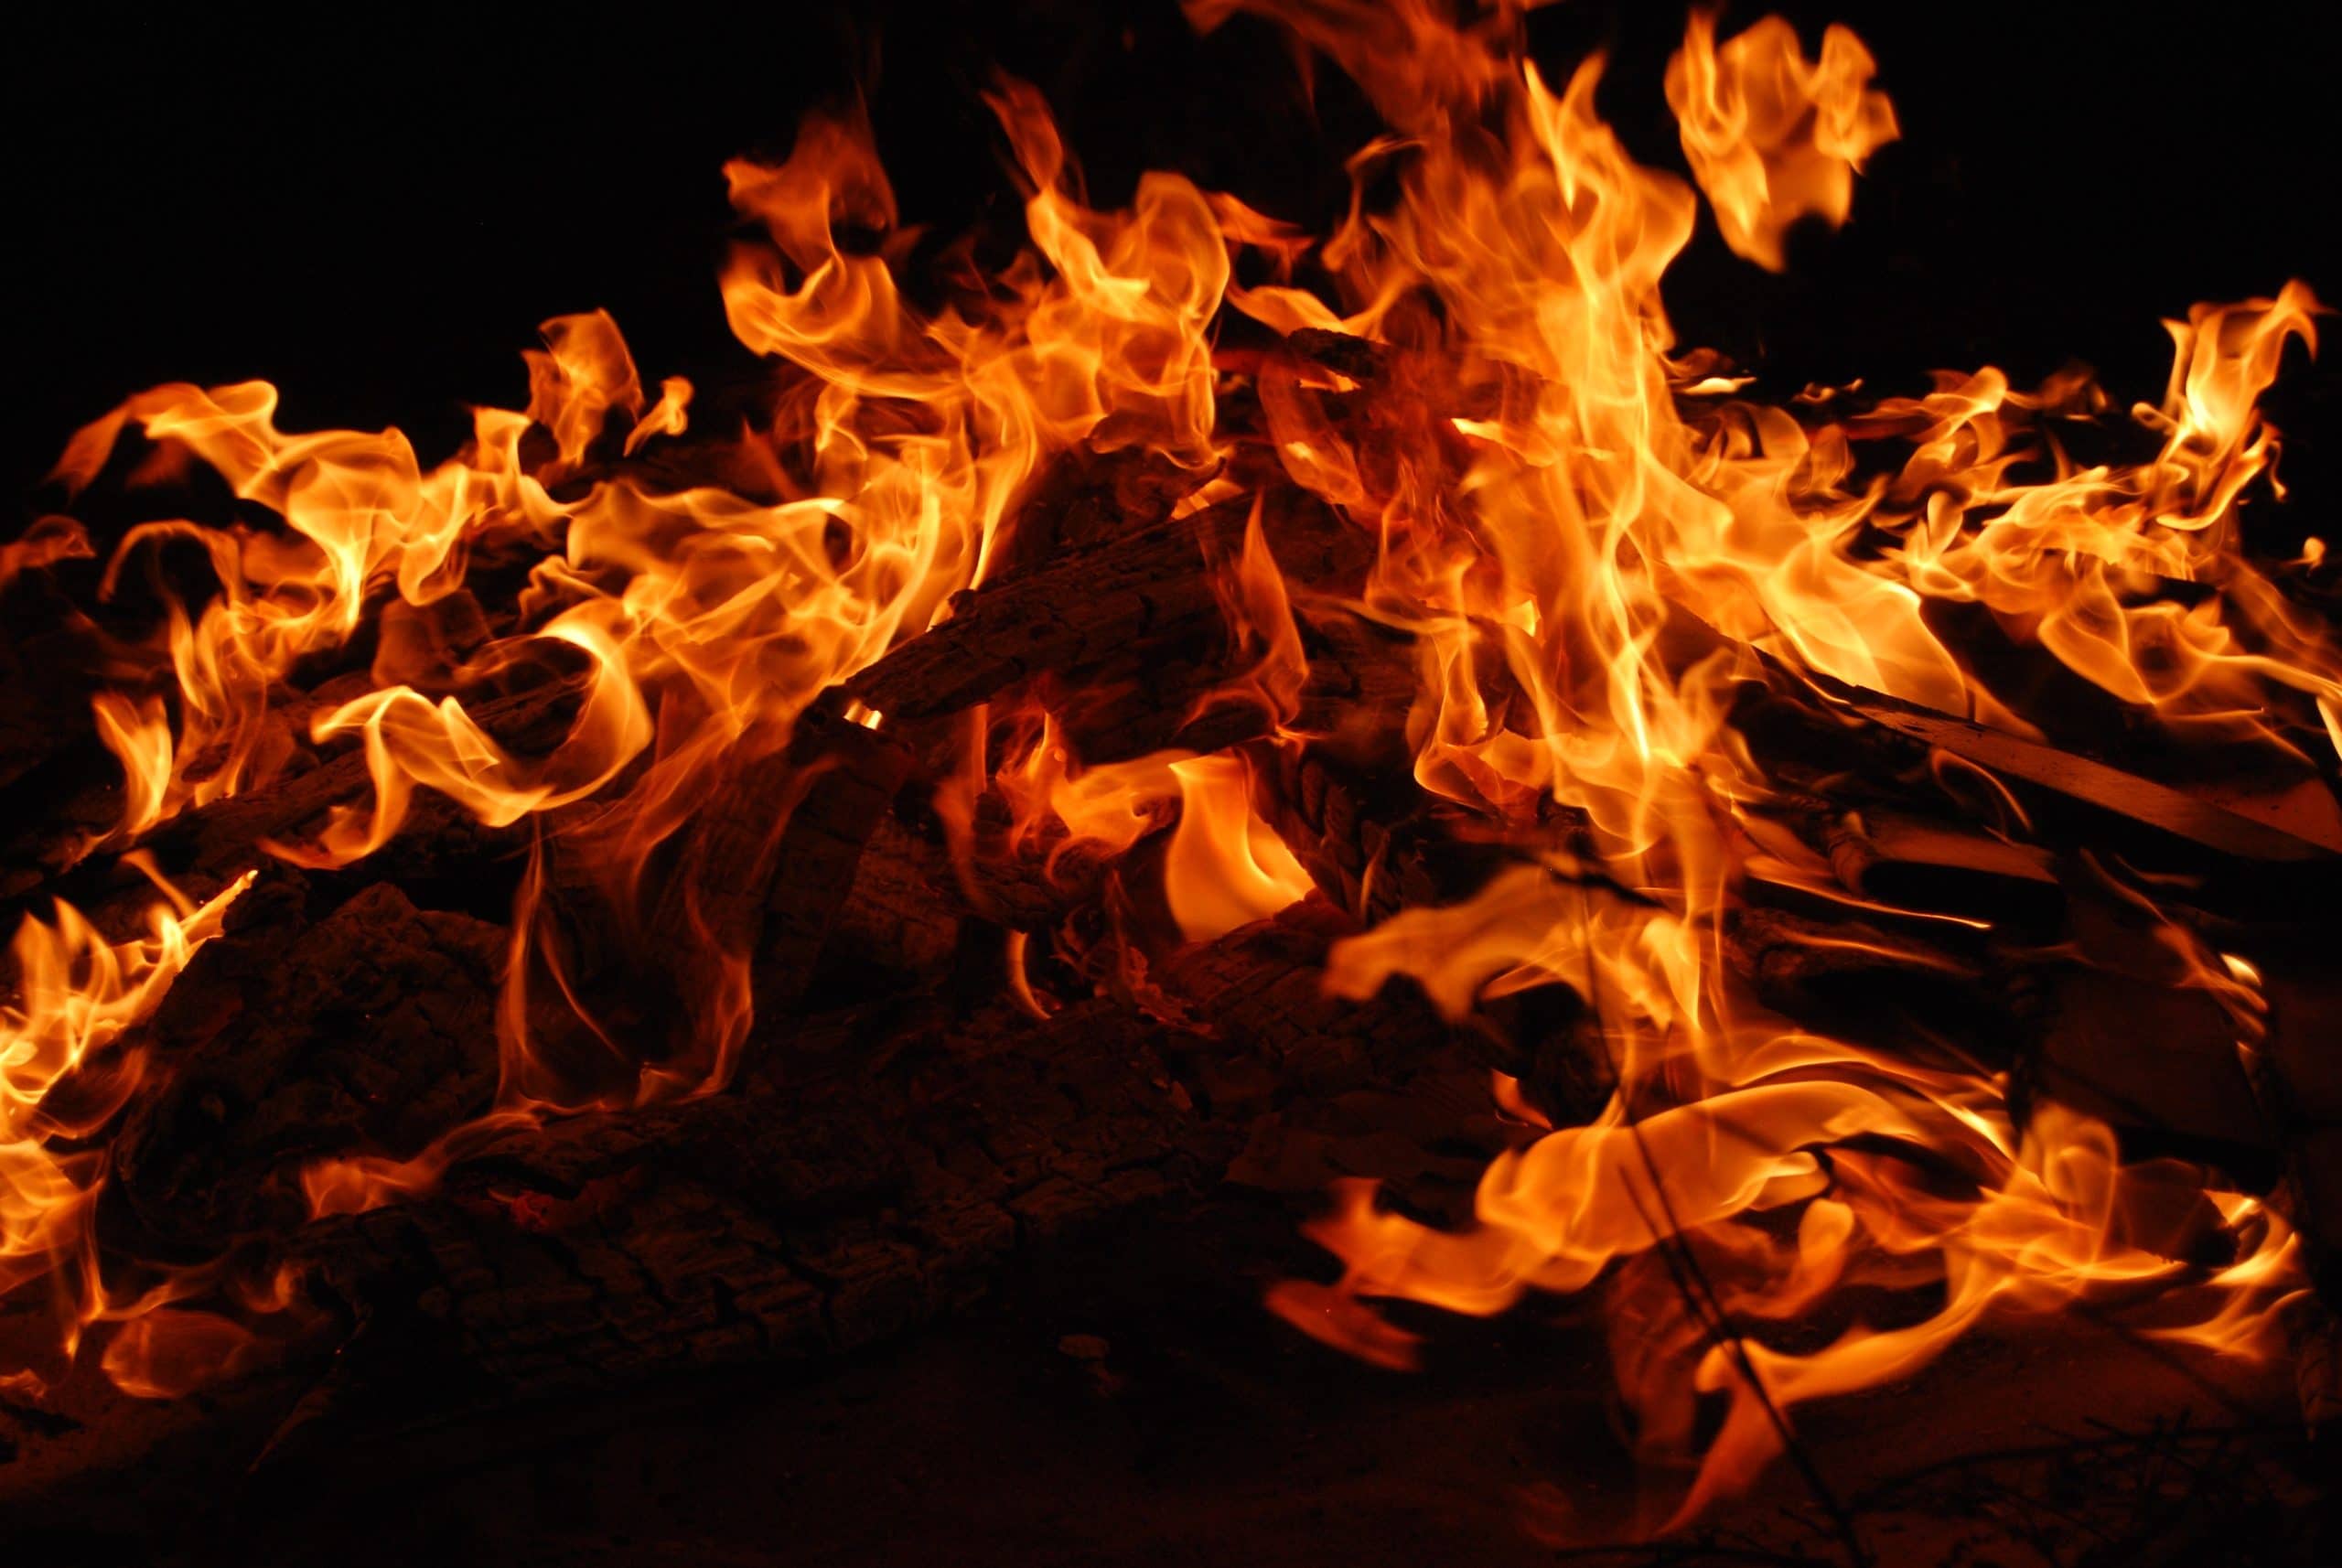
Credit: Pixabay
Shooting fire images in raw format will give you the best conditions to edit. I usually do my editing in either Lightroom or ACR, but you can use the program of your choice. Most of them have the same tools – they’re even called the same or very similar, so you won’t have any trouble finding them.
Remember that fire photography is supposed to have warm tones. So, you don’t want to adjust the white balance too much.
Since fire photography is often very contrasted, you’ll have to lower the whites and highlights to avoid clippings in the flames. Then, soften the shadows to reveal any hidden details.
This process lowers the contrast – which is often needed, but you don’t want your fire photos to look dull either. So, adjust the vibrancy and clarity to make the colors pop.
Since fire photography is usually done in low light conditions, you probably used a long shutter speed and a high ISO. These settings often cause noise – particularly in the darkest areas.
So, use the noise slider to correct it. This often results in losing sharpness – try to compensate without introducing the noise again. It’s a matter of finding the best possible balance.
Now that you have a good base, the rest of the process depends on your style of fire photography. Whether you want to do some color grading, apply filters, etc, that’s up to you.
Final Words
I hope these photography tips help you when it comes to creating a stunning fire image. Remember to keep everything safe and enjoy experimenting with all the creative opportunities fire offers.
If you have any doubts, feel free to ask your questions in the comments. Also, let us know what other tricks you use in your fire photography, and don’t forget to check out these fire quotes and captions.


Ana Mireles is a Mexican researcher that specializes in photography and communications for the arts and culture sector.

WELCOME TO SHOTKIT
Enter your email to be sent
today's Welcome Gift:
19 Photography Tools
🔥 Popular NOW:


Shotkit may earn a commission on affiliate links. Learn more.