


Clothing Photography – How To Take Photos of Clothes
Need to take some awesome clothing photos for your online brand? This guide to clothing photography will lead you from set-up to post-processing.
Learn | By Ana Mireles
Whether you’re a product photographer or a retailer photographing your own products, this clothing photography guide is for you.
In this article, I talk about everything you’ll need for a successful clothing photo session – from preparation to retouching.
I’ll start by discussing some ideas on how to display the clothes. Then, I’ll talk about the photographic aspects like lighting, exposure, etc.
Lastly, I’ll cover some basic editing and some more advanced retouching techniques.
Table of Contents
Choose How to Display Your Clothing
How you display the clothing determines the lighting, the equipment, and the overall style of the image.
So, you must know your options and decide which is best for you.
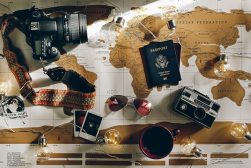
Flat Lay Clothing Photography
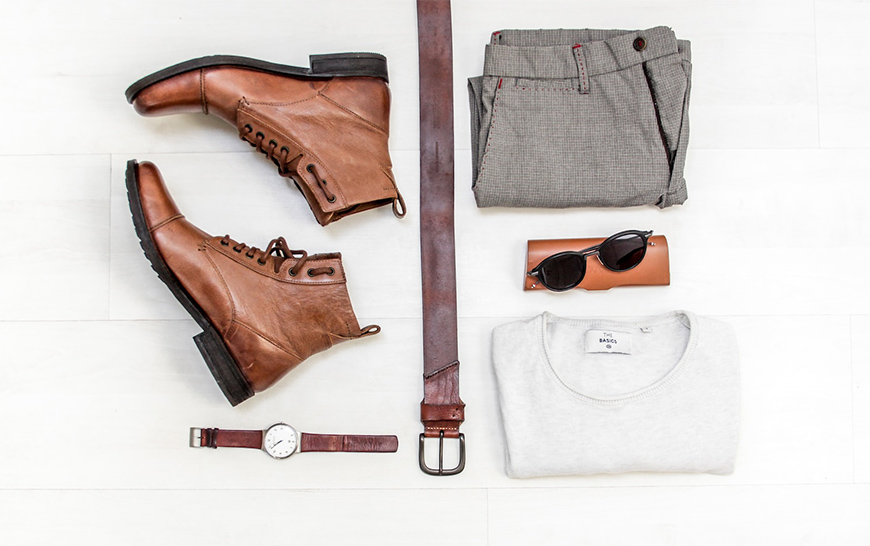
Credit: Nordwood Themes
Flat lay photography is a sub-genre of still life or product photography. The main characteristic is that the objects are arranged on a flat surface. Then, you position the camera above so the sensor is parallel to the surface.
This is a great style to showcase multiple products. In clothing photography, you can use it to display a variety of colors of the same article.
Flat-lay photography is also helpful in proposing articles that work well together. This way, you’ll offer the client an entire outfit promoting many pieces with a single shot.
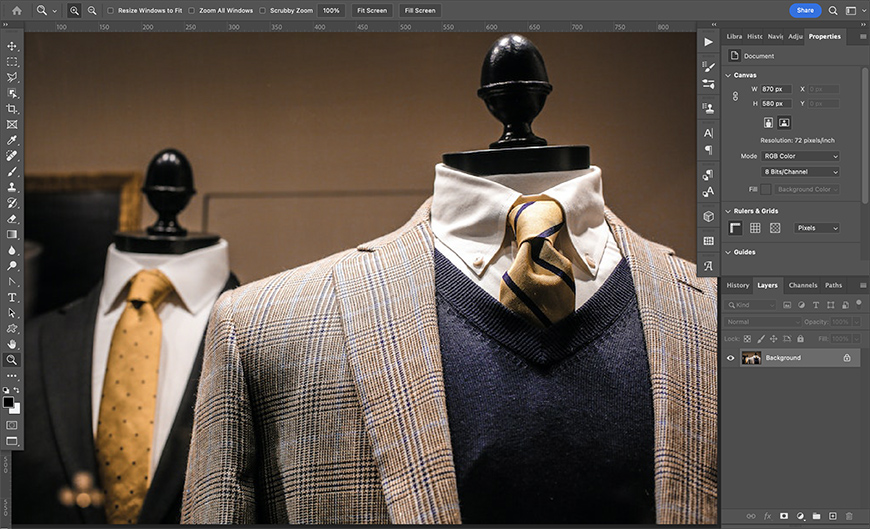
Using a Mannequin
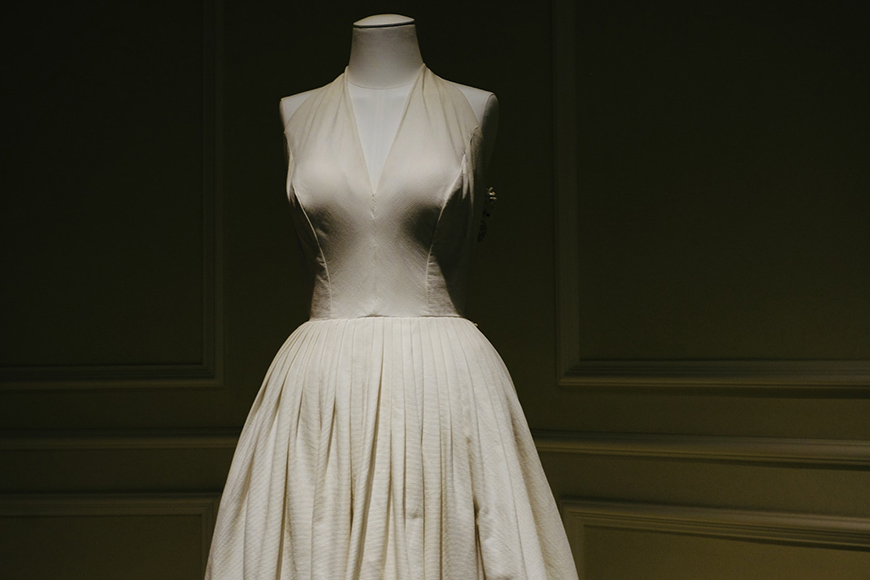
Credit: Wang Yan
Using a mannequin to photograph clothing is very useful for an online store. This is because you’ll show the customer the fit and wearability of the product.
When you take pictures of clothes on a mannequin, you can capture as many angles as necessary to show all the details.
Ghost Mannequin Style
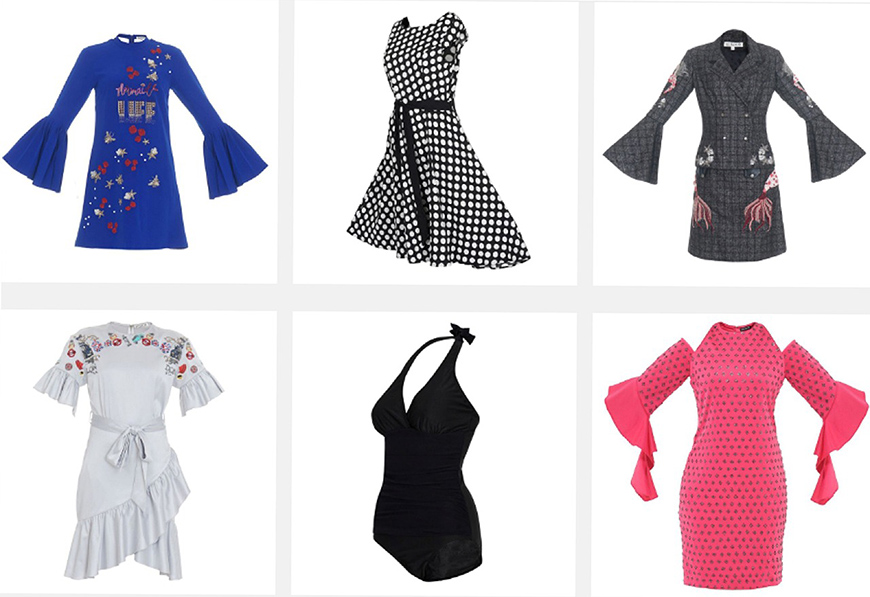
Credit: Bringitonline2020
The ghost mannequin is a clothing product photography technique that allows you to show the product as if an invisible model was wearing it.
You’ll be able to use this once you master advanced editing techniques. It may not be as easy as using a regular mannequin, but the effect is worthwhile.
You need to get the right photos at the photo shoot to use this technique. Then, put them together in post-production. Further on in the article, I’ll talk about how you can create this effect.
Using a Model
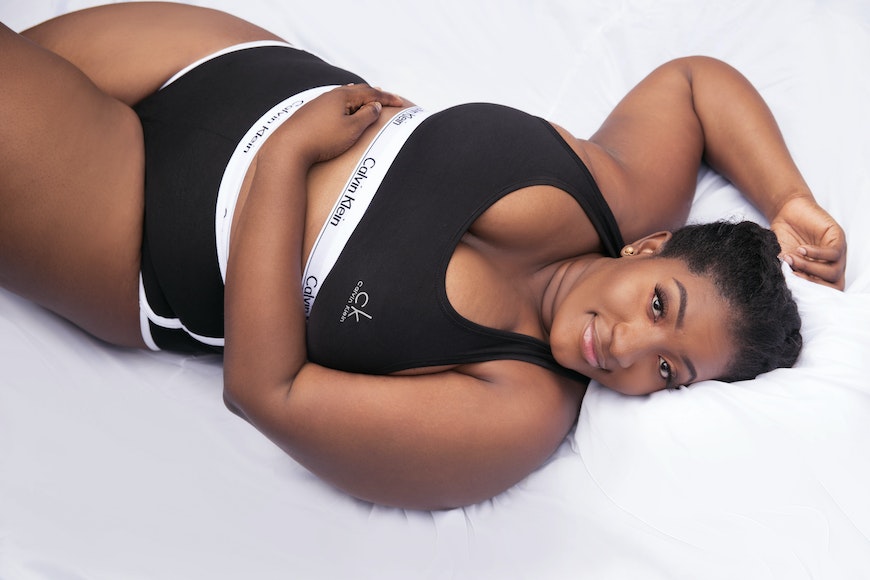
Credit: Jennifer Enujiugha
Using a model is the most realistic way of doing a clothing photography shoot. Showcasing your products on a natural person gives the customer a better idea of how it flows and folds with natural movements.
This certainly gives the most confidence to buy items from an e-commerce store. Of course, it requires a bigger budget as you’ll have to pay the model for each photo shoot, while the mannequin is a one-time investment.
Of course, you can also ask a friend or a family member to model for you. Remember that you need a model release to use the photographs, whether it’s a professional or a friend.
You can find models easily on ModelMayhem.
Using a Clothing line
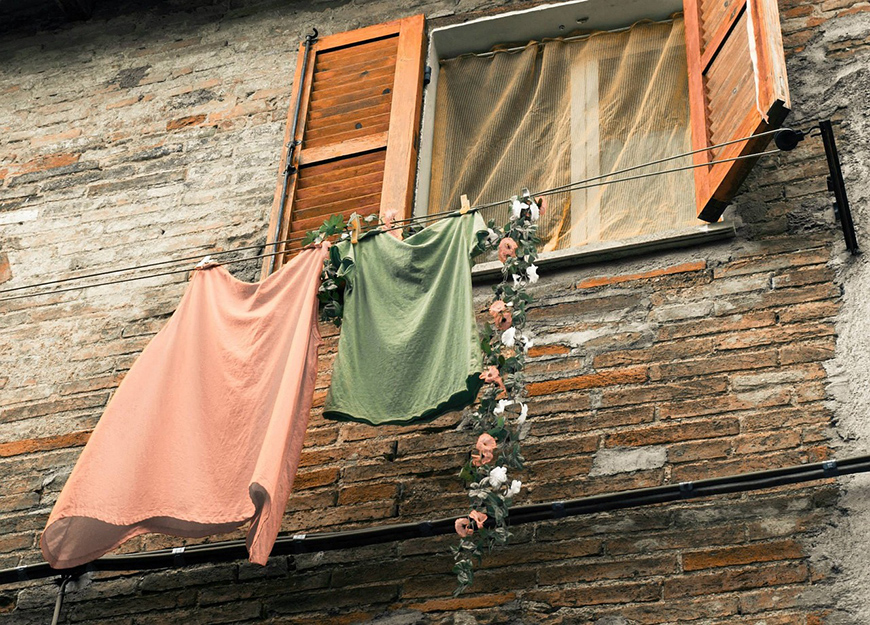
Credit: Phio
A clothing line is a fun and casual way to photograph clothes. You can use these lifestyle shots for your Instagram profile or as part of the website.
Usually, for this type of photograph, you’ll use natural sunlight. This makes it easier if you don’t have lighting equipment.
If you like the idea of photographing clothing in different lifestyle shots, you can also hang it on a rack in a photography studio. You may also portray it inside a closet, folded on a chair, etc.
How to Set Up Your Clothing Photography Studio
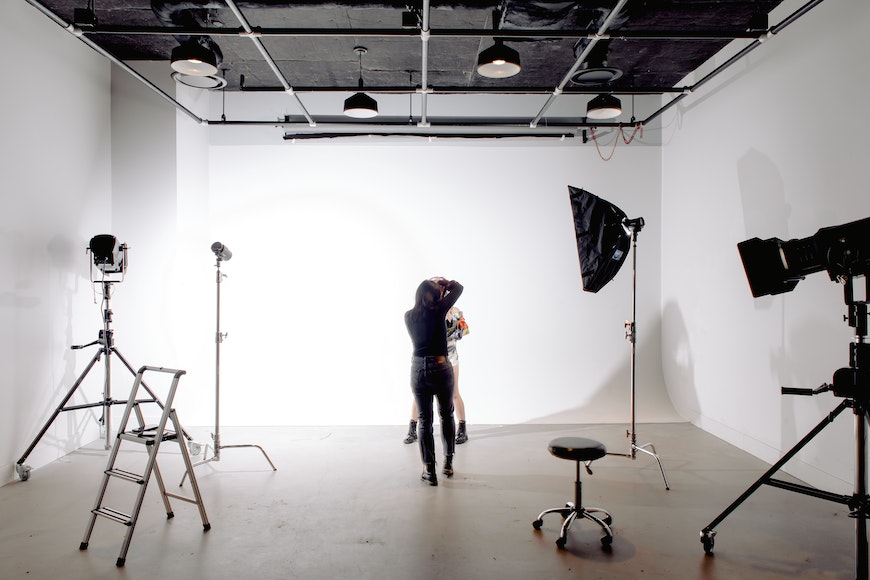
Credit: Harrison Haines
Clothing Photography Equipment
Some of this photography equipment is optional, but it will help you get more professional-looking images.
- Camera
- Lens
- Light modifiers
- Tripod
- Color Checker
- Studio lighting trigger
Choosing the Background
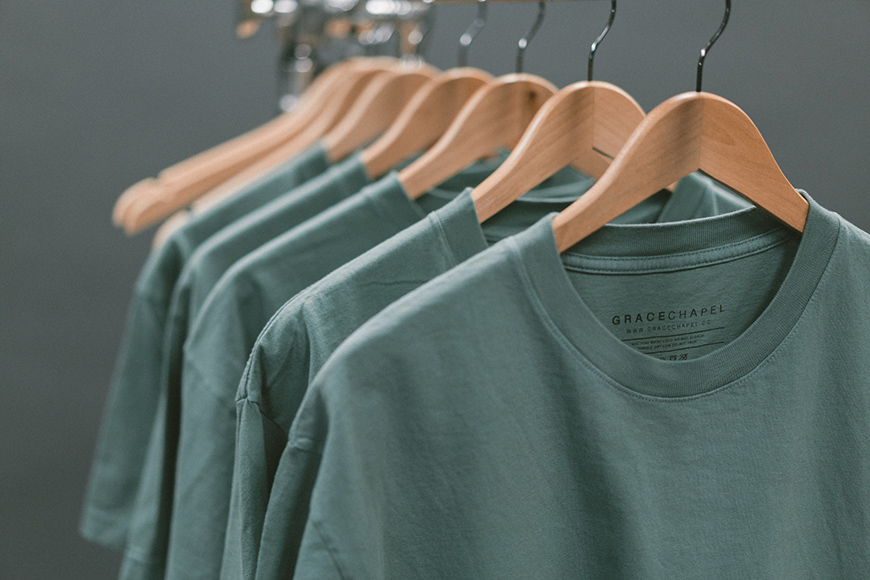
Credit: Keagan Henman
You might not think so, but the background is essential in apparel photography. It should complement the clothes that you’re photographing.
A solid white background is always a safe choice. It won’t distract attention from the subject, and it’s easy to retouch or change according to your needs.
Neutral colors are great for all sorts of garments. They aren’t distracting and go well with other colors and patterns.
If you want to be more creative, choose the background according to a color palette. You can choose contrasting colors, a monochromatic scheme, etc.
- See also: What is the best photography background?
Lighting Setup for Clothing Photography
In apparel photography, you can use natural light or artificial lighting equipment.
You can use natural light if you’re just starting or don’t have a big budget. To do this, you need a photo studio with a window.
Make sure the sunlight isn’t hitting directly at the window when you’re taking the photos. This would create hard shadows that aren’t very suitable for product photography. If you can’t avoid this, then place a light diffuser in front of the window.
In the same way, when you’re using artificial lighting, you can put an umbrella or a softbox on the light head. If you bought a lighting kit, you probably have some light modifiers that came with it.
Otherwise, you can diffuse light by pointing the light head at the wall or ceiling – only if they’re white. If not, the color will be cast on the clothes affecting the real color.
Now that you know about the light quality, you must also consider position lighting. Where you place your light sources will directly impact the shadows and, therefore, the texture and depth of the image.
For a simple setup, you can use a single light from one side and a white foam board on the opposite side to fill in the shadows.
If you want something more complex, you can use a three-light setup with a hair light to separate the model from the background.
You’ll need to experiment with different lighting styles to find the one you like best. Remember that not all clothes look great in the same light.
So, choose your lights depending on the product’s characteristics, the goal of the photo, and your style.
Camera Settings for Clothing Photography
In apparel photography – as in any product photography shot, you need the subject to be in complete focus. To ensure this, you’ll want to set the aperture to f/8 or f/11. Each lens has a sweet spot – find the one in your lens and use it for your product images.
Keeping a low ISO value is best to preserve image quality. This is because higher ISOs produce distracting noise. So, if there’s enough light, keep the ISO to 100 or 200 at most.
As for the shutter speed, ideally, you should use 1/200 if you’re working with a model. You can lower it down a bit if you do a flat lay or shoot the clothes on a hanger or mannequin.
To use these optimal camera settings, you need to work in a well-lit environment during day time with good weather. Otherwise, use artificial light. You don’t need highly professional equipment – a beginner’s lighting kit should do the trick.
If you don’t fit any of these conditions, modify the camera settings to get the correct exposure. Maybe increase the ISO or use a slower shutter speed. Do a test shot after adjusting the settings to see the result.
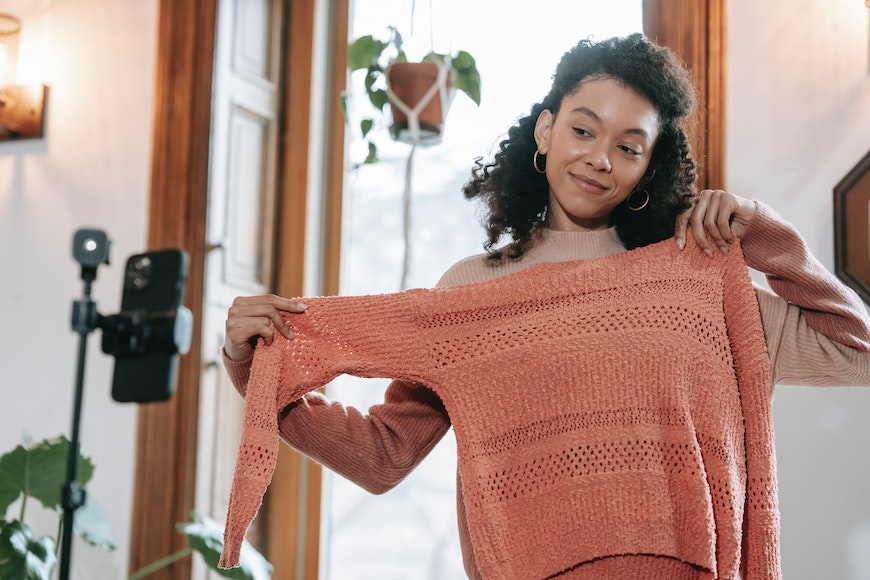
Prepare the Clothes Before the Shoot

Credit: Ron Lach
Taking a few extra minutes preparing garments will save you lots of time and effort in post-production.
So, preparation is the crucial starting point in a clothing photo shoot. You should iron the clothes, ensure there aren’t any smudges or stains on them, cut loose threads, etc.
All of these things could be fixed in Photoshop, but it’s much faster, and you’ll get better results by doing it before the shot.
Then, set up the clothing properly. If you’re doing a flat lay, make sure things are folded nicely and evenly. If you’re using a mannequin, use clamps to make it fit as it should, etc.
Taking the Clothing Photos
Credit: Miriam Alonso
To photograph correctly all your clothing, you need to check set up the lights and determine the proper exposure.
You can use the camera’s light meter, but if you have an external one, you’ll get a more accurate result.
Remember to use a color checker or a grey card so you can white balance specifically to your lights and recreate accurate colors.
Make sure you take a few test shots and check them in detail. You can zoom in on your camera LCD screen. It’s even better if you shoot tethering so you can see the photos on computer screens. This allows you to check better that you have full focus, no camera shake, etc.
If you find any problems, adjust the settings to fix them.
Once you have all the technical aspects worked out, start shooting. Remember to take multiple photos of each item to have many angles to choose from.
Post-Processing Your Clothing Photos
Credit: Andrea Piacquadio
One of the biggest mistakes of new clothing retailers doing their own photos is thinking they should publish the product images straight out of the camera.
There’s a post-production process involved that will ensure high quality and consistency in your product photos. This will give your users a seamless online shopping experience.
Some of the basic edits you need to do depend on the website’s image specifications. So, start by checking the dimensions you need for each type of photo.
You’ll also need to crop product images identically to give your website a clean and professional look.
You also need to edit the white balance and do some color correction. This is important in product photos for online stores as customers expect to receive the product with the color they chose on the website.
Also, make sure your product images have as much sharpness as possible. This way, the client can see all the details and understand the texture of the fabric.
Then, you can move on to more advanced editing techniques if needed.
Removing Blemishes
Blemishes on clothing photography may be loose threads, stains, small holes, etc. Of course, this type of retouching should mislead the customer.
This means that if you’re photographing a shirt with a hole, it’s OK to remove it if it’s not the same shirt the client will receive. Instead, if it’s a vintage shop and this is the item’s condition, you shouldn’t retouch it. This is because the clients need to know precisely what they’re buying.
Having said that, you should take care of any blemishes during the preparation phase of the photoshoot. This is easier and faster than doing it digitally.
However, if you missed something at that time, you can always fix it in post-processing. I use Photoshop, but many editing programs have the same or similar features.
The main tools you need to know to remove blemishes are the Clone Stamp and the Healing Brushes. They work similarly, except the Healing brushes blend new pixels with the old ones. Instead, the Clone stamp replaces the old pixels with the new ones.
Here’s how to remove blemishes in Photoshop.
Removing Wrinkles
Even if you iron the clothes before the photoshoot, one or two wrinkles may escape your eye during the shoot.
That’s the best-case scenario, though. Imagine that you couldn’t prepare the clothes and didn’t iron them for whatever reason.
Not to worry, there’s a technique called frequency separation which you can use to remove wrinkles from clothing. Make sure you do this before editing your photo.
Using Photoshop, duplicate the background layers twice.
Name both copies. The one on top will be High Frequency (or Texture), and the other will be Low Frequency (or Color).
While in the Low-Frequency layer, go to the menu Filters > Blur > Gaussian Blur. Choose a Radius where the texture starts to disappear.
In the High-Frequency layer and go to the menu Image > Apply Image. In the dialog window, change the Layer from Merged to Low Frequency (or however you named the blurred layer). Now, change the Blending Mode from Normal to Subtract. Click OK.
In the Layers panel, while the high-Frequency layer is still selected, change the Blending mode to Linear Light.
Group both layers.
Use the Mixer Brush tool on the Low-Frequency layer and ensure it’s transparent. Start painting over the wrinkle in the same direction as the said wrinkle. You can turn off the top layer’s visibility if you find it more comfortable.
You can use the Clone Stamp or the Healing tools in the High-Frequency layer if necessary. However, this may mess with the fabric’s texture. So, use it carefully.
Here’s how to use frequency separation in Photoshop.
How to Create a Ghost Mannequin Effect
If you have a mannequin with removable parts, things get much easier. However, you can also achieve the ghost effect with a regular mannequin.
Use a white background or a color contrasting with one of the clothing. This way, it will be easier to remove when you’re editing.
Now, dress the mannequin and make the clothing fit perfectly – use clamps if needed. Also, make sure the clothes are cleaned and ironed.
First, shoot a photo from the front. Try to keep the camera at chest level to avoid distortion.
Use the camera in manual mode so that the camera settings remain the same in every shot. If you let the camera decide, your photos won’t be a perfect match in your composite, and this will add time to your editing.
Put the T-shirt inside out and backwards. This way, Now you can photograph the return of the collar.
In Photoshop or the software of your choice, composite an image using both shots.
Add a shadow inside the neck where the front side would cast it. The angle of the shadow depends on where you had the lights during the shoot.
Select the clothes and remove the mannequin and background. Now you’ll have a ghost mannequin effect.
Clothing Photography FAQ
What is clothing photography called?
You can photograph clothing as e-commerce, product or fashion photography. This depends on the style, production, and use of the image. Clothing photography generally refers to images dedicated to selling clothing on websites. It’s also called apparel photography.
How much should I charge for clothing photography?
There’s no simple answer to this question. It depends on the style of the photos – it’s not the same thing to photograph hung t-shirts as styling and working with a model. It also depends on the number of items, the amount of retouching, etc. You can charge $5 per photo if it’s an e-commerce shot for 1000 items or $80 per each ghost mannequin photo. Another way to price your work is by the hour. On average, product photographers may charge from $100 to $200 hourly in the US.
What lighting is best for clothing photography?
You should use soft lighting to avoid deep shadows where you can’t see the details. However, position your light at an angle to create depth and texture. One light at 45 degrees and a reflector on the opposite side is a good and simple solution.
What is the best backdrop for clothing photography?
A white background is the best for photographing clothes. This way, it won’t create any color casts and is easy to remove or change in post-production.
How do you photograph flat lay clothes?
To do a clothing flat-lay photograph, you need to arrange the items on a flat surface, creating a nice composition. Then, put the camera on top and photograph the scene directly from above. Make sure the sensor is parallel to avoid distortions.
How do I take good pictures of clothes with an iPhone?
To get good clothing pictures with your phone, you should take them in a place with good lighting. You can also add an external LED light if necessary. Put your phone on a tripod to ensure the image is sharp and the composition is good. Use the primary camera if it has more because it’s the one with the better quality. Finally, don’t forget to use an editing app to finalize the image.
 How to Use Frequency Separation in Photoshop (Pro Tips)
 33 Most Famous Film Photographers in 2023
 33 Most Famous Architecture Photographers in 2023
 26 Famous Car Photographers to Follow in 2023
 31 Most Famous Travel Photographers to Follow in 2023

Ana Mireles is a Mexican researcher that specializes in photography and communications for the arts and culture sector.

WELCOME TO SHOTKIT
Enter your email to be sent
today's Welcome Gift:
19 Photography Tools
🔥 Popular NOW:


Shotkit may earn a commission on affiliate links. Learn more.