


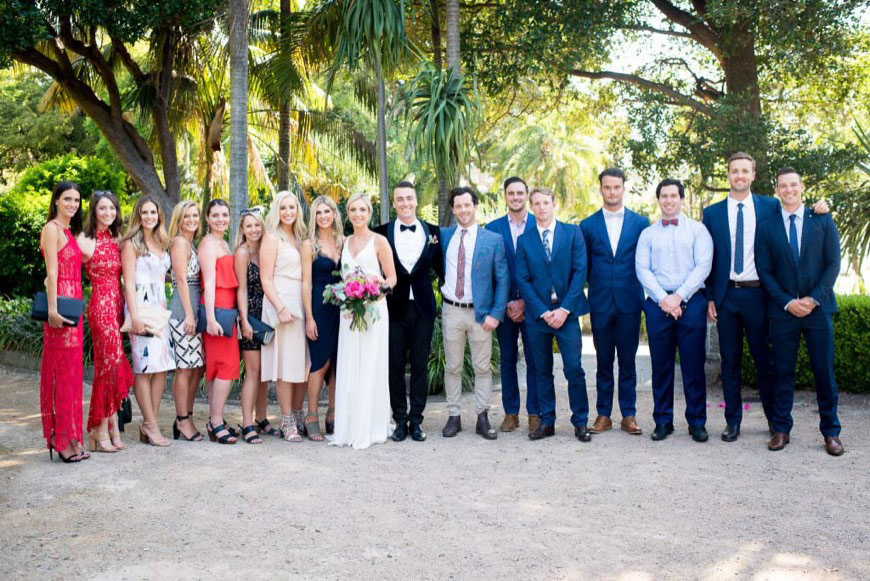
How to Take a Group Photo
Taking group photos can be tricky and intimidating, no matter your photography experience. This guide reveals 12 PRO tips to get amazing results every time.
Learn | Photography Guides | By Ana Mireles
Anybody who takes photographs will take a group photo at some point. This can be an amateur who wants to take pictures of their friends or a professional photographer from (almost) any speciality!
Taking a group photo is not something restricted to portrait photographers – it’s a skill that works for fashion, travel, corporate, events and wedding photographers. That’s why it’s so important that you master it.
Sometimes it’s intimidating as a photographer to work with a large group because you feel overwhelmed about the number of people involved or simply because you’re shy about taking control.
Not to worry! In this article, you’ll find all the tips necessary to make amazing group shots, whether you’re a professional or a photo enthusiast.
We’ll also include plenty of group photo examples to keep you inspired, so let’s get stuck in.
Table of Contents
12 Tips for Taking Better Group Photos
In these group photography tips, you’ll find all the information that you need to deal with a small or a large group of people during a photoshoot – from gear to location to posing.
1. Prepare your gear
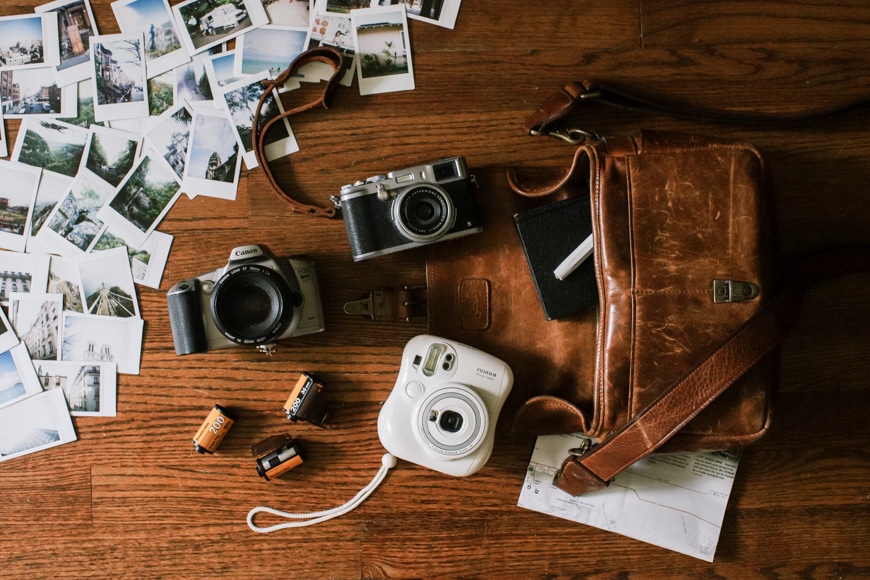
Camera gear of Megan Tsang.
You can take inspired group photos with any camera, or even your phone. However, if you’re serious about taking professional pictures, you’ll need some more equipment:
- Camera
You can do a group portrait with any camera, but some features make some cameras better than others.
The first consideration is the capability to use different lenses. I’ll get into more detail below, but having interchangeable lenses is best.
Another important issue is quality and resolution. While you want to have sharp details in any photo, it becomes more of an issue when you’re capturing a group of people, and each one will only cover a small part of the frame.
- Lens
Wide-angle lenses are the go-to option for group photos because you’ll be able to fit everybody in without the photographer having to step further back. A 35mm is the most popular because it also doesn’t create much distortion.
However, if you’re not working with a big group, you can use longer lenses because you can create a nice bokeh in the background. Longer lenses also tend to be more flattering too.
So, is a 50mm lens good for group shots? Yes, a nifty fifty will create a natural look similar to how we see things with the naked eye.
It’s also a budget-friendly prime lens for sharper images. If you’re working with a large group, you can always pose them in different rows – more on posing group photos below.
- Flash
A flash is not necessarily used in a group shot, but it depends on the location, time of day, etc. However, if you know there won’t be enough light, always bring an external flash – avoid using the camera’s built-in flash, since it won’t have a wide enough ‘spread’ to cover all the people in the group shot.
- Tripod
A tripod is an optional yet useful accessory. You can set up the frame and composition and then stick your head out from behind the camera to connect with the group, make them more relaxed, make them laugh or just to guide the posing, etc.
- Remote shutter release
Together with the tripod, a remote shutter release will give you the freedom to move and interact with the group instead of hiding behind the camera. Some of the best family photos are the result of stepping out from behind the camera to interact with the group.
2. Master your camera settings

Credit: Ksenia-Chernaya
One of the most commonly asked questions is: what is the best setting for group photoshoots?
…to which I always answer that it depends on what you want to achieve! Here are some guidelines that can help you master the camera settings in all group photos.
- Aperture
This is one of the most important settings in a group photo because the aperture controls the depth of field. You want each and everyone to be in focus.
What aperture to use will depend on how large is the group and how are they distributed in space. If they are all lined up, you don’t need as much DoF as you do for a group that’s posing in two or three rows.
To be safe, use small apertures such as f/8 or f/11 to ensure everyone’s face is in pin-sharp focus. Always take a trial shot and zoom in to see that you have sharp focus on all the faces.
- ISO
To avoid any digital noise, use the lowest ISO possible. If you’re shooting in daylight, it shouldn’t be difficult to stay at 100. You might have to raise the ISO value for low light situations – just make sure you don’t crank it up more than you need.
If all else fails, capture your group photos with a higher ISO, then use software to reduce the noise in post-production – here are some options to help clean grainy photos.
- Shutter speed
To avoid camera shake, make sure you use a shutter speed value that’s higher than your focal length. For example, with a 50mm lens, don’t shoot slower than 1/60.
If you’re using a tripod, you can use slower shutter speeds – just make sure it’s enough to freeze any movement from your subjects. This is particularly important with family photography and the erratic movement of animals or children!
- Focus Mode
Nailing the focus on a group photo is much harder than it is on a single portrait. Fortunately, some settings can help you out with this task.
You should set the camera to autofocus as long as you set it to single point focus. This allows you to move the focal point manually.
Where do you focus in a group photo? Keep in mind that the focal point is about a third of the way into the depth of field. So, never focus on the person that’s all the way in the back or on the front.
This will obviously depend on how the group is arranged, but try to find someone standing one-third into the whole group’s depth.
- Shooting Mode
If you’re comfortable using manual mode, this would be ideal. If not, you can use a semi-automatic mode such as aperture priority mode. This way, you can control the aperture for the depth of field of your group photos.
If you set the ISO in auto and set a minimum shutter speed, you should be good to go.
If you’re doing action shots, set the shutter speed faster and try using burst mode to capture the perfect moment to really nail a compelling shot.
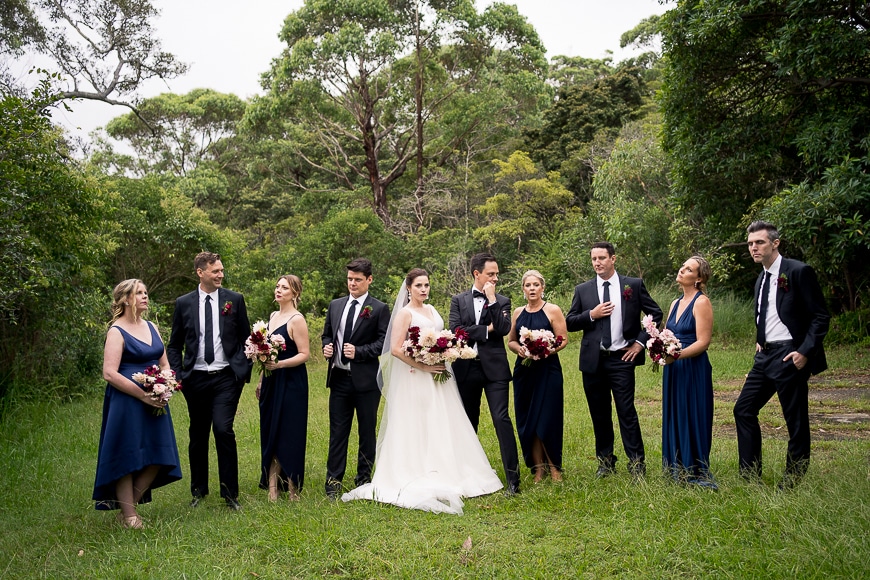
3. Nail the posing
Posing is one of the most difficult sides of taking a great group photo – it’s something that many professional photographers still struggle with.
It’s particularly tricky since you need to direct several people, who all have different body types… make them look good, relaxed and connected! Below are some ideas to consider when posing groups – we also have guides on posing males and females too.
Finally, if you’re working with groups of fashion models, this article on posing should help too.
- Arrange the group in shapes

Credit: Elina Sazonova
Start by posing the group instead of focusing on single members. Think about the group as a shape.
For example, if you have two children sitting down, and the father is behind them in the middle – you can create a triangle, which is especially pleasing to the eye.
- Change your angle

Credit: Harrison Haines
To make your images more dynamic, you can change your point of view to add depth. For example, if you have everyone standing on a row, by placing the camera above head level, you’re already adding interest to the shot because it’s not how we normally see things.
It’s a subtle change, but as in the shot above where the photographer has held the camera slightly above head level, the final shot becomes more interesting.
- Spread the group
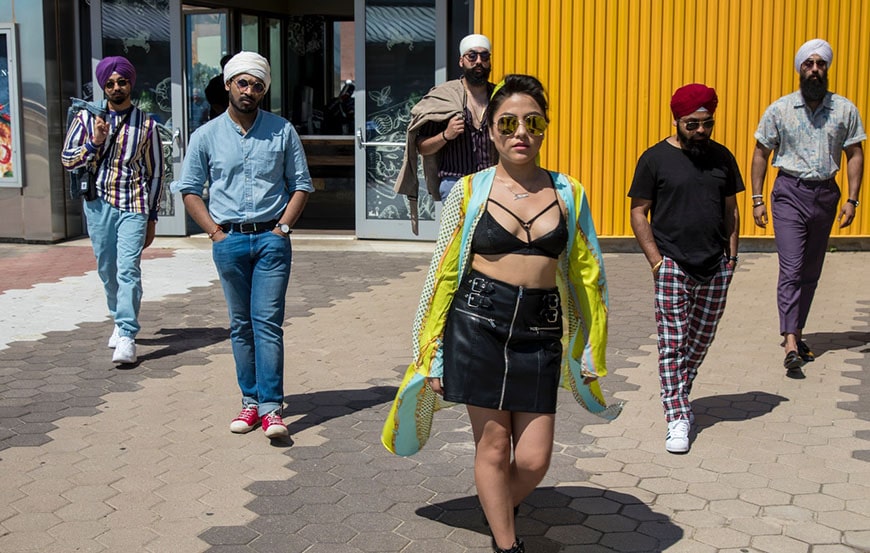
Credit: Karan Singh
Instead of having everyone together, think about separating the group by individual members or smaller groups that the viewer can easily distinguish. This will cover more ground, and it can make a more interesting and dynamic composition.
Adding to this, you can ask the group to walk towards you, while maintaining their line up – as in the shot above. Just remember to use a continuous autofocus mode, in order to track the subjects’ movement.
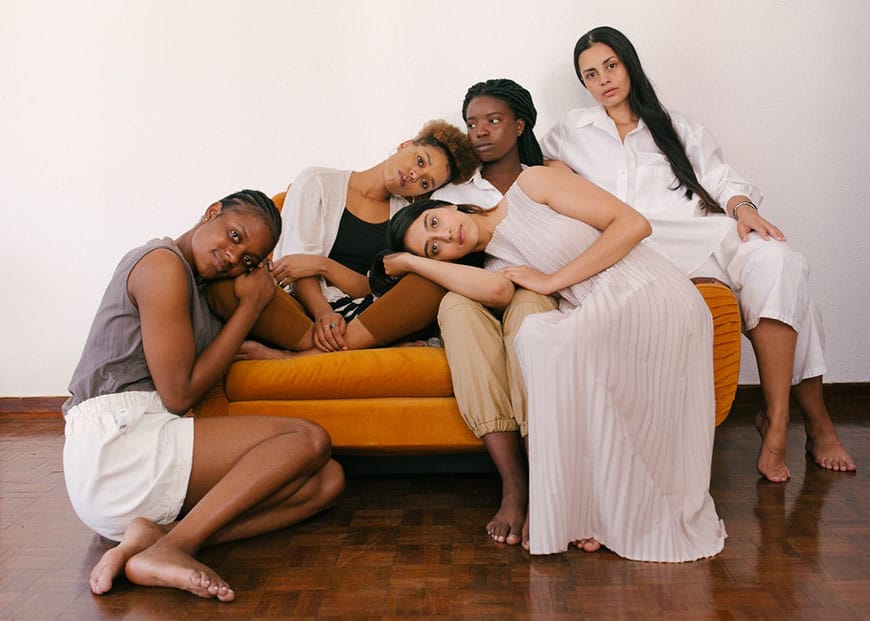
- Make a stack
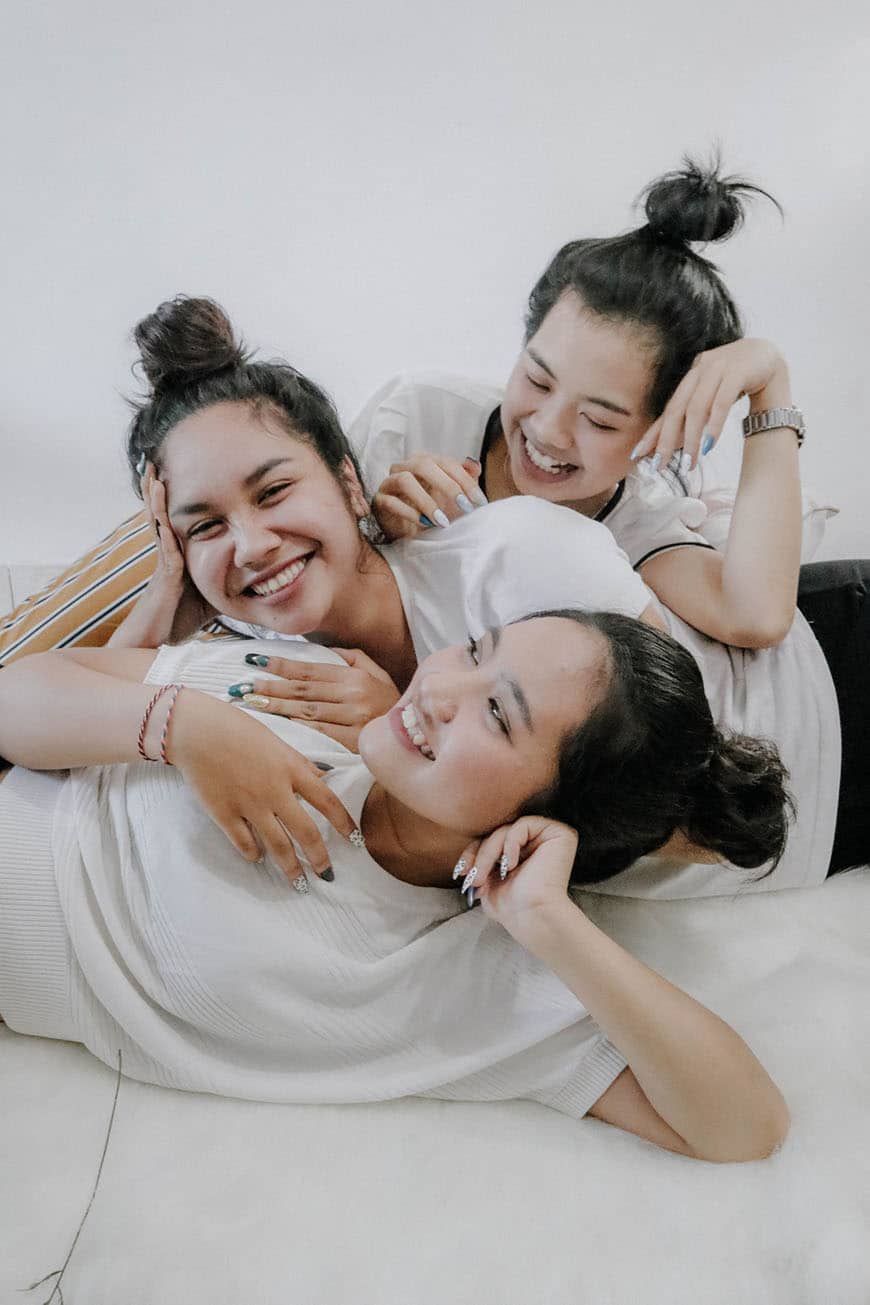
Credit: Rheza Aulia
If the group’s dynamic and the context of the picture allows it, think about stacking the models. This is a nice pose for friends photoshoots or the younger generation in family portraits.
If you’re using a bed, place pillows or cushions under the subjects to vary the heights of the ‘stack’.
- Hand placement
Credit: Quang Nguyen Vinh
The hands are always an awkward part of the body when it comes to posing. Make sure you give your subjects something to do to make things easier.
If it’s a casual shoot, they can use props or form hand figures and letters. If it’s more formal, they can cross their arms when standing up or put them on their lap if they’re sitting.
Hand placement is especially important when posing couples, where the sense of affection and engagement can be intensified based on hand placement.
- Try jumping

Credit: Chang Duong
A jump is always fun to do, and it turns out to be an eye-catching photo for groups. Keep an eye on your shutter speed and aperture for this one, as you’ll need to freeze them in the ai, while still making sure they’re all in focus.
If you’re unsure, start with a 1/250 shut
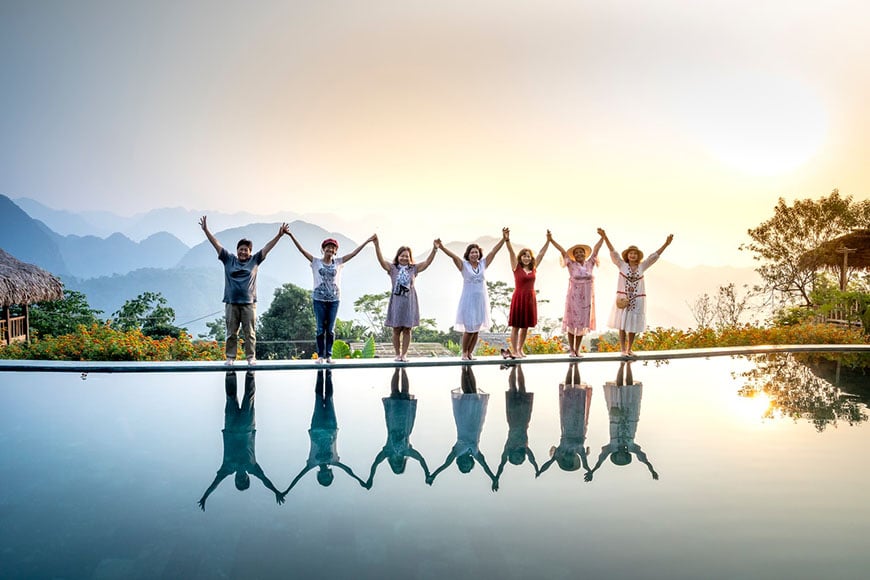
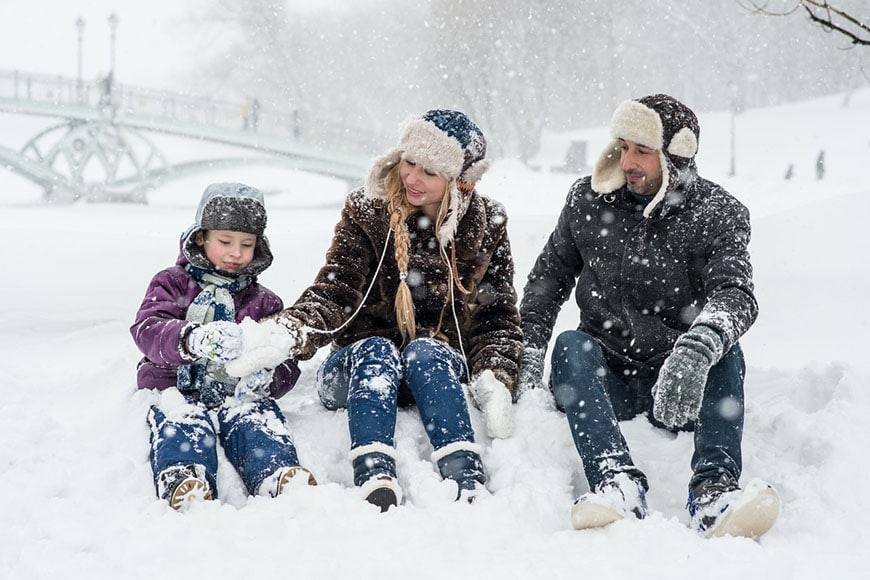
- Create different heights
Credit: rfstudio
To create visual interest, you might want to create different heights in your composition to make the eye travel through the picture.
If you’re photographing families, the different heights often come naturally as there are children and adults involved. However, if the group shot includes people with similar heights, you can create a difference with posing.
Some locations offer the possibility to place people at different heights using elements that are already there. For example, a graduation photoshoot can take place in front of the library, where there’s usually stairs.
On informal photoshoots, some of the group members can be crouching while others standing. For formal situations, you can use chairs and furniture. You can be as creative as you want.
- Lifestyle
Credit: Victoria Borodinova
Not every group photo needs posing. In lifestyle photography, you aim to capture people going on with their lives as if they weren’t aware of the camera.
This is a beautiful and casual style that works well for all types of photos, from friends and families to corporate shots. To do this, you can suggest activities instead of poses.
4. Choose a simple background
Credit: Gabriel Tovar
The viewer already has enough to focus on with the multiple subjects, so don’t add an extra distraction by using a busy background.
Anything that’s simple and has a neutral color will be more flattering for your subjects. For inside shots, you can use a professional backdrop or a wall.
When you’re outdoors, find a space where it’s not too busy behind the group and try to create a bokeh effect by shooting with your maximum aperture and using a lens longer than 50mm if you have enough room to frame the entire group.
5. Find the best location
Credit: Ivan Lapyrin
The first consideration often has to do with the context. While a park may be a good location for a family reunion, it might not be suited for a bank’s staff photo.
When you and your client decide on a location that makes sense, you have to think about its technical aspects.
Is it indoors or outside? Are you going to use natural light or artificial? If it’s outside, you need to consider the time of day, as well as the weather forecast. Also, look for a place with a good background.
6. Get even lighting
Lighting is a key aspect of a group photo, as you need to have all the subjects properly exposed. The best way to achieve this is with soft light.
For example, if you’re photographing outdoors with natural light, position the group in the shade.
Be careful if you use a tree to provide shade because hard light can pass between the leaves and may cause hot spots on people’s faces – this is known as dappled light, and can be quite unflattering and difficult to fix in post production.
It’s best if you can shoot when it’s overcast. Otherwise, schedule during the early morning or late afternoon. These times provide soft, warm light that’s ideal for group photography.
When you’re working inside with artificial light, you want to soften your lights as much as possible. You can bounce the flash on the roof, for example, or use strobes with large diffusion panels.
If you don’t have any lighting equipment, face the group towards a window around midday when the sun is nice and high up (so the sunlight doesn’t stream in at their faces).
7. Use props

Credit: Photographe Evjf Greg
Adding props is a great way to provide visual clues about the occasion or the group members’ relationship.
You can give a letter to each one and form a word or a phrase as a group – or they can be holding out champagne glasses to indicate a celebration.
Props are also useful to make non-professional models feel less awkward because they have their hands taken care of. Plus, they can focus on an object they can control instead of the camera pointed at them.
8. Take multiple shots

Credit: Craig Adderley
While burst mode isn’t the best idea – unless it’s an action shot – taking more than one picture is good practice regardless of the group’s size and situation.
When you’re trying to coordinate a large group, the chances of having one of them blinking or making a weird expression at the time you press the shutter are far higher.
Taking multiple shots to choose the one where everybody looks their best will ensure good results every time.
If you still didn’t get a shot where everyone has their eyes open, you can always composite from other images, or blend multiple layers together in Photoshop. Either way, having more choices is always a good idea.
9. Break the ice
Credit: Yulianto Poitier
Most group photos involve families, students, corporate staff members, etc. – none of whom are professional models. That’s why they rarely have experience in posing and having a camera pointing at them.
As a photographer, it’s your job to make them feel comfortable and relaxed. Talk to them first, make them laugh, get your face out from the back of the camera and engage… there are many techniques to do it. The important thing is that they look natural.
Sometimes, the moments when you’re breaking the ice offer great photo opportunities – so keep your camera ready for some candid shots too.
10. Keep an eye on details

Credit: Marily Torres
When you’re dealing with a large group, the possibilities of something escaping your eyes multiply. You need to be posing many people, making sure everyone is well lit, and so on.
After everything is checked, take a moment to double-check. Make sure nobody’s face is covered, check that everyone’s hair is more or less in place, that nobody has a spot or a weird crease in their clothes (especially when working with kids), etc.
If you have an assistant, ask for help on this – four eyes are better than two!
11. Don’t be shy
When you need to coordinate a group, you need to give clear instructions and get yourself heard. This might not be a problem when you’re doing family pictures with three or four members, but it can be an issue at weddings, for example.
When there’s ambient noise, you need to raise your voice so that everyone can hear you. You should also give clear instructions, and above all, don’t be afraid to take charge.
Finally, if other guests are taking pictures while you’re doing your job, politely ask them to hold off until you’re finished. Otherwise, you’ll have part of the group looking at you and the other part looking at the other camera.
12. Tell a story
Credit: Kayla Renee
Storytelling is one of the most difficult skills to acquire, but it’s something that makes a big impact on your photos’ final result.
Think about what is going on and what’s the relationship between the people in the portrait and try to represent that. Often, you can plan your images ahead of the photoshoot. Other times, inspiration will spark as you interact with the group.
When it’s a family, you’ll create some wonderful memories for them – when it’s a business, you’ll help convey their message. In summary, there’s more than just technique in group photography.
Final Words
I hope the next time you’re taking group photos, you’ll have an easier time and end up with some astonishing results. Let us know if you have any questions or any more tips to share below in the comments.


Ana Mireles is a Mexican researcher that specializes in photography and communications for the arts and culture sector.


WELCOME TO SHOTKIT
Enter your email to be sent
today's Welcome Gift:
19 Photography Tools
🔥 Popular NOW:


Shotkit may earn a commission on affiliate links. Learn more.