


Camera Flash Diffusers: How to Use Them Effectively
Adding a diffuser to your camera flash, whether on or off-camera, can be the best thing you could do for your portrait photography. Here's how to get it right.
Learn | Lighting Guides | By Yatharth Gupta
If you’re searching for tips on using camera flash diffusers effectively, this guide is for you.
Working with flash brings its own set of challenges- from tweaking exposure to controlling the spread and intensity of light- there are many variables at play.
That’s where diffusers can help you achieve the desired look with your camera flash.
Diffusers allow you to soften the light, restrict the spread, and create different light effects on your subjects.
However, using light modifiers to your advantage requires some understanding of the behavior of light and angles.
In this article, I’ll take you through everything you need to know to use camera flash diffusers like a pro.
Table of Contents
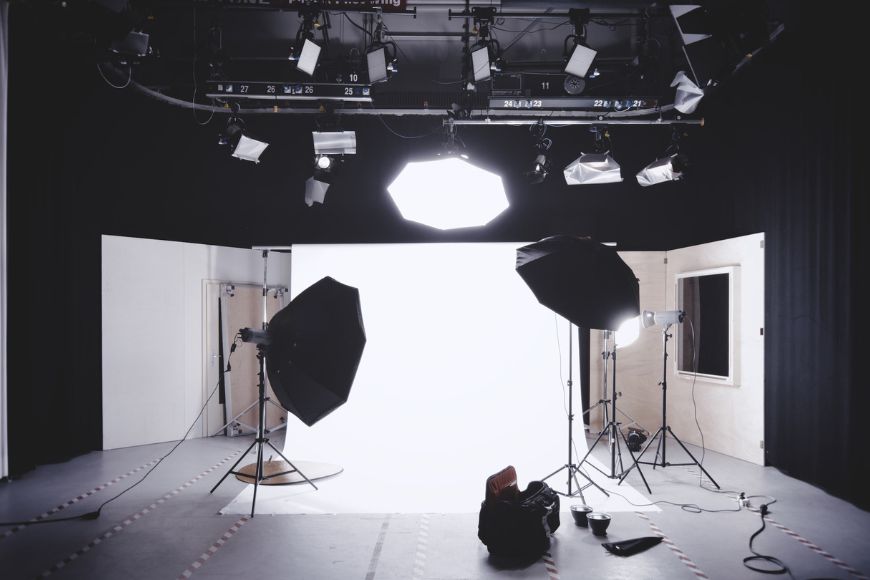
What is a Flash Diffuser?

Credit: Sam McGhee
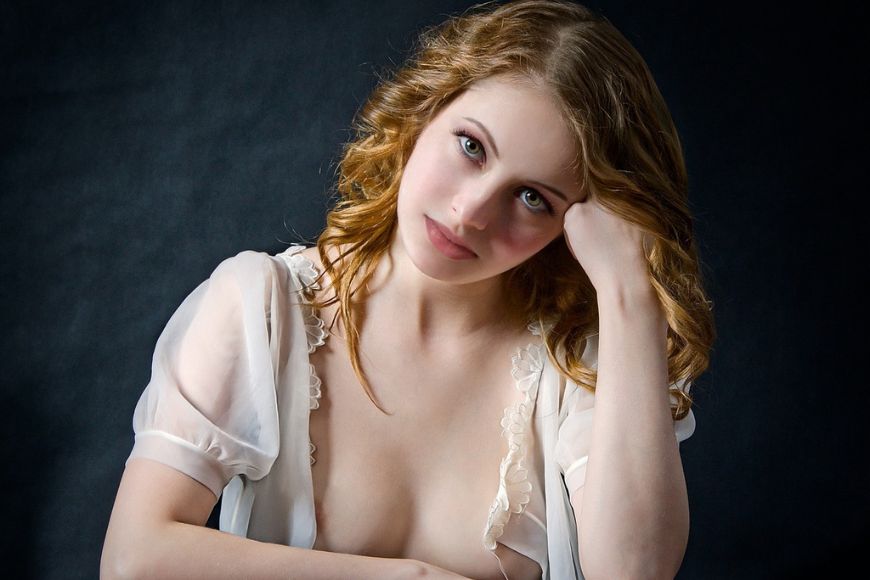
A Flash diffuser is a light modifier that softens the harsh light coming off a bare flash.
Physically smaller light sources, such as a camera flash, produces a narrow beam of light that creates dark shadows and sharp edges on the subject’s face. Such light usually results in unpleasant photos unless used for creative reasons.
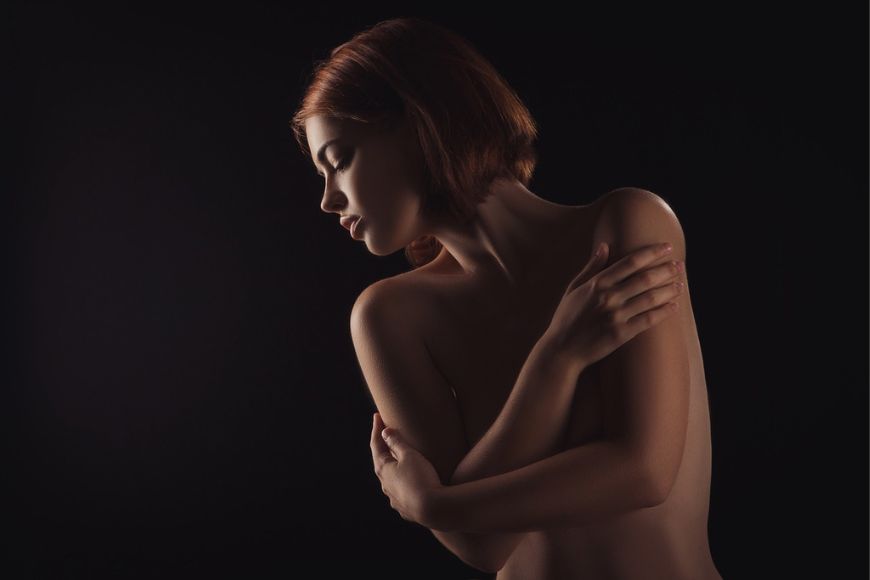
Conversely, a softer light coming from a physically large source eliminates deep shadows and creates an overall natural look in the photo.
A flash modifier helps you create the effect of a bigger light source by spreading the illumination coming out of a small flash head.
Credit: JerzyGorecki
To understand this better, let’s take the example of the universal light source, the Sun.
If you place your subject in the bright sunlight of the afternoon, you’ll see dark shadows on the face, below the eyes and around the nose, and even on the ground. That’s because the Sun is harsh at noon and relatively smaller compared to the sky, creating a concentration of light.
On the other hand, if the sky has clouds covering the Sun, the light would be evenly spread through them, producing soft shadows. That’s because the cloud cover diffuses the harsh light of the Sun.
A flash diffuser uses a reflective surface that scatters the concentrated light particles and directs them out through a translucent white cloth that further spreads the illumination.
Are flash diffusers worth it?
Flash diffusers are worth the investment if you wish to create a flattering, pro-grade look in your photos. Light quality is one of the most important things responsible for great photos. That’s the reason why professional photographers emphasize it.
Flash diffusers are one of the most affordable ways of regulating and controlling light. So, keeping them in your kit would be beneficial for your photography.
Credit: KOBU Agency
What is the difference between a flash reflector and a diffuser?
A diffuser and a reflector both soften the light to varying degrees.
In terms of softening, a diffuser does a better job because it makes hard light pass through a translucent material; however, it can’t change the path of it.
Comparatively, a reflector produces harsher light but also allows deviating it in a different direction.
The reflective material on a flash reflector can be of many different colors, such as gold, silver, or white, creating a warm or cool tint depending on the chosen color.
Reflectors are great for achieving creative and dramatic effects, whereas diffusers are often helpful for creating natural illumination in photos.
What are the Types of Camera Flash Diffusers?
Camera flash diffusers are available in a variety of sizes and shapes based on the light you want to achieve.
Generally, the softer the light you aim for, the larger the diffuser size you’ll need. However, that doesn’t mean the largest one is always the best option; there are other creative considerations to keep in mind while choosing a diffuser.
Diffusers can be categorized based on whether you wish to use the flash attached to the camera’s hot shoe or on a light stand. Below are some of the most useful options for both scenarios:
On-camera flash diffusers
These are best for situations when you’ve to mount the flash on the camera. Many photographers use these modifiers to create stunning street and travel photography work.
1. Magnetic Dome Diffuser
It’s a handy dome-shaped light modifier that attaches magnetically to the front of your on-camera flash.
The dome is made of a translucent matte-plastic material that softens the light and widens the spread of illumination coming out of a rectangular flash-head.
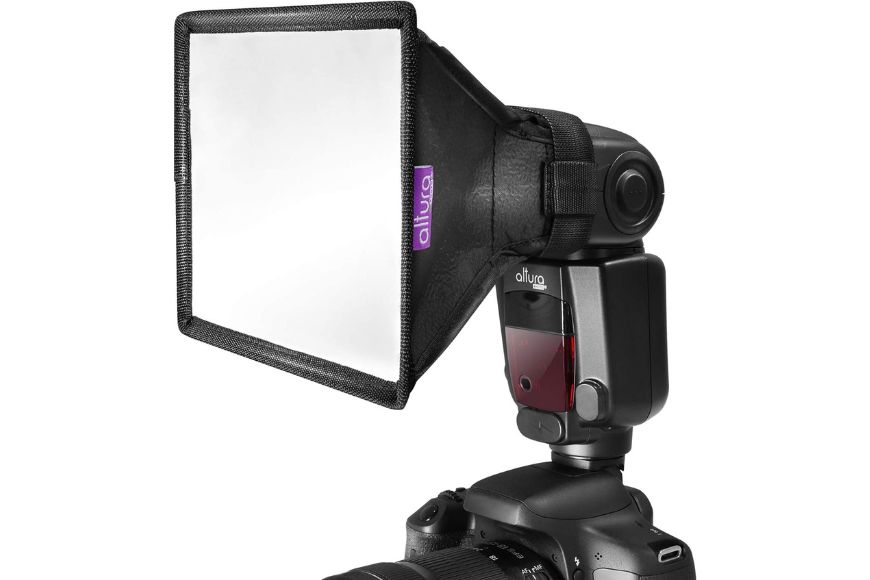
2. Portable Softbox
A mini softbox would be an excellent choice when you’re aiming for even softer light compared to a bare flash or a dome diffuser.
It works like the standard softbox, where light is confined in a closed space, reflected off the angled walls, and pushed out through a diffusion material. It’s an ideal accessory for shooting portraits on the go.
3. Bounce Card
Photographers often point their flash upwards to bounce the light off the ceiling to emulate the effect of a large light source.
That works great indoors, but when shooting outdoors, a flash bounce card would be great to avoid hitting the subject with the harsh light of the flash and create a softer, more even illumination.
4. Honeycomb Grid
A grid helps restrict the spread of light. The walls of the honeycomb cells prevent the light from flowing out of a straight line. It comes in different sizes; the deeper it is, the more of a spotlight effect it creates.
Even though this modifier isn’t technically a diffuser, and the light coming out is still harsh, some grid variants can be paired with a diffuser, such as a dome diffuser, to eliminate hard shadows.
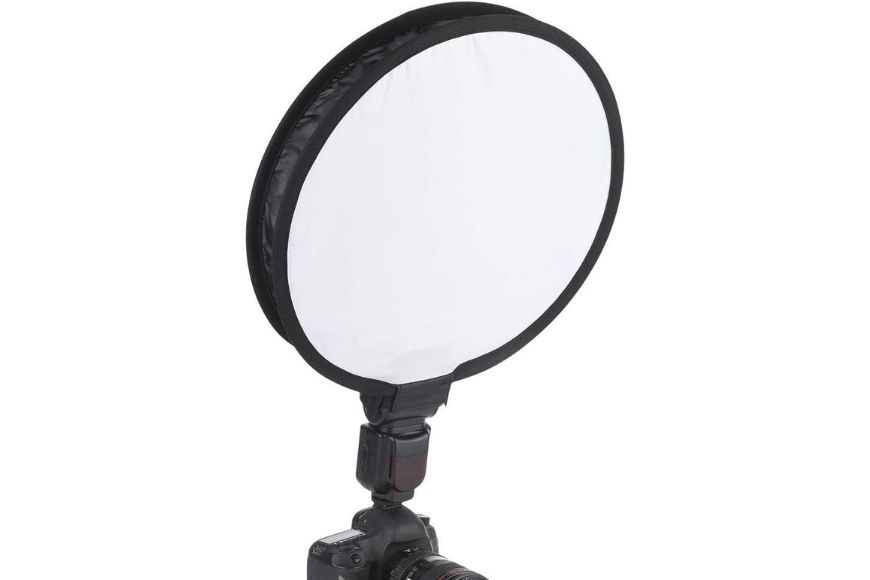
5. Round on-camera flash diffuser
Credit: Whitedaemon
This is the largest of all on-camera flash diffusers but produces much softer light and shadows. As it’s a foldable accessory that doesn’t take up too much space in your camera bag, but the sheer size of it grabs attention when shooting in the streets.
However, this is one of the best modifiers to light up your portraits with an on-camera flash.
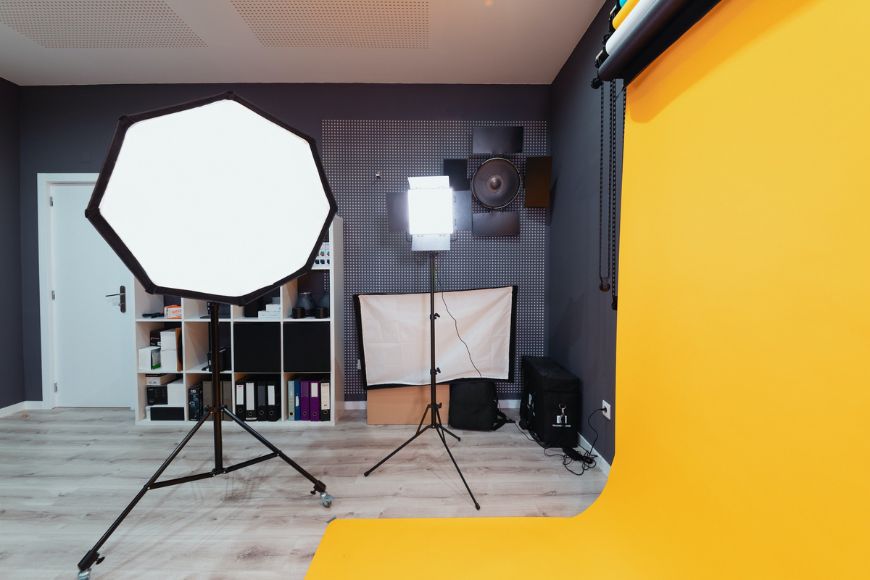
Off-camera flash diffusers
Off-camera flash photography opens a ton of creative possibilities. Even though the above-mentioned compact diffusers can be used on a light stand, these are not ideal for off-camera usage.
The below diffusers are perfect when you want to take advantage of directional lighting.
1. Octagonal Softbox
It’s the most common diffuser that produces stunning results when paired with different lighting techniques.
Compared to traditional square and rectangle softboxes, octa boxes make circular catchlights in the eyes of the subject, which looks more natural.
For this reason, It’s an excellent choice for portrait photography; however, it performs equally well for product photography. Octa softboxes are available in many sizes; usually, the larger a softbox, the softer light and shadows it produces.
2. Stripbox
A strip box is a long rectangular softbox that allows you to illuminate your subject with a narrow beam of light. Unlike square and octa softboxes, this diffuser has a limited spread of light which can be further restricted when paired with a softbox grid.
You can use it to light your subject’s entire body length or create dramatic lighting effects by firing the light from different angles.
3. Deep Parabolic Softbox
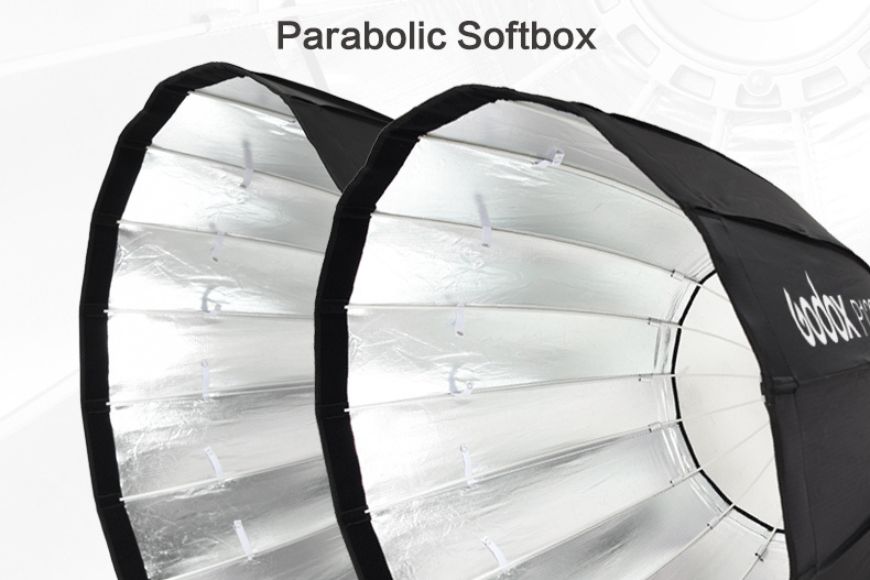
This softbox is a mix of reflective umbrellas with diffusion material in the front. It aims to create a narrow column of light similar to a deep umbrella but diffuses it further to create a soft light spread.
These are great for portrait photography; however, the price point is considerably higher than that of an octa or a regular softbox.
4. Lantern Softbox
This softbox is a recent addition to the list of flash modifiers. It has the shape of a traditional lantern and behaves similarly, expanding the spill of light coming from a small source.
A lantern softbox is helpful when you want to cast a soft, gentle light all over the place and eliminate the harsh shadows; some such scenarios are photographing architecture, real estate, and interiors or shooting group photos at a wedding or an event.
5. White Shoot-through Umbrella
This is one of the oldest types of diffusers used in flash photography. It’s mounted in front of the flash, where light passes through a translucent white fabric.
It produces an overall soft light that covers a large area. Most white umbrellas are collapsible and occupy less space in your camera bag. They’re great for shooting simple portraits where you want even illumination throughout the frame.
What are the advantages and disadvantages of a flash diffuser?
Credit: JerzyGorecki
Like everything in photography, using modifiers also have some pros and cons.
Let’s have a look at the major advantages and disadvantages of using flash diffusers.
Advantages of using a flash diffuser
1. Softer light
The main advantage of a flash diffuser is the ability to transform harsh light into a diffused soft illumination. It gives you lighter shadows, smooth highlights, and an overall flattering look on your subject.
2. Natural-looking results
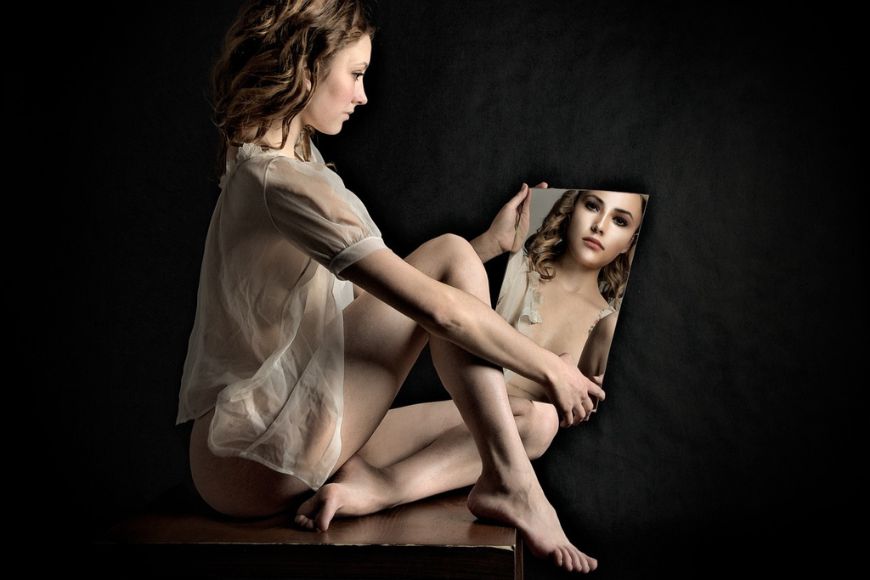
In most cases, diffused light has the softness of natural light sources, such as sunlight on a cloudy day. With diffusers, you get natural-looking photos, especially when shooting portraits.
3. Opens up creative possibilities
Diffusers come in different shapes and sizes, which can produce various lighting effects.
You can create many different light patterns by experimenting with the angle and height of the diffused light in relation to the subject. Diffusers open up many creative possibilities.
4. No dependence on natural light
Getting a natural look in photos becomes challenging after sunset or when light isn’t favorable for your shoot. That’s where flash diffusers can help you emulate the desired effect even when the available light isn’t strong enough.
5. Enhanced color accuracy
By diffusing the light coming off a camera flash, you can reduce hotspots, glare, and color casts caused by harsh light and achieve better color reproduction in your photos.
Disadvantages of using a flash diffuser
1. Reduced flash power
One trade-off of using a flash diffuser is that it absorbs some of the flash output in the process of diffusion, resulting in a loss of up to a stop of light. In some situations, it can significantly limit the reach of the light.
2. Bulk and size
Depending on the type of diffuser, it can add bulk to your setup and make it difficult to handle for long shooting durations. Big diffusers are cumbersome to manage and reduce your portability in situations like travel and street shoots.
3. Difficult to manage outdoors
Off-camera flash diffusers, when used on a light stand, are prone to get affected by wind and rain in outdoor shooting situations. Strong winds can topple the diffuser, and rain can cause damage to the delicate materials used in it.
4. Ineffective in large areas
When you are shooting in large areas like vast indoor spaces and real estate, a diffuser would concentrate the light to a limited area which is not ideal in such shooting situations as most parts won’t be lit properly.
In such spaces, you would need to use additional lights and also, at the same time, keep them out of the frame.
Credit: Alexander Dummer
7 Tips on Using a Flash Diffuser for Your Photography
Here are a few tips to effectively use a camera flash diffuser:
1. Understand your diffuser
Every diffuser behaves differently with the light; you should familiarize yourself with your diffuser’s working and design and also understand the compatibility with your flash.
2. Experiment with different angles
Directional lighting is the best way to illuminate your shots. Try out different lighting models with your diffuser to better understand the positioning where it produces the best kind of lighting.
3. Compensate for lost light
Depending on the degree of diffusion, you might lose up to a few stops of light with light modifiers. In such a scenario, you should compensate for the lost light by increasing flash power.
4. Blend flash with natural light
Flash diffusers produce natural-looking illumination that allows you to beautifully blend the light coming from a flash with the natural light.
5. Tweak light temperature with color gels
Gels are colorful sheets of plastic that are attached in front of the light source to color the light or change the temperature of it. You can achieve stunning, creative results by using color gels and tweaking the White Balance setting on your camera.
6. Familiarize with Inverse Square Law
It says illumination diminishes as the subject moves farther from the source of light. Understanding this in practice can help you achieve a varying intensity of light, background-to-subject separation, and many other creative effects.
7. Practice, practice, practice
If you wish to refine your flash photography skills and master camera flash diffusers, you need to consistently practice and evaluate your photos to develop a deeper understanding.
I hope you found this article useful. If you have any questions, please let me know in the comments section.
 Which Softbox is Best for Photography in 2023? (5 Lighting Kits)
 Expert Guide to On-Camera Flash (How, When & Why to Use)
 Soft Lighting Photography: Top Techniques for Dreamy Portraits
 Beginners Guide to Photography Lighting Techniques (+Pro Tips)
 Mastering Off Camera Flash: A Beginner’s Guide
 How to Use Flash Effectively for Wedding Photography

Yatharth Gupta is a seasoned portrait and travel photographer based in India. He is also a writer and a blogger and loves to explore new places.

WELCOME TO SHOTKIT
Enter your email to be sent
today's Welcome Gift:
19 Photography Tools
🔥 Popular NOW:


Shotkit may earn a commission on affiliate links. Learn more.